Introduction to the Make.com organizations and how to be part of other Make.com organizations

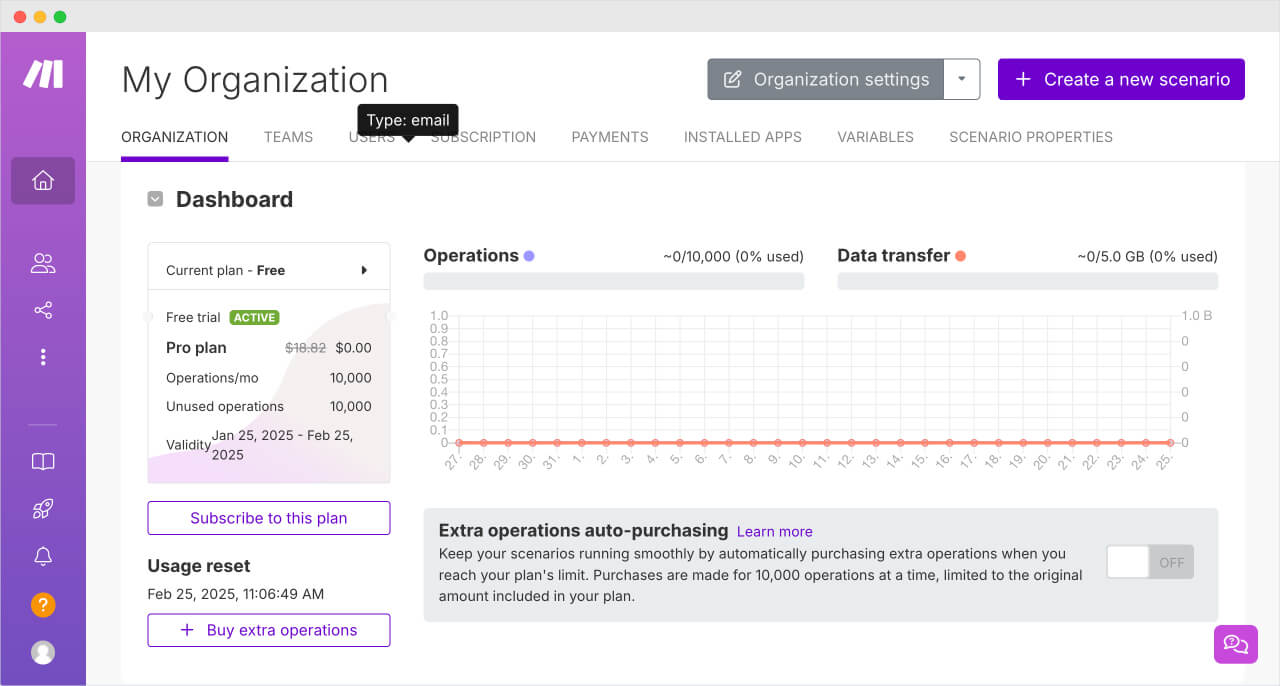
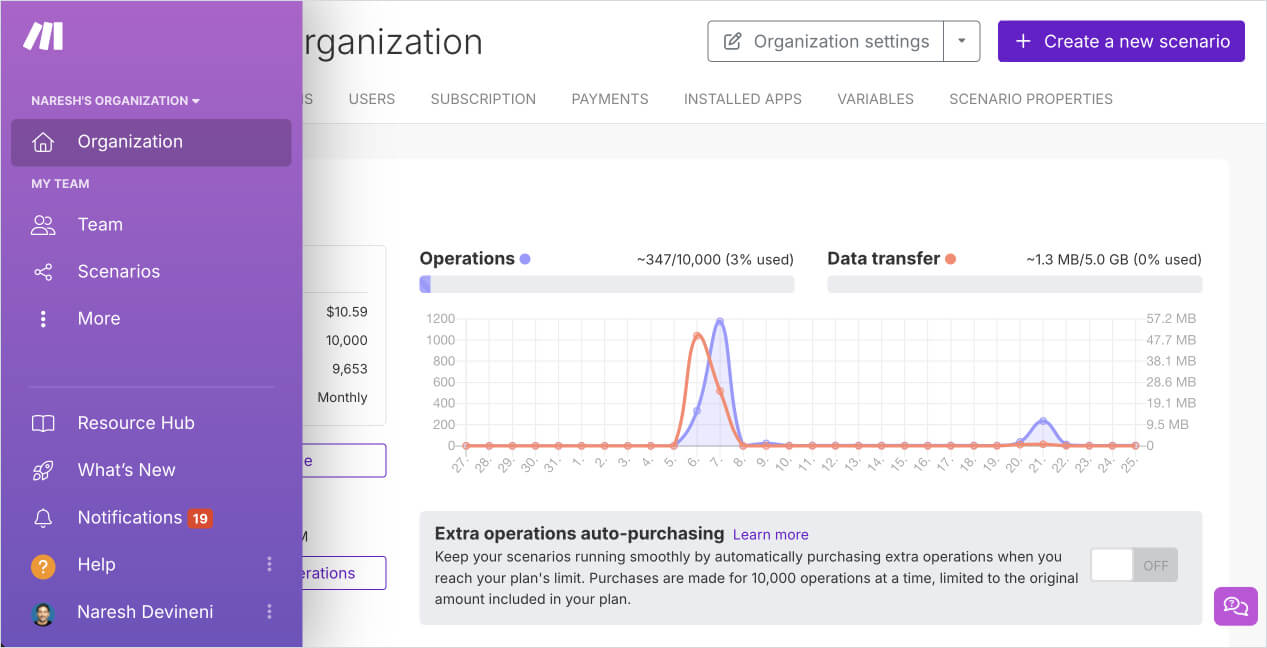
When you create an account on Make.com, an organization is automatically created for you and named as “My Organization”:
“Bro, I don't have any intention of running an organization”.
Haha, it is not what you think.
The concept of “Organization”
Make.com treats every account as an organization.
You can think of your organization as a workspace for collaboration, where you and your team members can build, manage, and share automations.
And you can be part of other organizations
Simply put, your account can be part of multiple organizations and manage their automations, payments, users, etc.
Although all the organizations can be managed from a single account, Each organization has its own automations, billing, and access settings.
Imagine you are creating automations for a client on their Make.com account.
You don't have to ask the client for the credentials of their account to create automations for them.
You can be added as a user to your client's organization so that you can create and manage automations for them without logging into their account.
Come on, let's see how this invitation process works.
How to invite a user to an organization
Log into the Make.com account to which you want to invite a user.
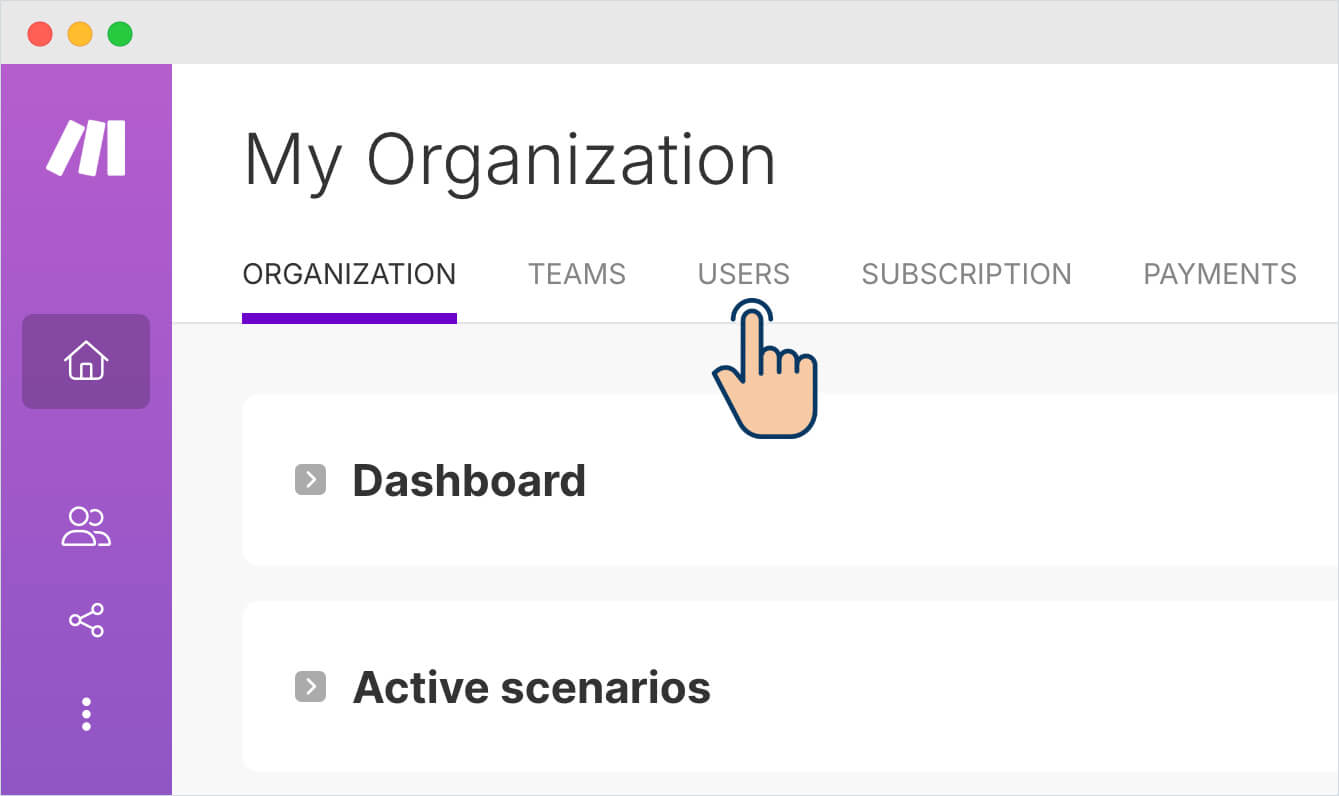
Next, click on the “Users” tab from the Home screen to find the users who are part of the organization.
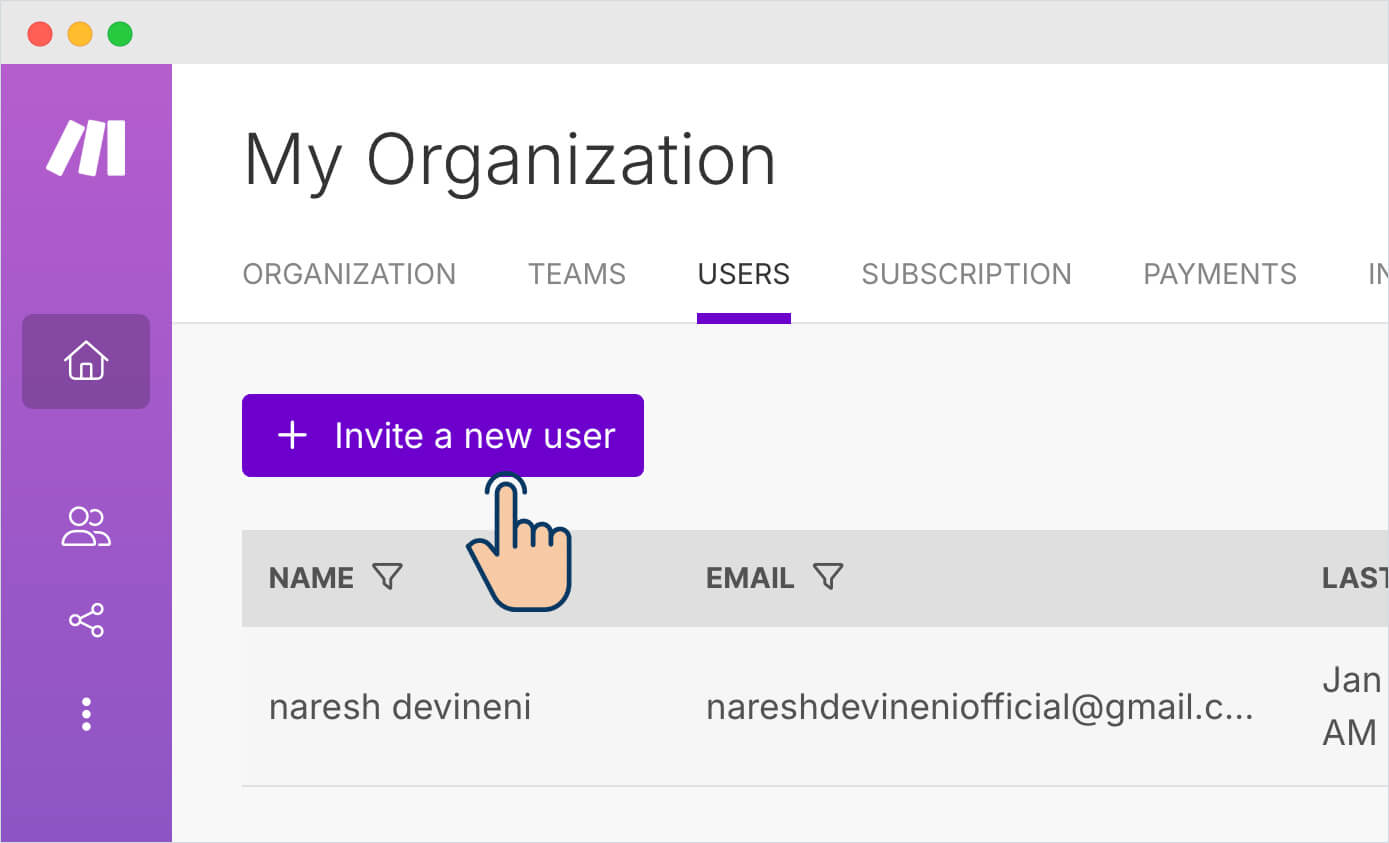
Check if the user is not part of the organization already.
If not, click on the “Invite a new user” button to bring up a popup to enter the user details:
Next, enter the email and name of the user who needs to be invited.
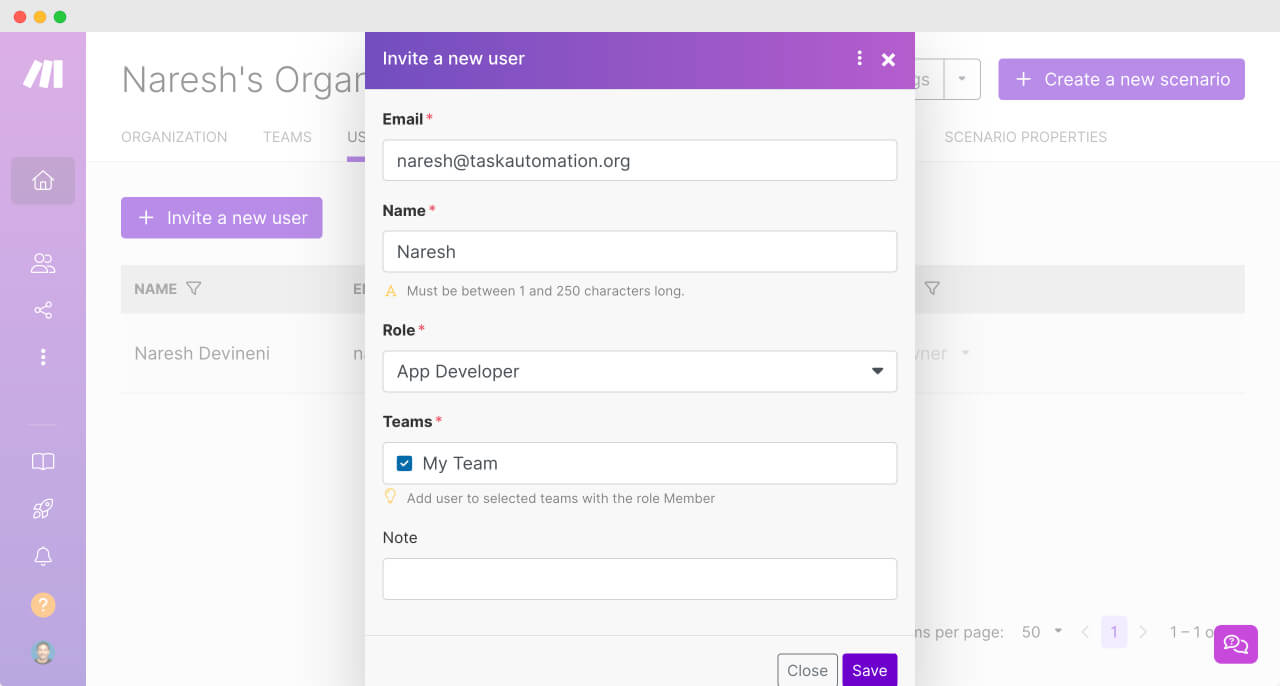
Next, we need to select a “Role” for the user.
The “Role” option decides what a user can do and cannot do inside a Make.com's account (organization).
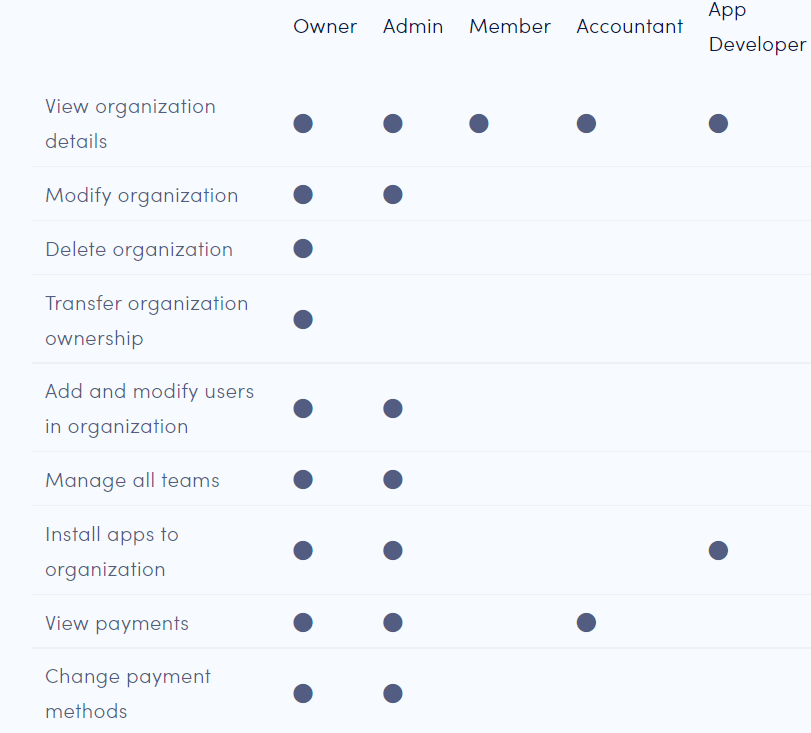
Currently, make.com allows you to select four roles:
- Admin
- Member
- Accountant
- App Developer
And I want you to take some time to understand the screenshot below to understand what each user role can do and cannot do:
To learn more about the user roles and how they impact running an organization, please visit:
https://www.make.com/en/help/access-management/organizations#organization-roles
Here is a quick run down about what each role can do:
- All the roles can view the details of the organization such as the pricing plan, operations usage, etc.
- The “Admin” role can do the majority of the things that the owner of an account can do. Simply put, along with being able to manage automations, the admin role also gives the ability to manage the entire account. So, be careful when assigning the “Admin” role to anybody, even if you trust them.
- The member role looks like a dummy role
- The accountant role can only view the payments and do nothing else.
- Finally, the App Developer role can create and manage automations but cannot do anything else.
Most of the time, you'll want to invite a user to create, run, and manage automations. So, “App Developer” is the role that you'll be assigning often.
Also, when you pick the “App Developer” role, you'll be forced to select a team.
By default, just like how make.com created an organization for you, it created a default team called “My Team” and it must be selected when inviting a user with “App Developer” role.
If you have more than one team, those team names will show up here so that you can choose the correct team.
Anyway, after selecting the role of the user and the team, click on the “Save” button to send an invitation email to the user.

Once the user has accepted the invitation and created a free account, the user will have the ability to create and run automations for you.
Neat, right?
Also, once you become of part of multiple organizations, you might need to switch between them often to manage different sets of automation
And there are two ways to switch between the organizations:
- Select an organization during the login process
- Switch to an organization from the account menu
Selecting an organization during the login process
If you're part of multiple organizations, you'll see them during your login sometimes:
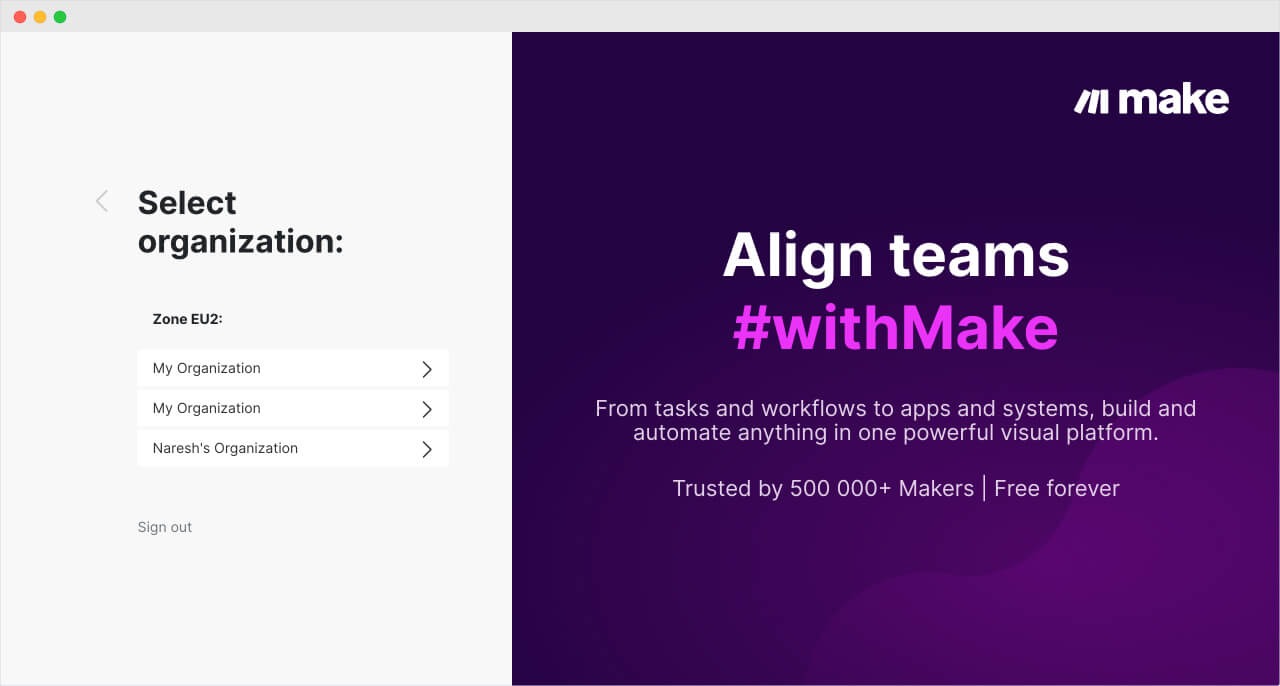
And you can pick one of those organizations to access their automations and run them.
But once you pick an organization during the login, you might not see the same option next time you're trying to log in.
If that is the case, and you want to switch to a different organization…
Switch to that organization from the dashboard menu
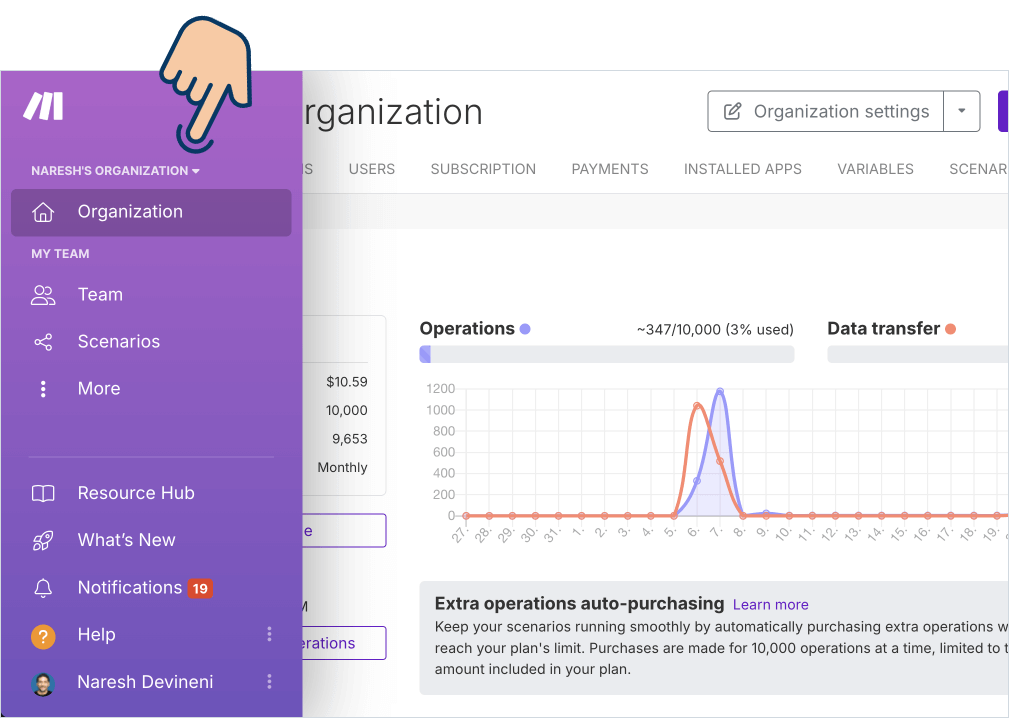
If you notice, there is a vertical menu bar on the left-hand side of any Make.com screen:
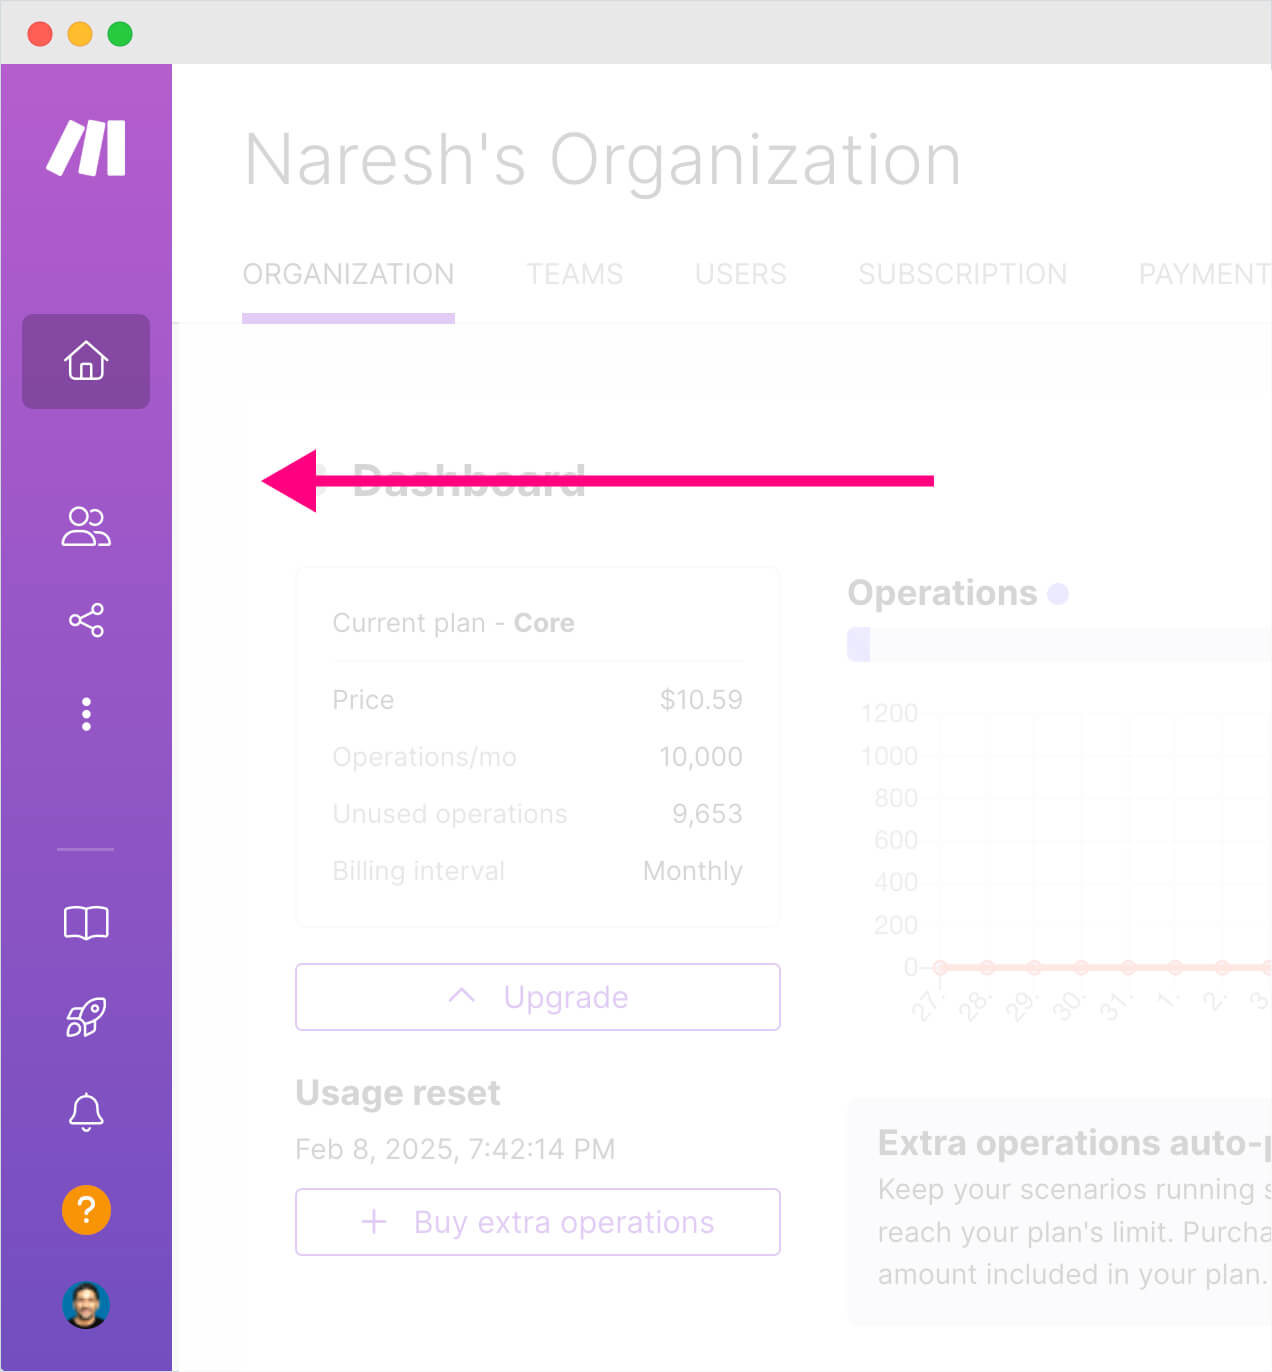
And if you put your cursor on it, it will expand:
Next, if you notice, you can see the name of the active organization right underneath the Make.com logo:
If you click on it, you can see all the organizations you're part of:
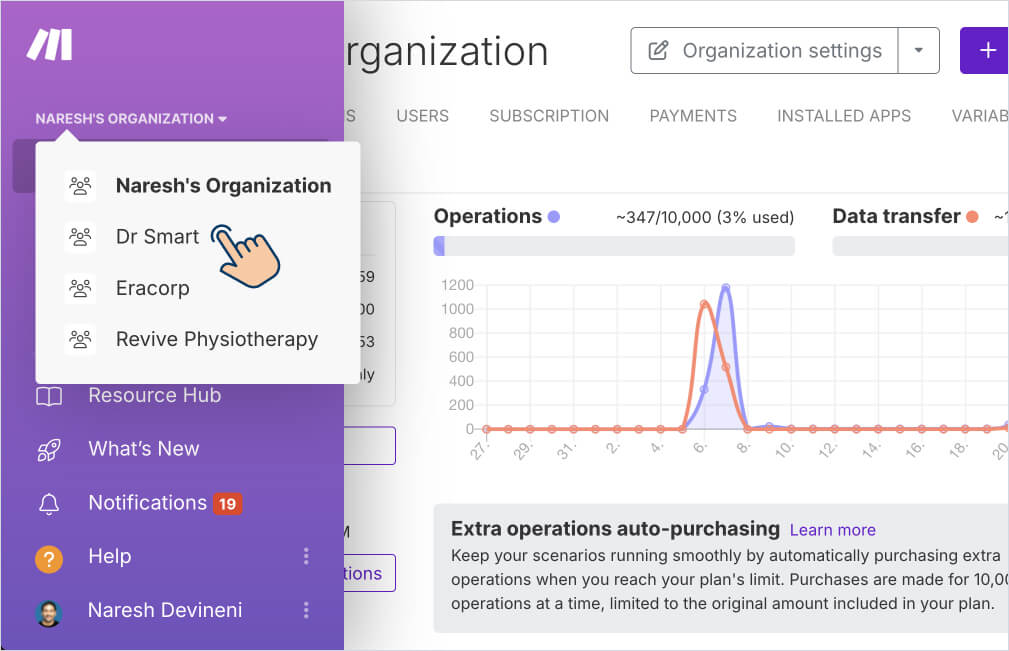
Finally, click on the organization you want to switch to, and you can access their automations, payments, etc. depending on your role.
I want to conclude this lesson by discussing…
The importance of renaming your default organization name from “My Organization” to something unique
Imagine you being part of three organizations.
One is yours.
And the other are your client organizations:
- Client name is Eracorp, but their organization is named as “My Organization”
- Client name is Dr Smart, but their organization is named as “My Organization”
Now, you're trying to switch to Dr Smart's organization to work on an automation, but the login screen shows:

Unfortunately, both your clients didn't change the default organization name from “My Organization” and you were not careful.
Now tell me, how do you choose Dr Smart's organization?
Of course, one way is to go inside one organization and see if it is the current account.
But it is time-consuming and frustrating to do the guess work, right?
This is a lot of guess work if you are dealing with a lot of organizations, right?
You'll end up jumping back and forth between the wrong organizations, and this will eventually lead to irritation and inefficiency.
To avoid this, all you need to do is rename organizations with unique names, and it is very easy to do.
How to rename a Make.com organization
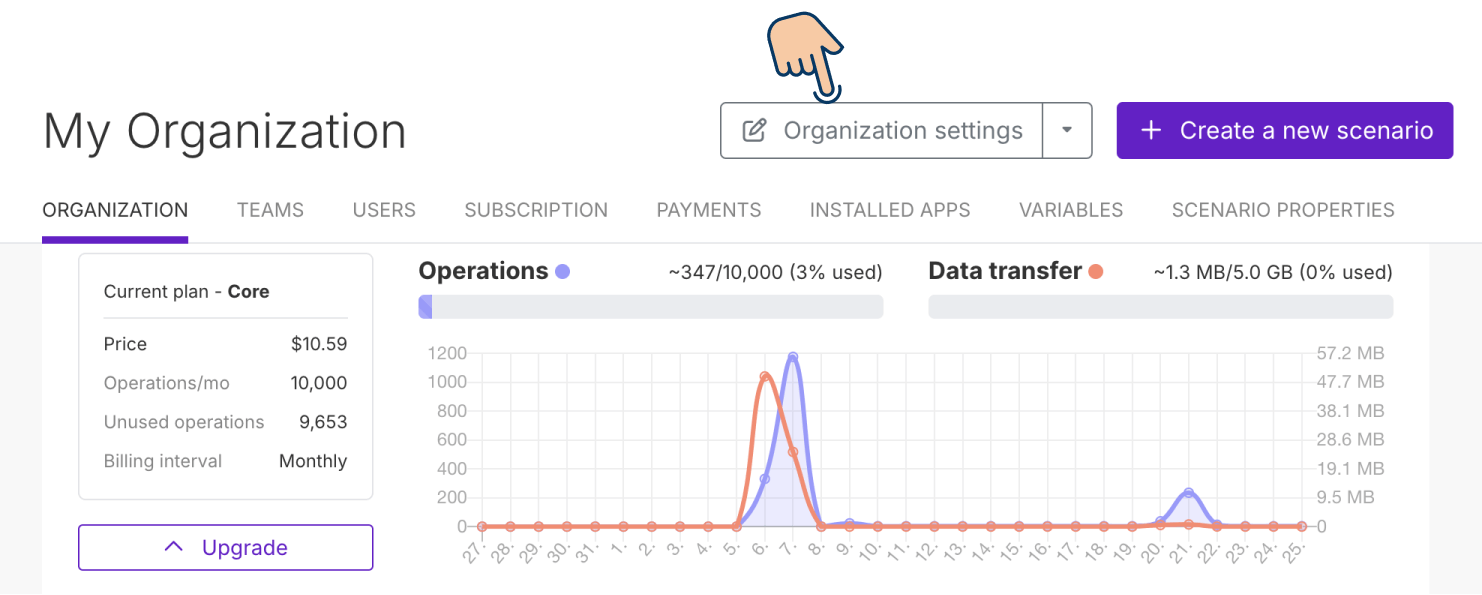
Make sure you're on the home screen of the organization dashboard.
If not, you can easily jump to it by clicking the “Home” icon from the menu bar on the left:
Next, click on the “Organization Settings” button to bring up a popup:
Then, change the option “Organization name” to something you can easily recognize without the guess work:
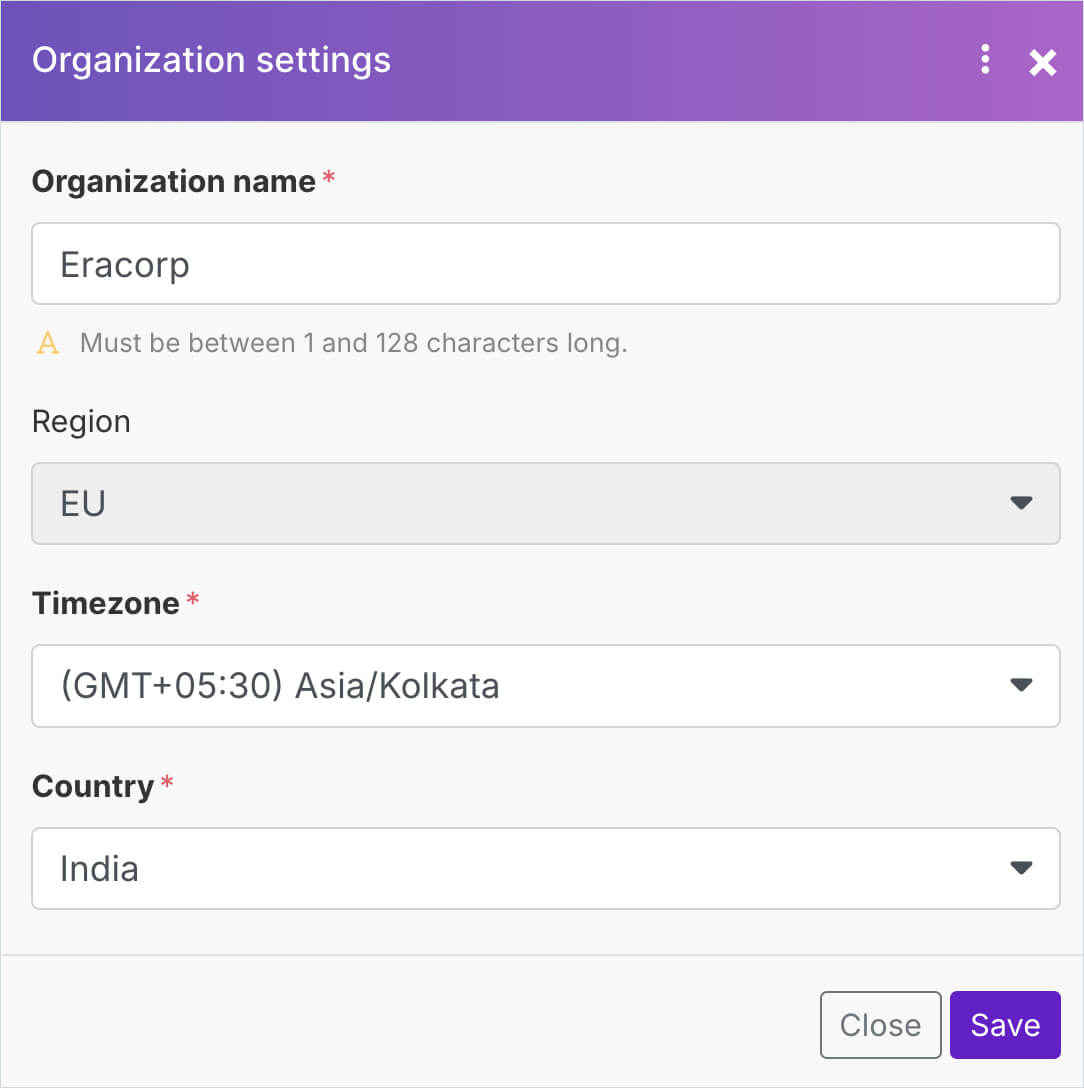
Finally, save the changes.
That's all.
You now know enough to manage the automations of different organizations you work with.
So, starting from the next module, you'll learn how to create a real-world automation inside Make.com.