How to test an automation with webhook as its trigger module
If you remember, Tally has shared a link for accessing the form:
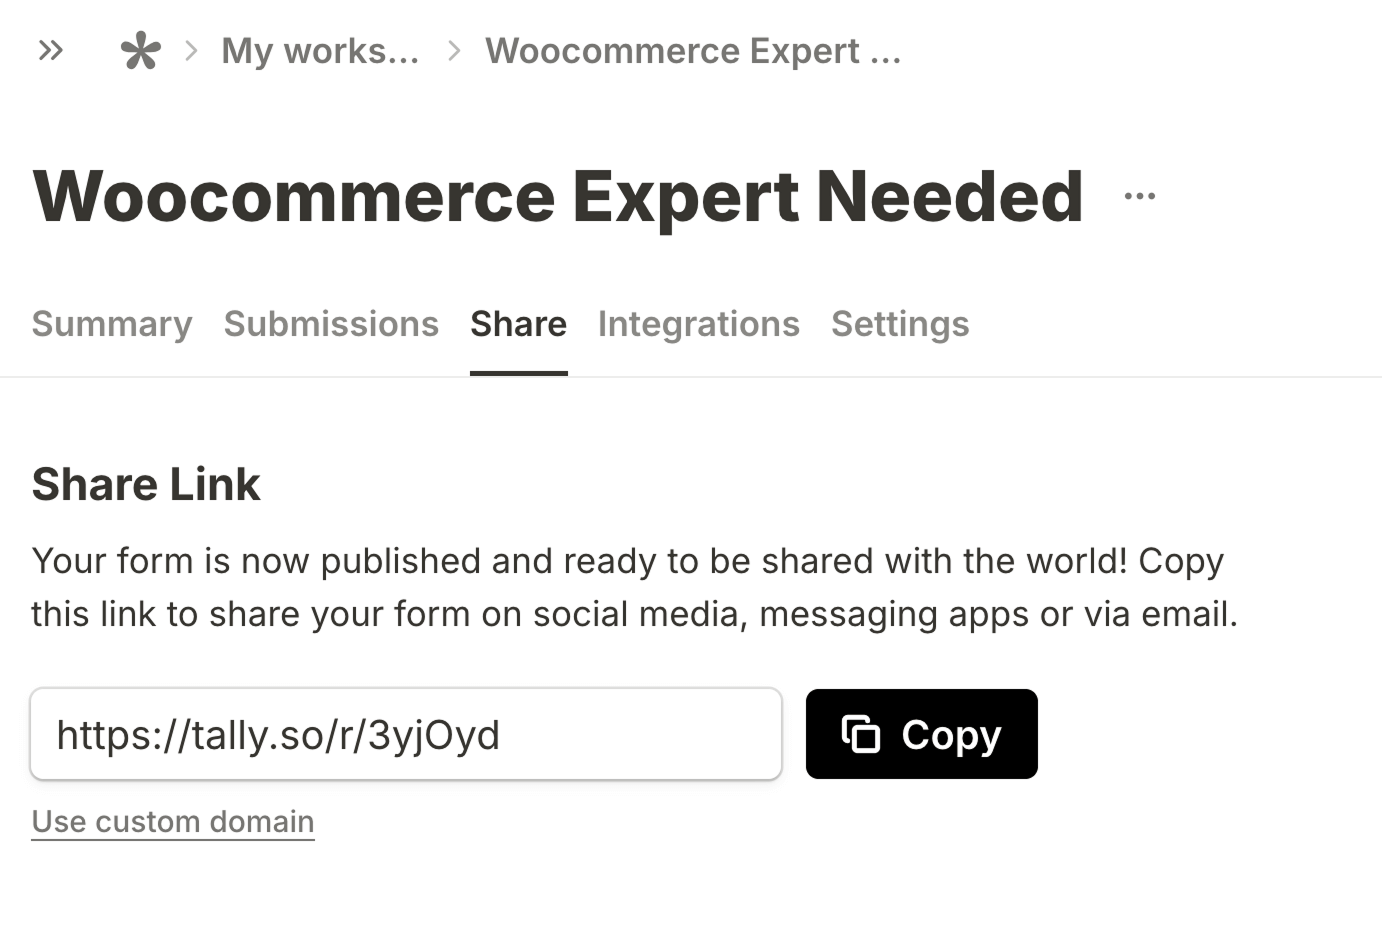
Your form link will look different.
Use it to submit a resume.
You can either use your resume or my resume as the file upload:
naresh-devineni-resume-2024Download
“Okay! I have submitted the form, but the automation didn't run.”
Haha, don't worry.
The automation ran immediately after the form submission.
But we couldn't see it because it ran in the background without any visual feedback.
That's how scheduled or event-based automations run. They always run in the background.
Having said that, we can inspect the details of each run of the automation by going to its “History” tab.
To access it, first, go to the “Overview” screen of the automation.
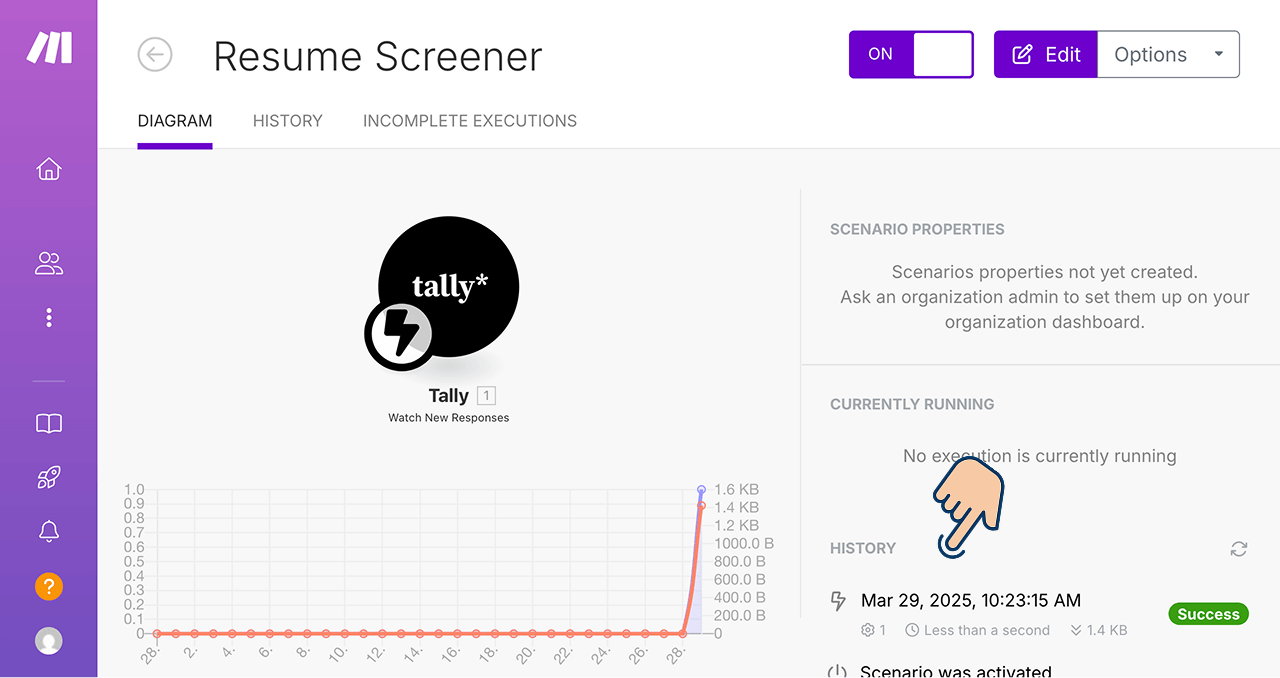
Next, If you notice the bottom right-hand corner of the “Overview” screen, there is a section dedicated to “History” and it says that the automation has recently run successfully.
But it is not providing us with the full details of the form submission.
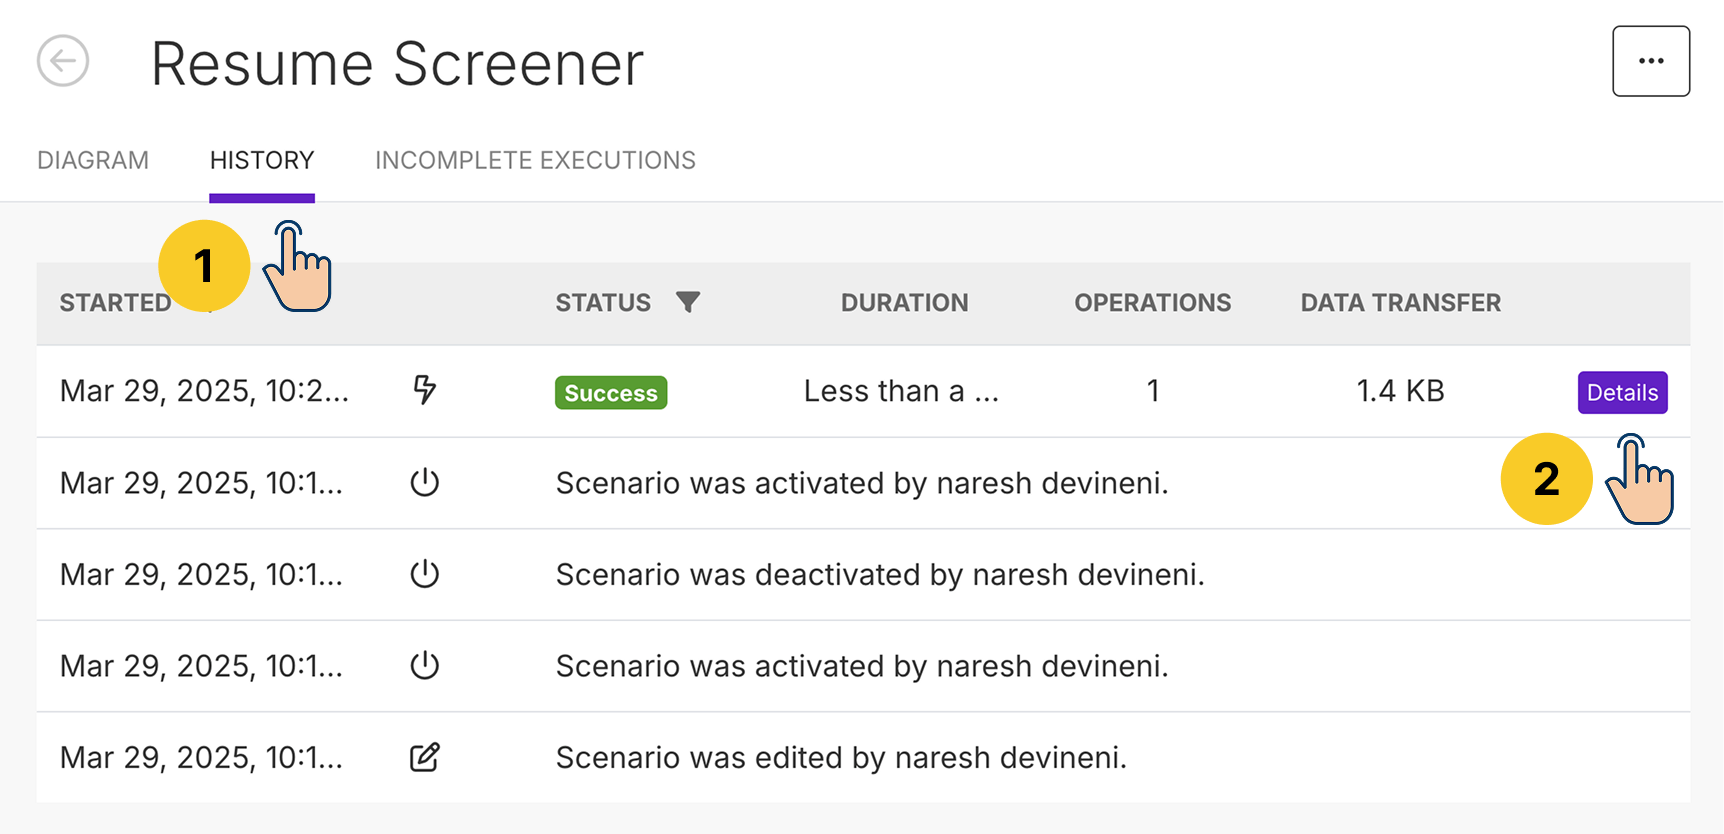
To access the form submission details, go to the “History” tab of the automation:
And then:
- Find the latest automation run. It is usually the first record from the top.
- Click on its “Details” button
Once you land on the Details screen, you'll see the diagram of the automation we have built so far and because the automation has run successfully, you'll also see a bubble icon on top of the trigger module (Tally module, in our case).
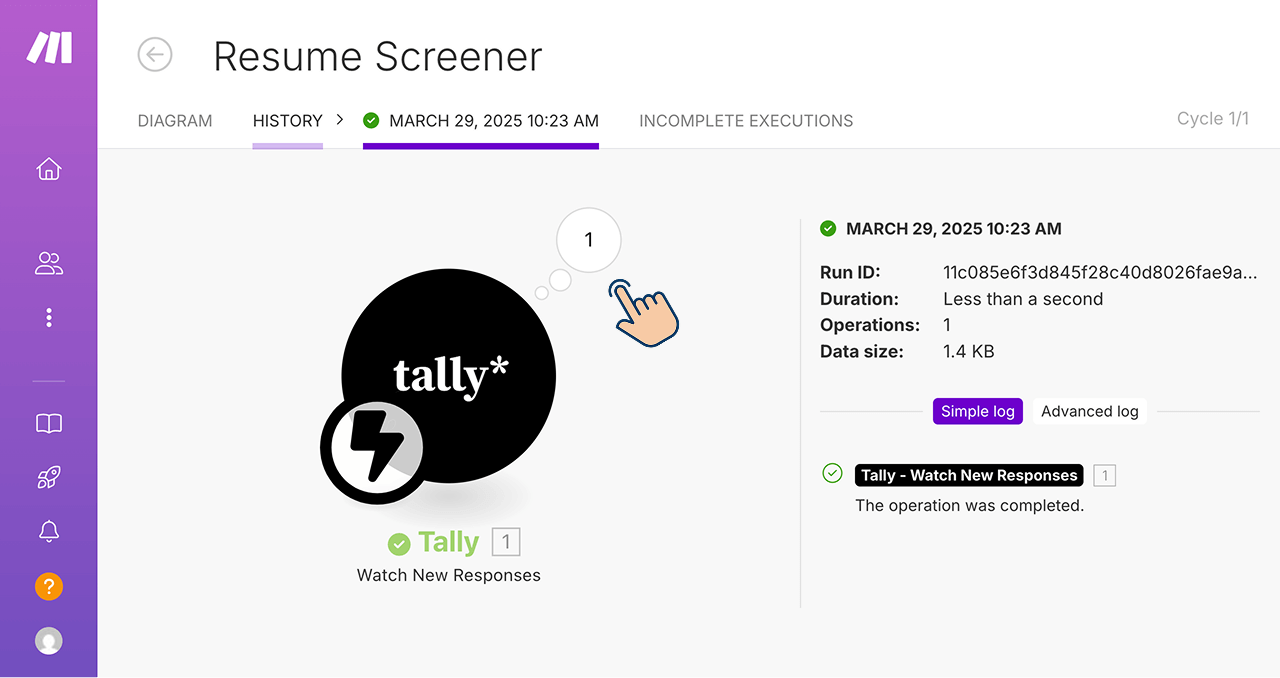
If you click on the bubble icon, you can see that a single bundle got generated as a result of form submission:
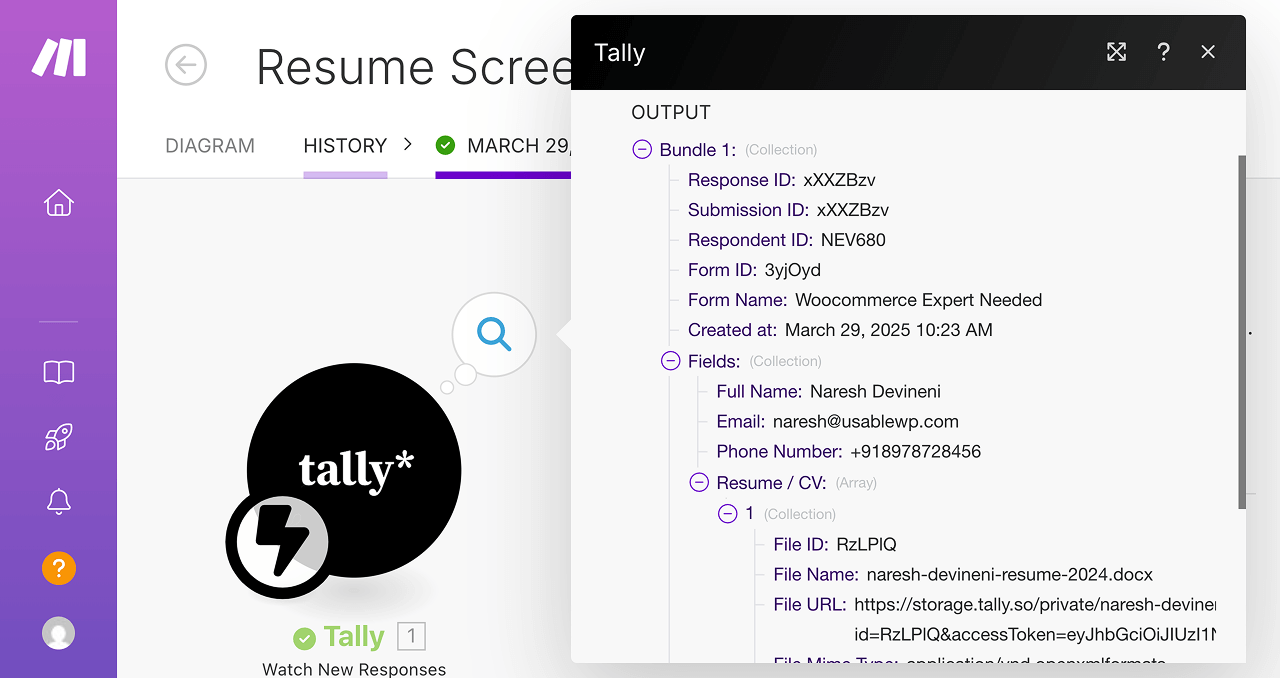
And the bundle contains all the details of the form submission.
In other words, it contains:
- Personal details of the applicant such as Full name, Email, and Phone number.
- File URL of the resume doc submitted by the applicant.
We will map the personal details to the corresponding columns of "CV Analysis" base in an upcoming lesson:
Also, please remember that resume doc is accessible via URL.
We will use it in the next step of the automation when we convert the resume doc into a text file.
“Got it bro! Thanks for the heads-up. But this looks like a long process just for testing. Is there any quick way to access the submission details?”
Yep!
There is another way.
We can also test the webhook-based submissions without leaving the scenario's edit screen.
How to manually wait for the test form submission data
During the first approach, to test the form submission and view the bundle it generated:
- We have activated the automation
- Submitted the test form
- Went to the History tab
- Clicked on its details to view the form
But if your intention is to just test the automation, you can just click on the “Run once” button from the editing screen of the automation:
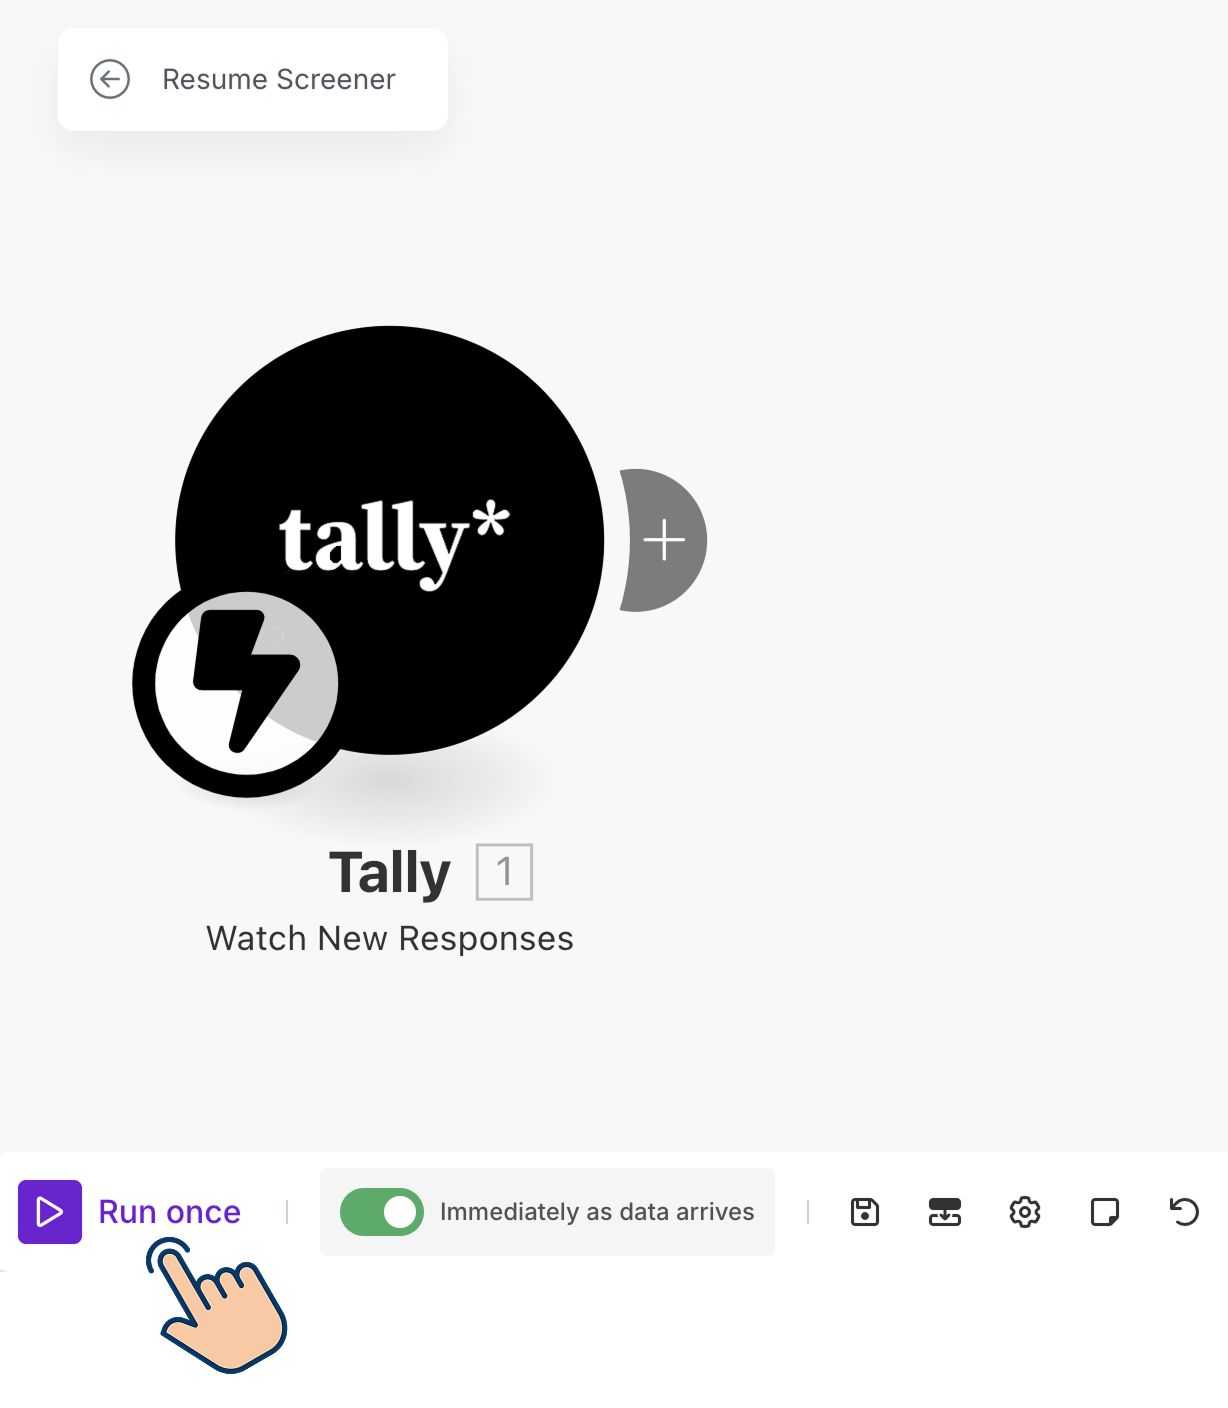
This will make the automation wait for the form submission:
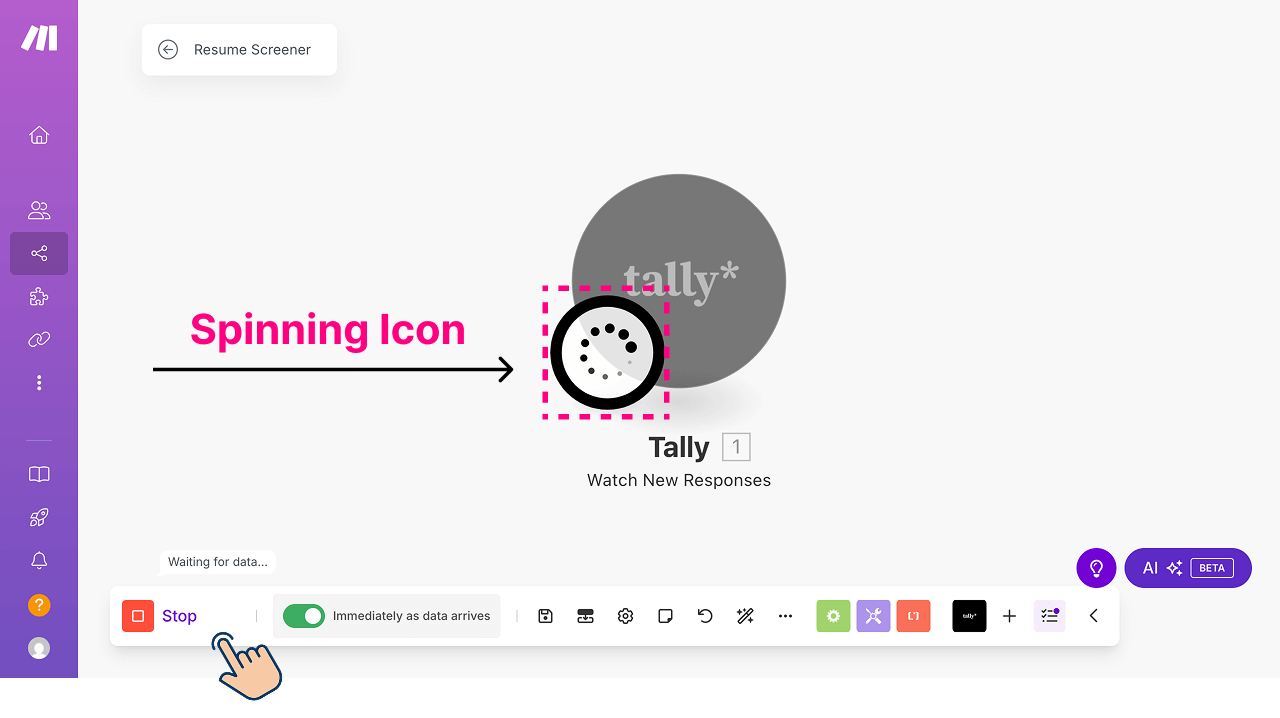
Whenever you run a webhook-based automation manually, Make.com adds a spinning icon to the trigger module (first module of the automation).
It indicates that the automation is waiting for the data.
So, submit the form to give the data that the automation needs:
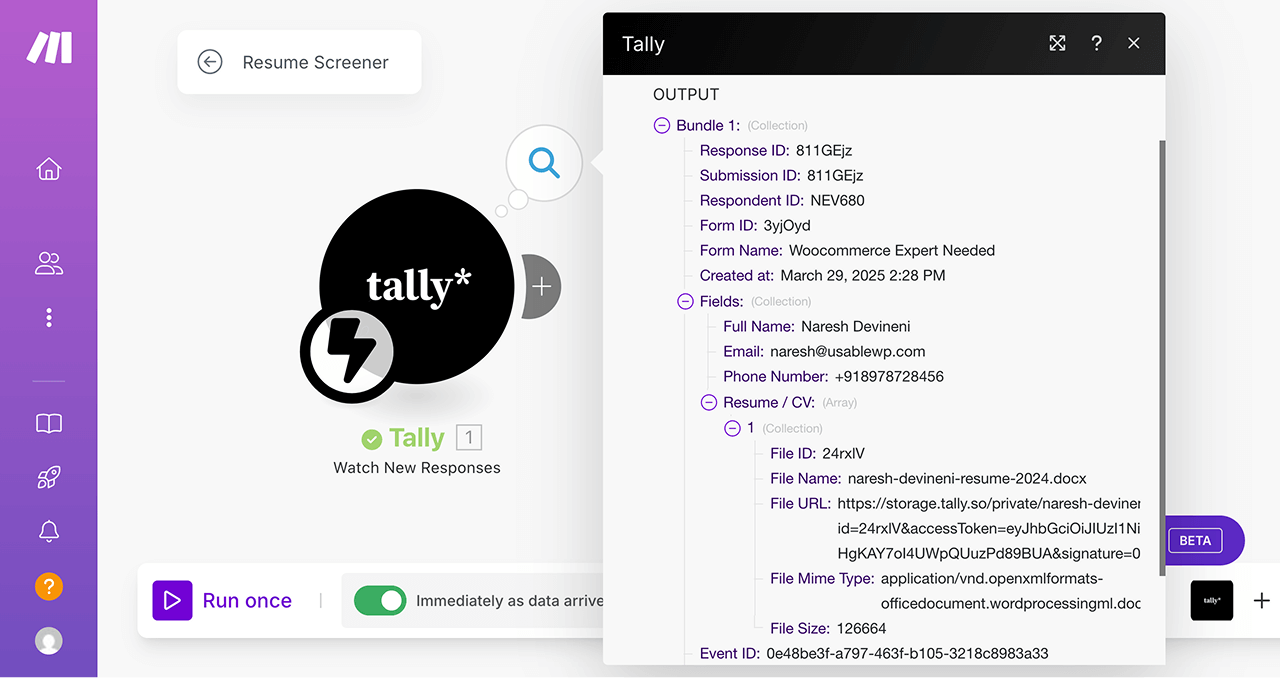
And voilà, you can see the submission details immediately, just like before.
Easy, right?
"Yeah, right :)"
Haha, okay.
We will use this manual testing process from here onwards.
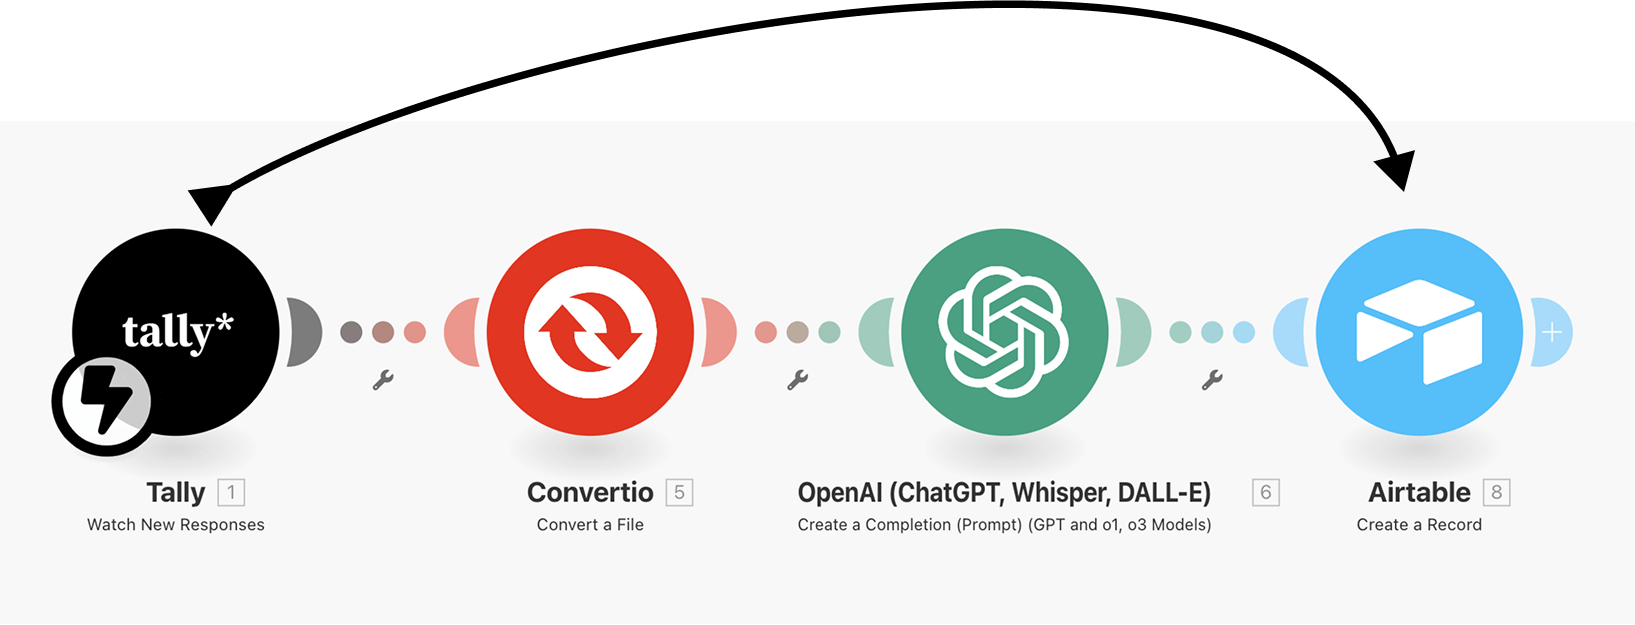
Anyway, the good thing is, our automation is getting triggered as soon as an applicant submits the form.
It is also giving us the details of the applicant in the form of a bundle and this bundle includes the resume doc's URL.
Our next step is to convert the resume doc to into a pure text file.
And we will learn how to do that in the next lesson.