How to rename the scenario, save it and access its “overview” screen

How to rename a scenario in make.com
Currently, our scenario is automatically named as “Integration Google Sheets”.
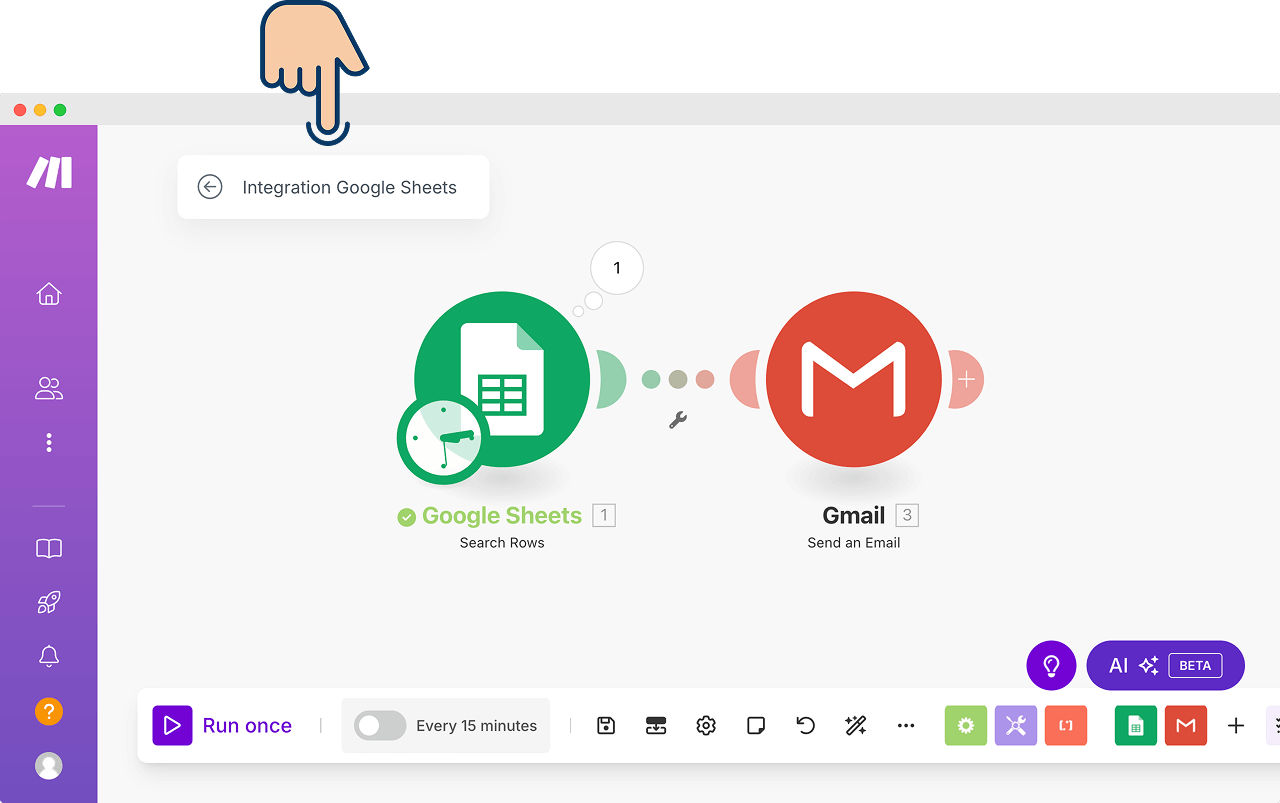
You can see it in the top-left corner of the automation screen.
Initially, it was “New Scenario”, but when we added the “Google Sheets” module to our scenario, Make.com automatically renamed it to “Integration Google Sheets”.
But the current name doesn't immediately convey what the scenario is about, right?
If we have a bunch of scenarios in our dashboard, a generic name would make it impossible for us to recognise the automation we want to pick.
So, we must rename our automation to something like “Quote Generation”.
Actually, let's just do that.
Come on, go ahead and click on the current scenario name:
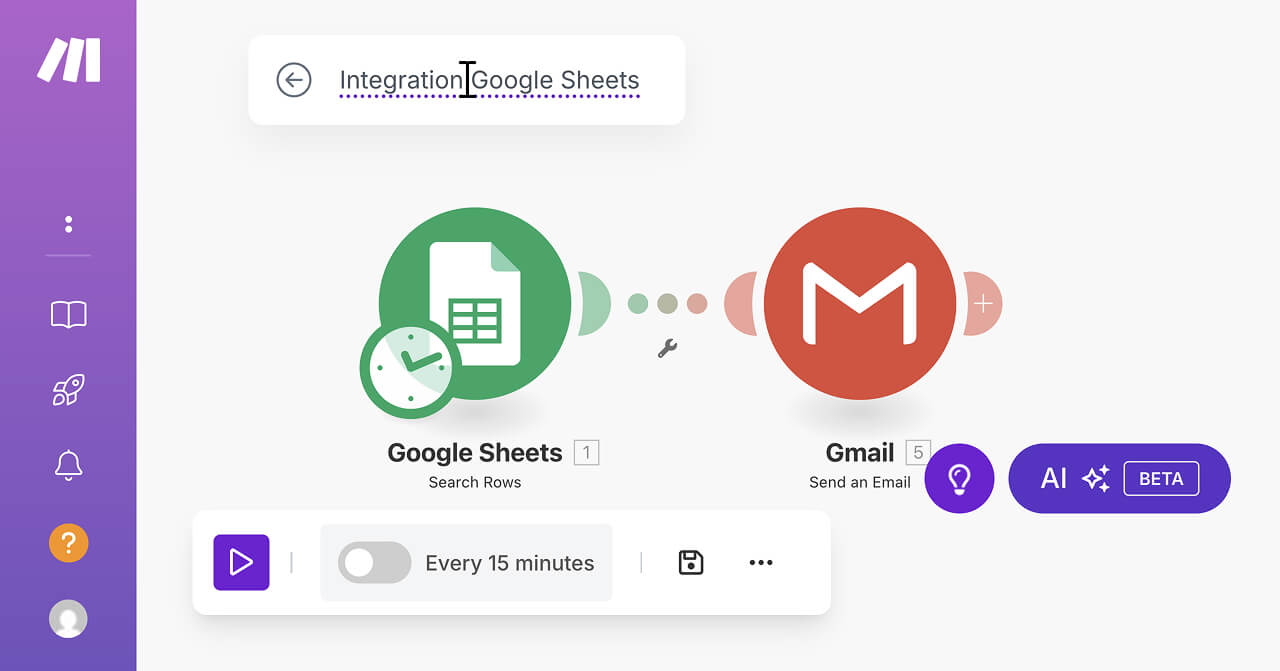
If you notice, a dotted-border appears underneath the name of the scenario. This is the indication that you can now rename it.
Next, remove the existing name by selecting all the text using the CTRL+A on or CMD
- Selecting all the text using CTRL + A on Windows or CMD + A on Mac.
- And hitting the “delete” button on the keyboard
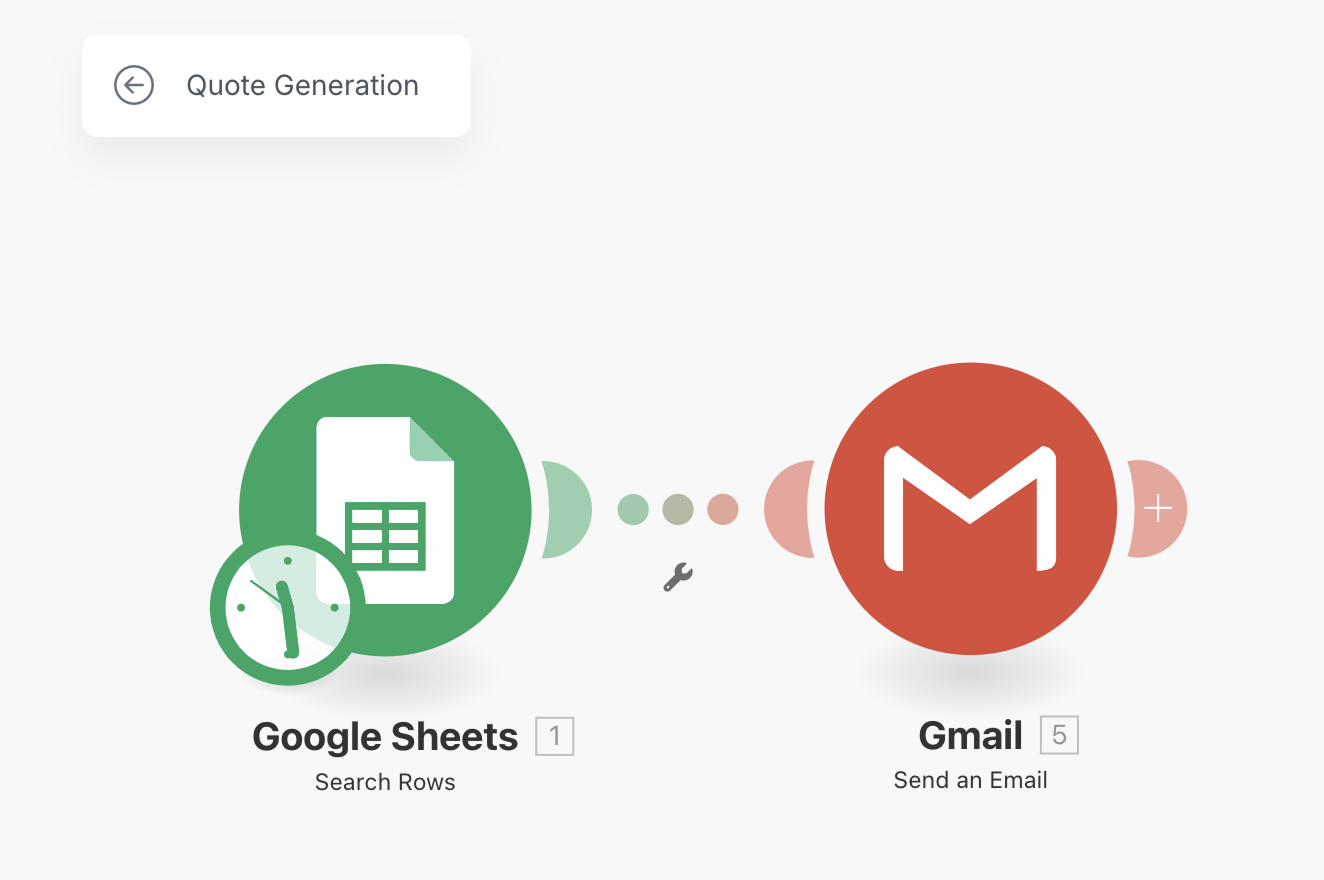
Finally, enter the new name as “Quote Generation”.
Make.com will save the name automatically. There is no “Save” button.
Next…
How to save a scenario in make.com

To save the scenario, click on the “Floppy Disk” icon.
If there aren't problems like unsaved changes or errors, the scenario will get saved right away.
But if there is a problem, you'll end-up receiving a warning dialog box before saving the scenario:
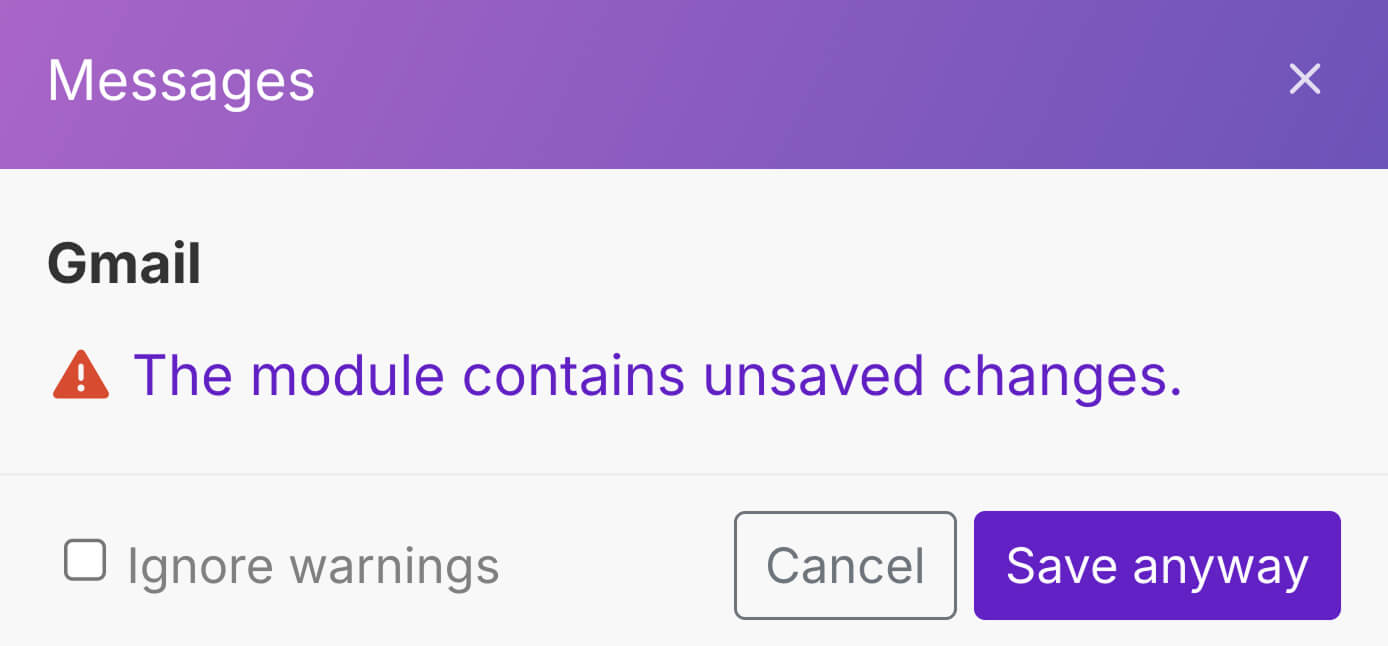
Whenever you see a warning message like this, I would like you to fix the issues and then save the scenario.
How to access the “Overview” screen of a scenario in make.com
Once a scenario is created and saved, Make.com will automatically create an “Overview” screen for the scenario.
You can access it by clicking on the “back arrow” icon located right beside the scenario name:
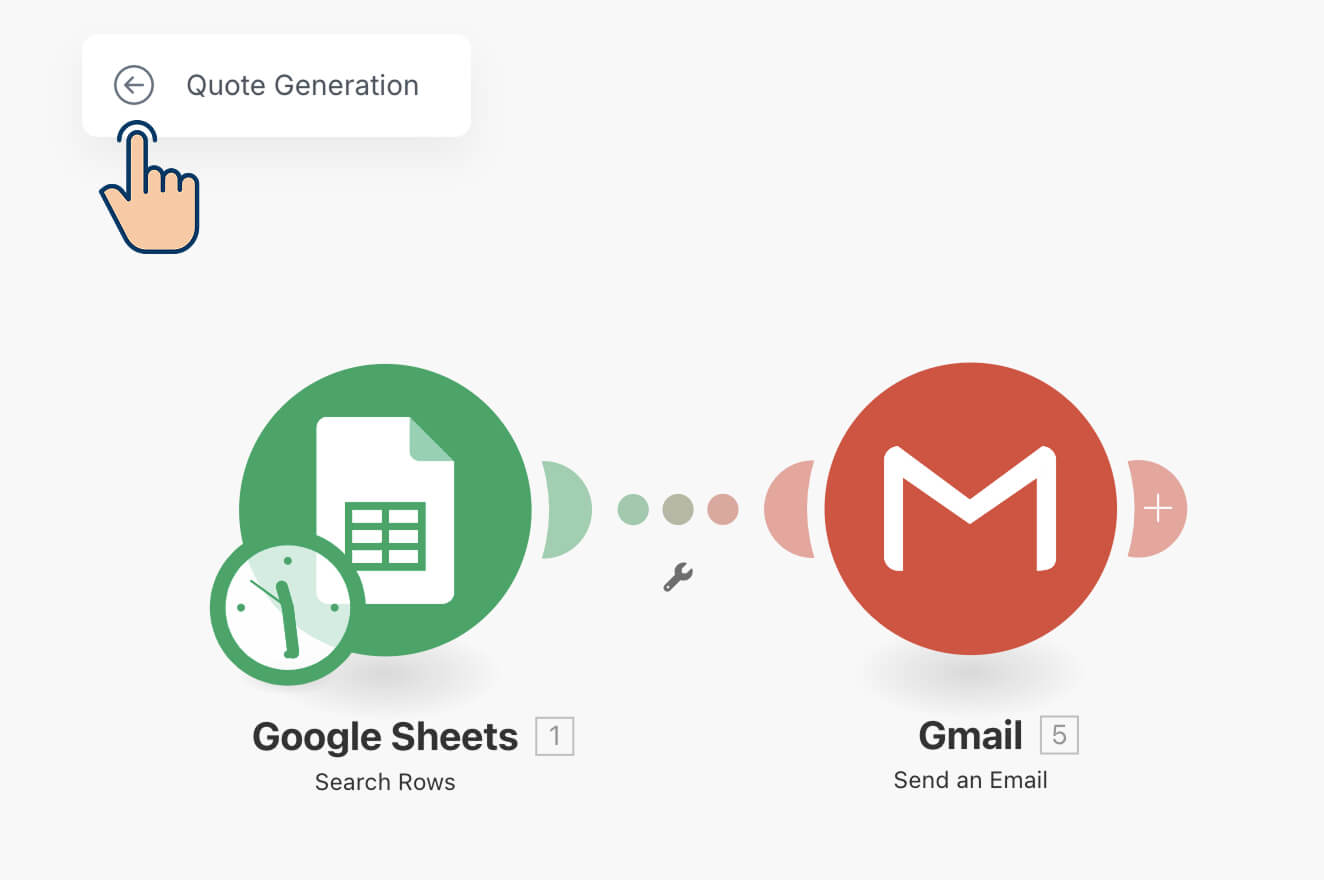
If you click on it, you'll be taken to the “Overview” screen of the scenario.

The “Overview” screen is divided into three tabs:
- Diagram
- History
- Incomplete Executions.
1) The “Diagram” tab of the scenario contains:
- A glimpse of automation pipeline
- A graph showcasing when the scenario got executed previously
- How many operations consumed
- How much data consumed
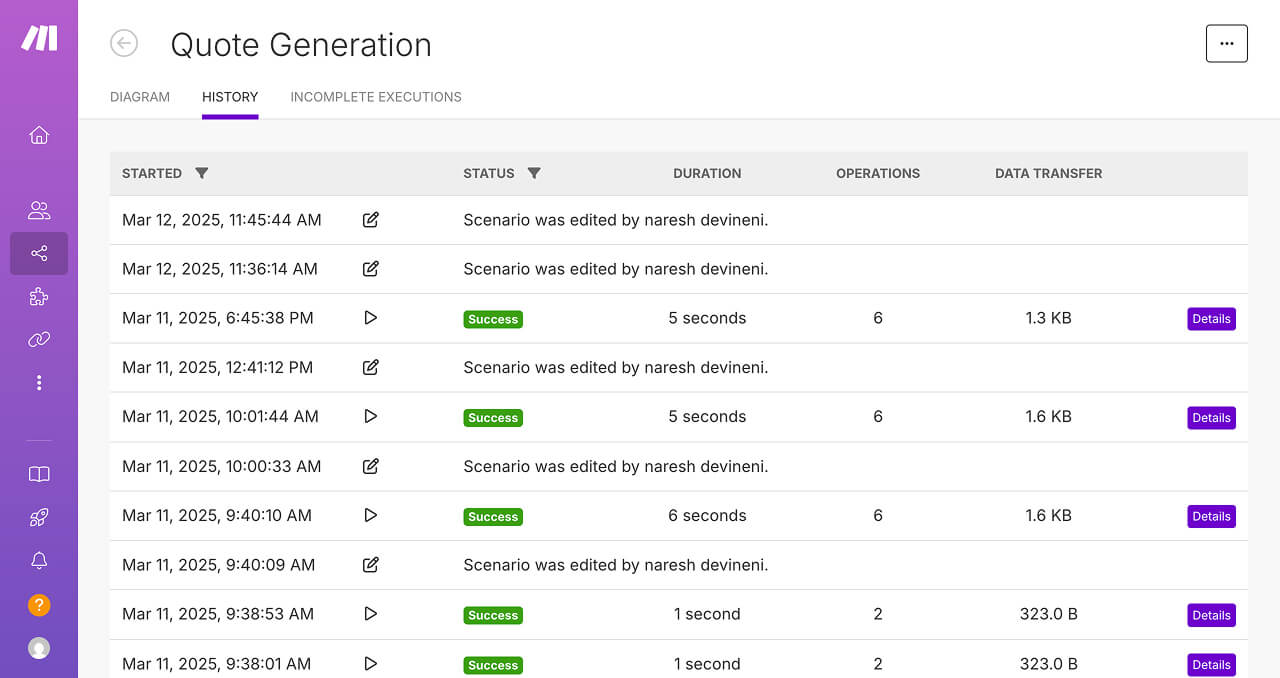
2) The “History” tab contains details about the activity we performed in the scenario, such as:
- When the scenario was last edited
- Success status of the scenario when it was previously run
- How many operations are consumed each time we ran the scenario
3) The “Incomplete Executions” tab contains details about incomplete executions of the scenario — more on this in a later lesson when we discuss error handling and other advanced settings of a scenario.
The “Overview” screen will come in extremely handy when we are debugging the automations.
Anyway, that's how you rename, save and access the “Overview” screen of the scenario.
In the next lesson, we will discuss the Data Mapping Panel.
We didn't find much time to discuss it in the previous lesson.
See you in the next lesson.