How to create a new scenario (automation) in make.com
Inside Make.com, an automation is called as a “Scenario”.
So, from here onwards, I will refer to Make.com automations as “Scenarios”.
We will wrap up the “Getting around Make.com dashboard” lessons by learning how to create a new scenario.
How to create a new Make.com scenario
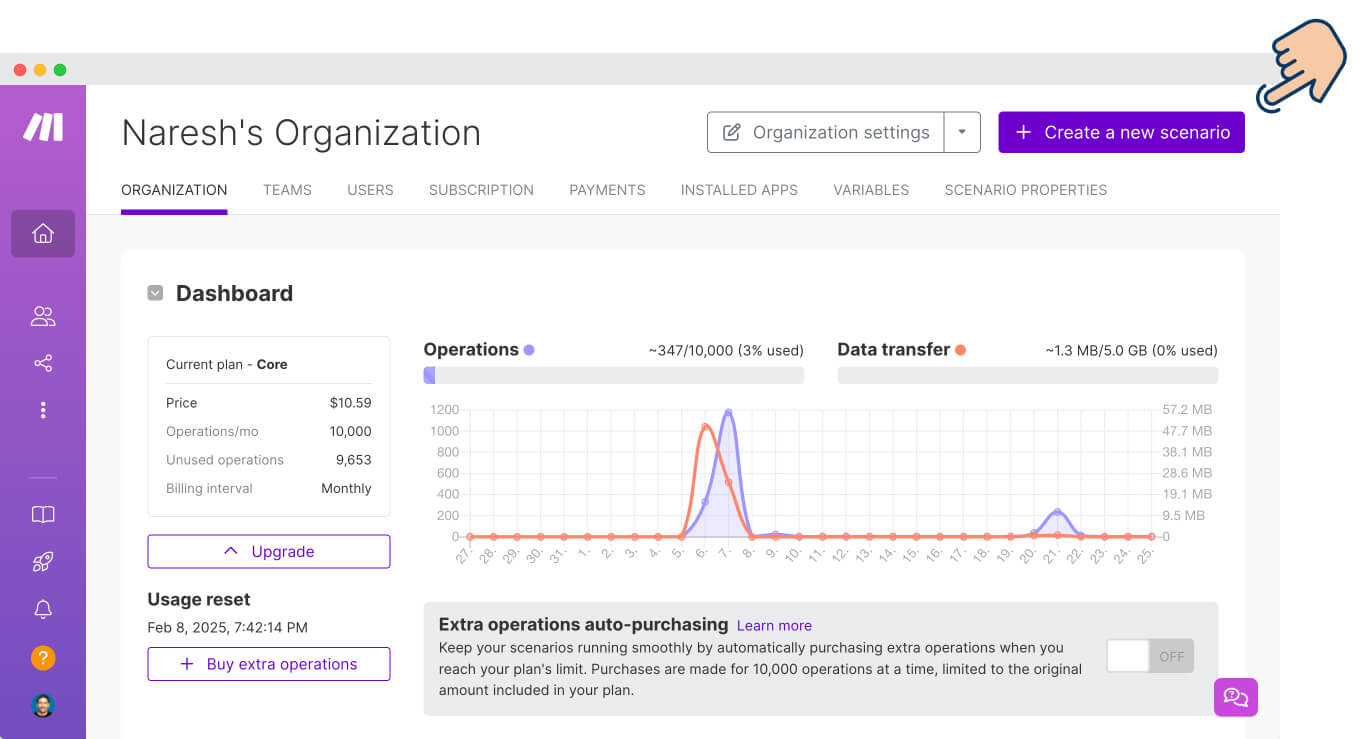
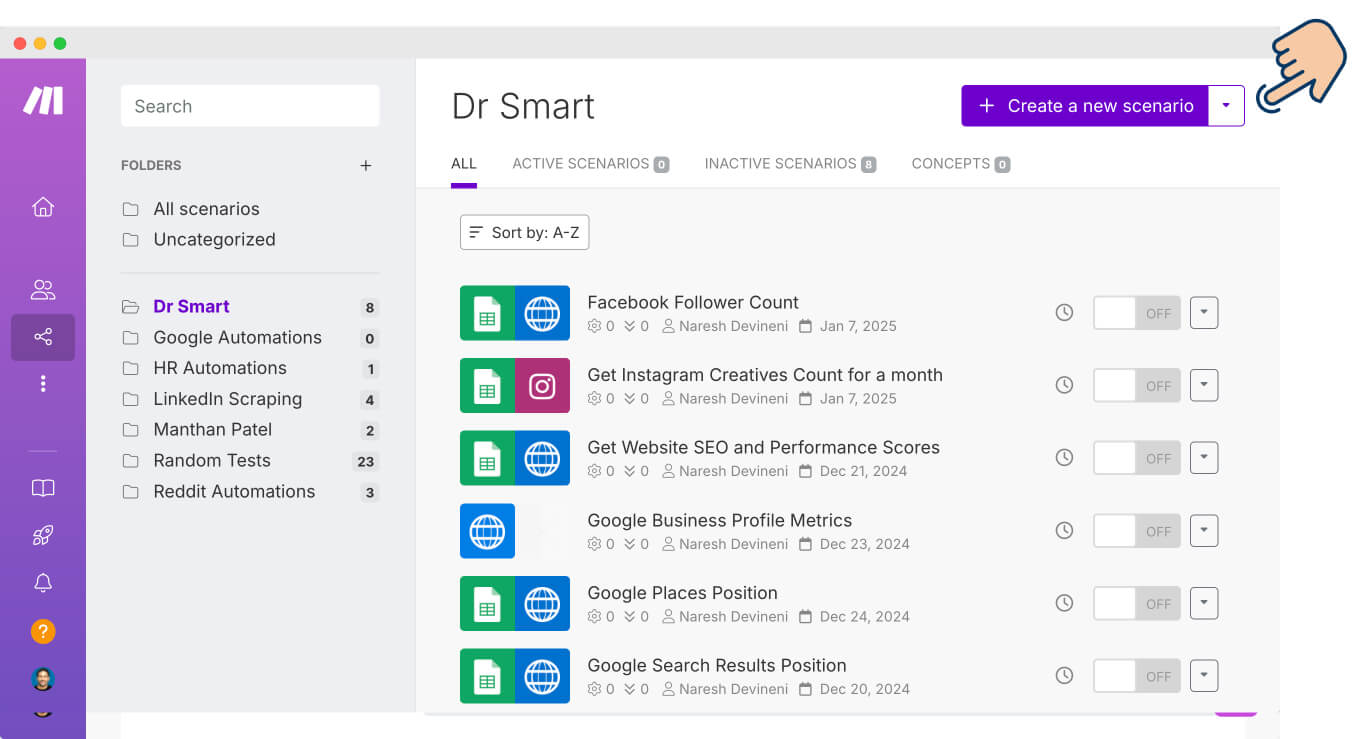
To achieve it, all you have to do is click on the “Create a new scenario” button.
Make.com makes this button accessible almost on every screen of its dashboard.
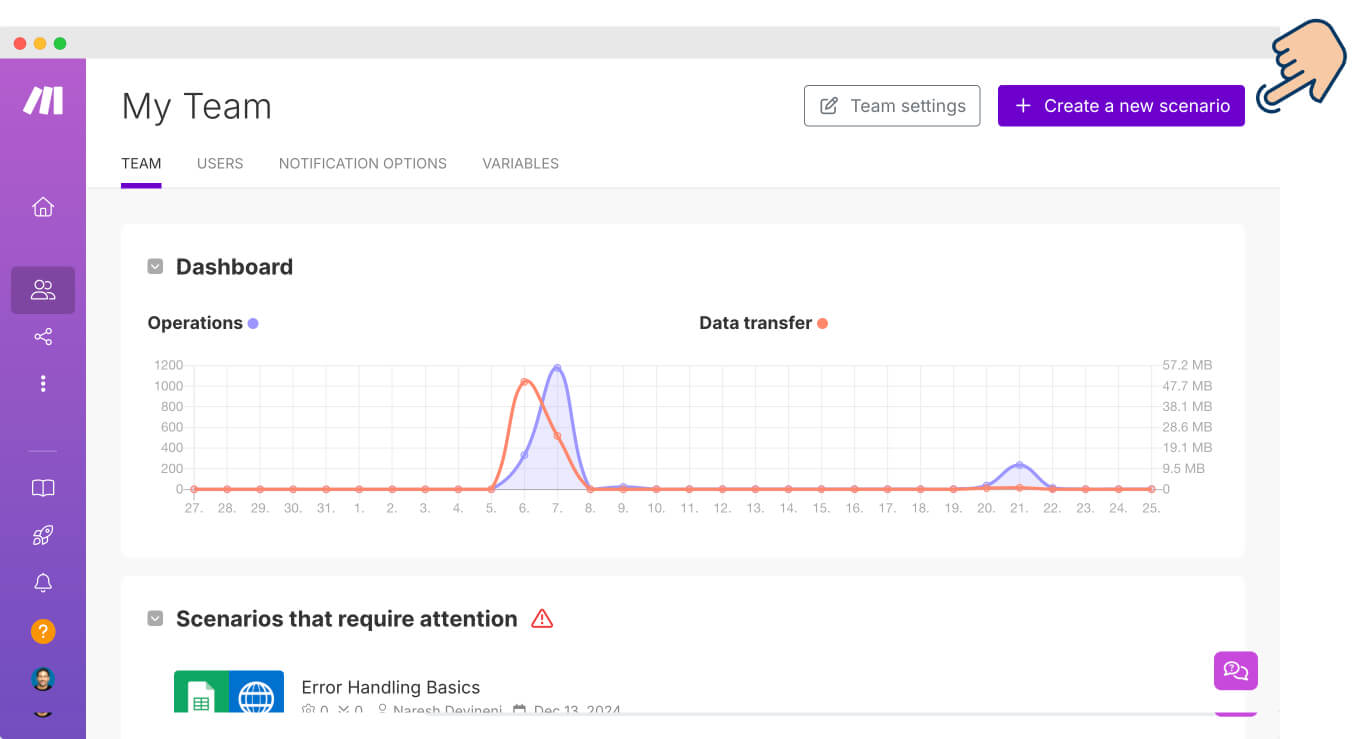
You can find the “Create a new scenario” button in the top-right corner of the following screens:
1) The organization's home screen
2) Scenarios screen
3) Team's screen
Clicking any of these buttons will take you to the “New scenario” screen:
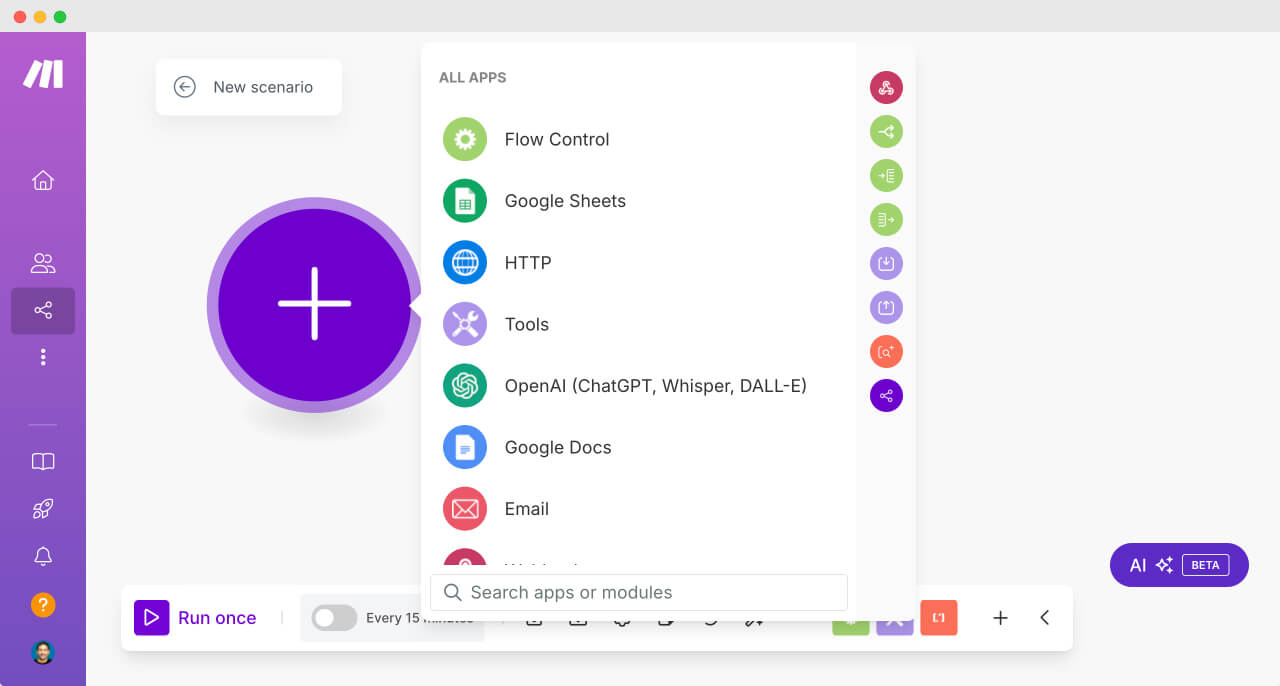
And this is where you create a task automation.
Anyway, we are now finally here.
A new yet blank automation screen is in front of us and staring at us.
What's next?
“Creating Automations. Yay! I am excited”.
Haha, not so fast.
Creating an automation is not purely technical.
A lot of strategic thinking and decision-making goes into it.
So, we must first understand how to think when creating automations.
Only then we can create time-saving automations.
So, in the next module, we learn Task Automation 101 and then come back to the “New Scenario” screen to create your first reliable automation.
Sound's good?
See you in the next module!