How to copy a module in Make.com and attach it to a path


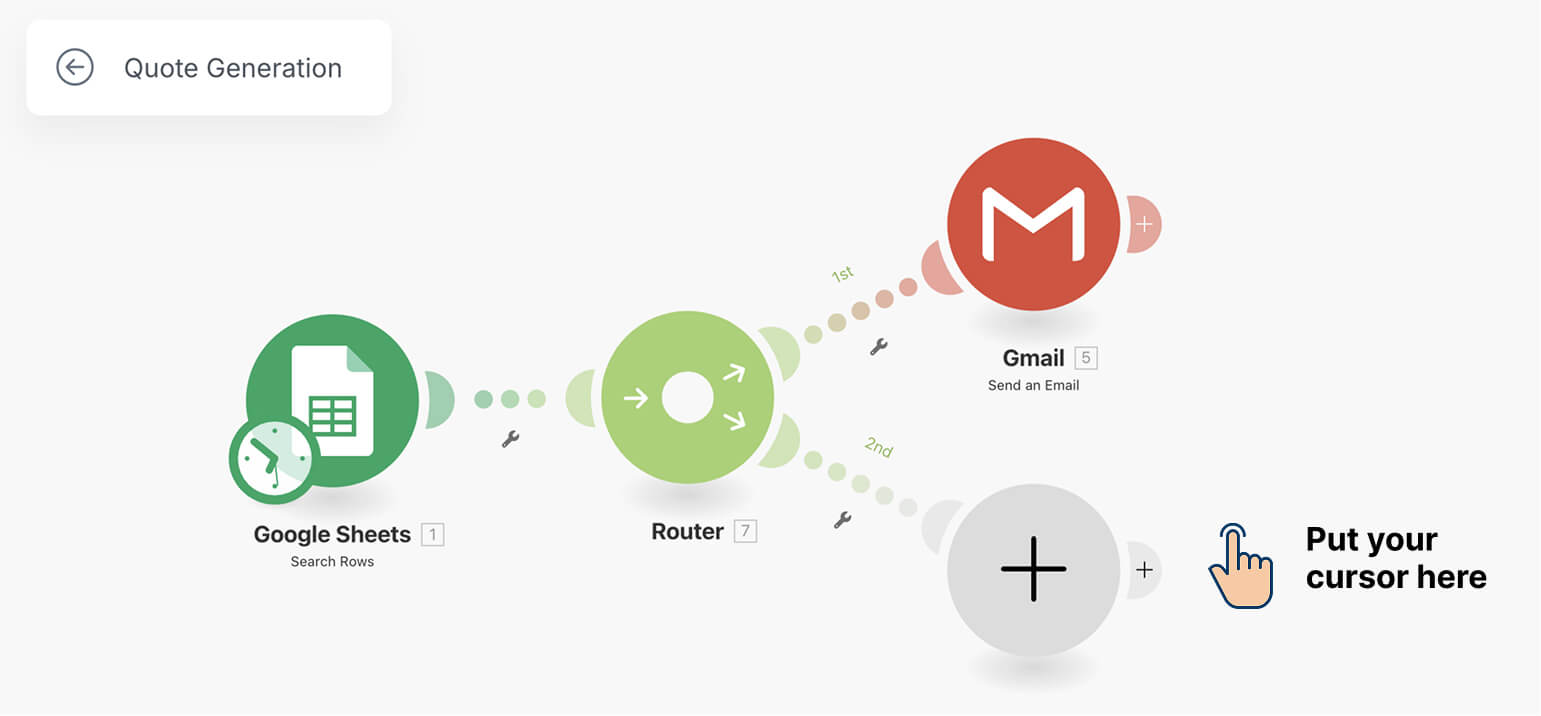
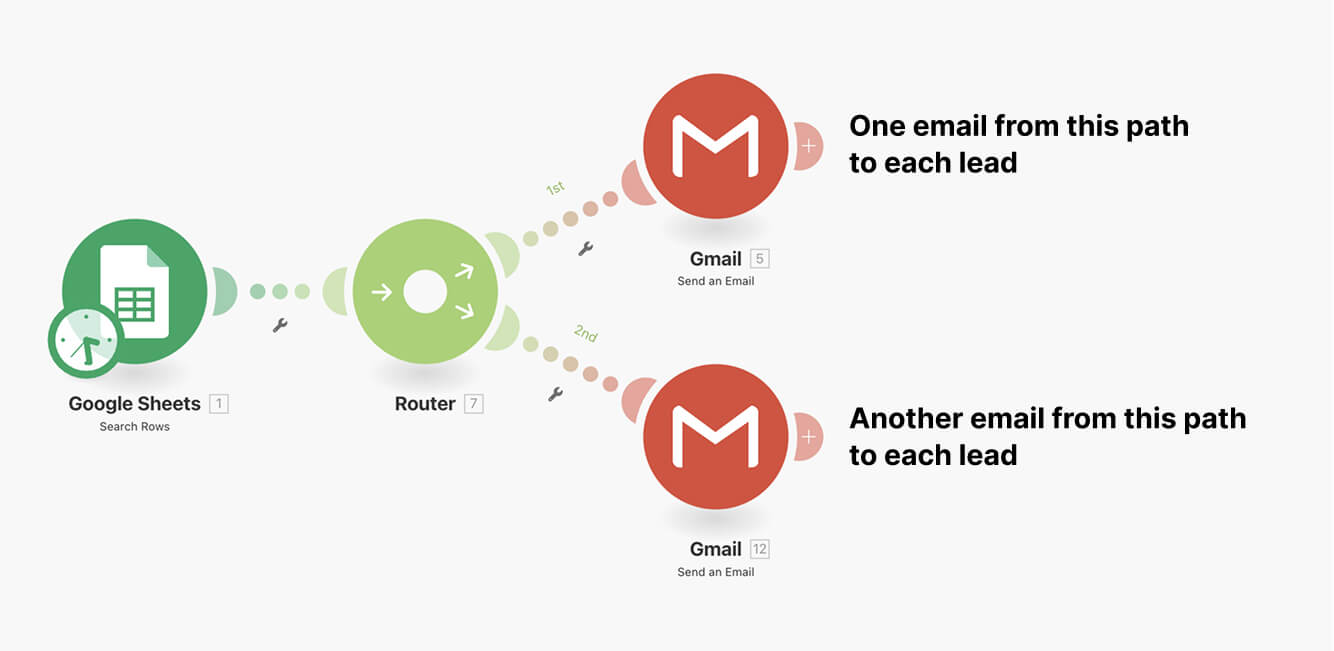
Here is how the automation looks currently:

Our next steps are:
- Copy the “Send an Email” module
- Attach it to the second path of the router
- Finally, change the content template inside it and save it
Step 1: Copy the “Send an Email” module
Copying or cloning a module in make.com will preserve the settings and content of the original module.
And we can tweak the settings of the copied module to fit our needs.
To copy the “Send an Email” module, just right-click on it and then select “Copy module” from the menu:

Next:
1) Put your cursor next to the “Add a module” button on the second path of the router
2) Right-click and select the “Paste” option
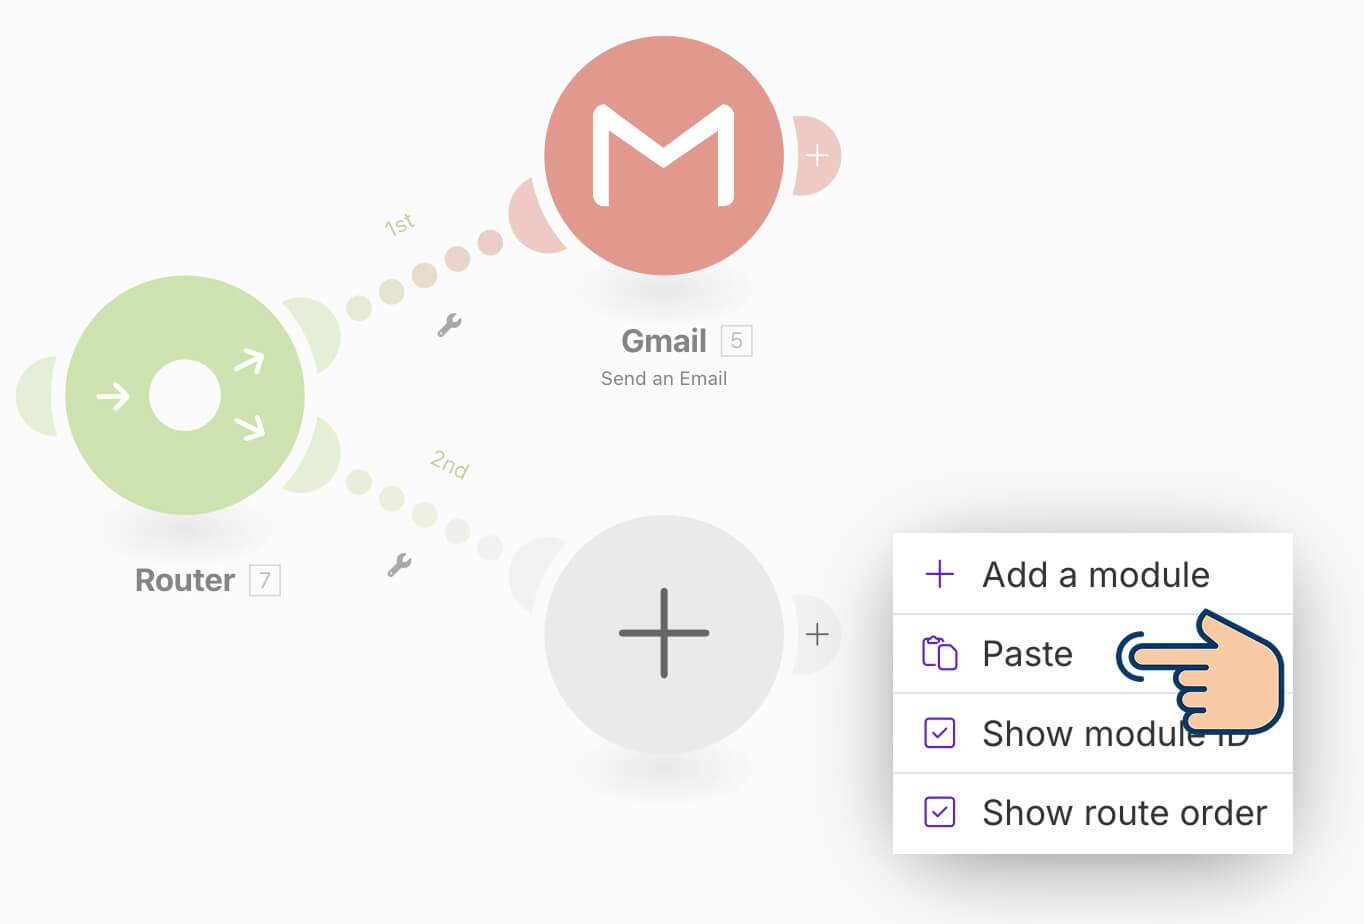
As soon as you select the “Paste” option, an exact copy of the original “Send an Email” module is pasted next to the “Add a module” button:
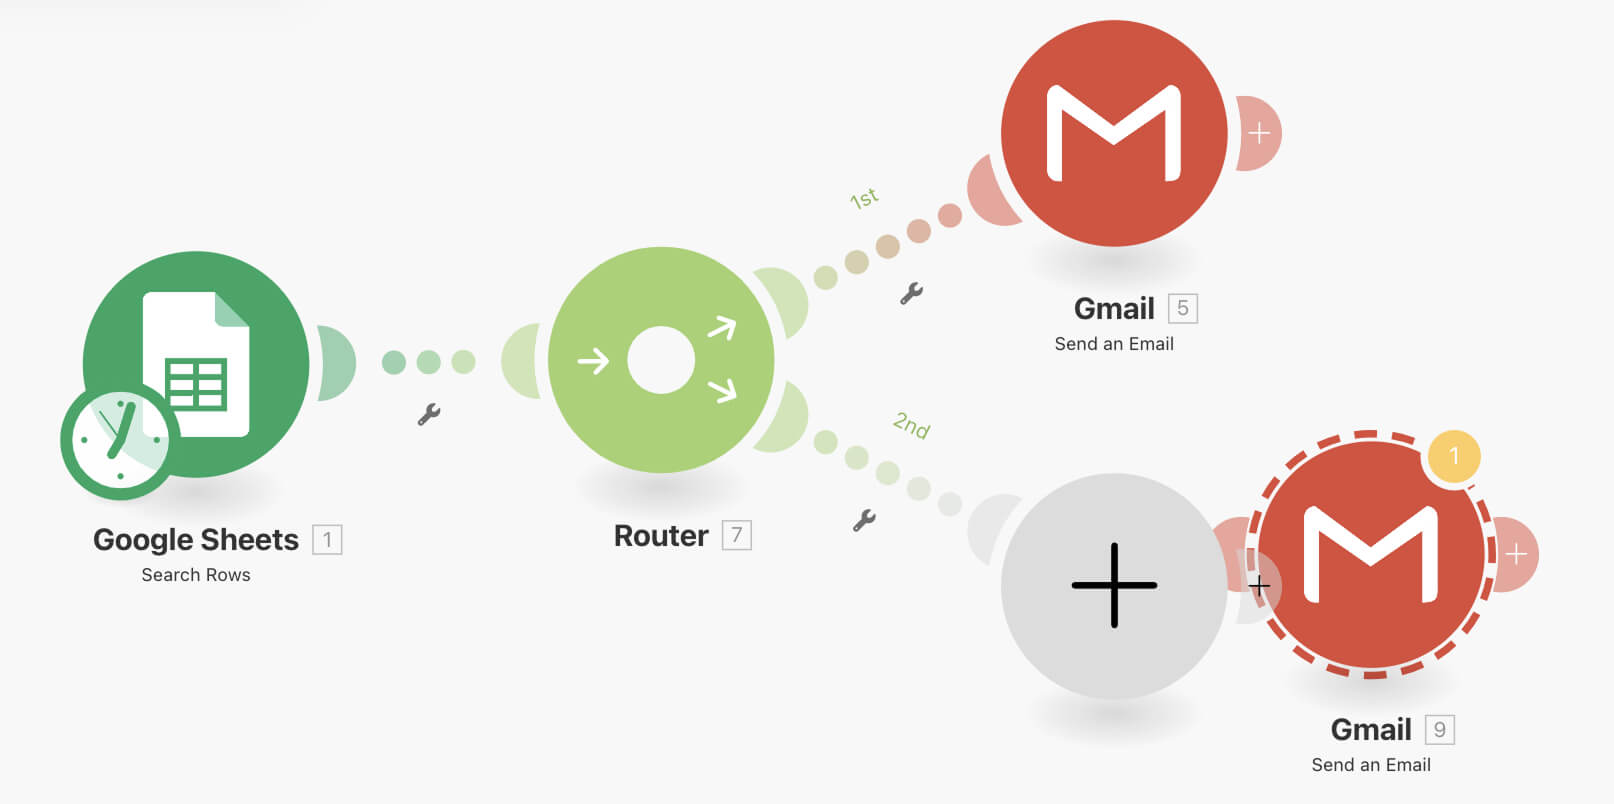
Step 2: Attach the copied module to the second path of the router
The copied module does not automatically gets connected to the second path of the router.
We have to manually connect it.
So, drag the copied “Send an Email” module to the right side of the “Add a module” button until you see the connecting line between them:
That's all.
We have now connected the copied “Send an Email” module to the second path of the router.
We need to perform a small clean up, though.
The “Add a module” button is not required any more. We won't be adding any module to replace it.
So, we should just delete it.
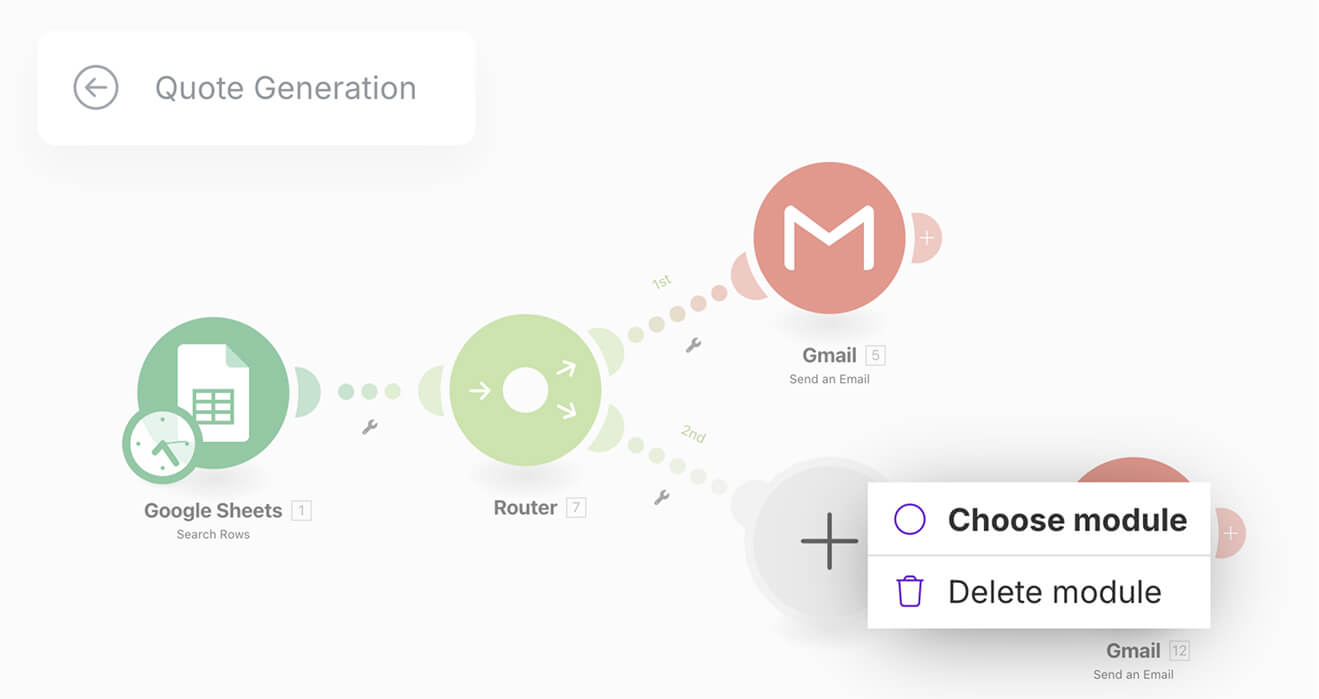
To do so, right-click on it and select the “Delete module” button:
And as soon as you delete it, here is how the scenario looks like:

Modules look a bit misaligned, right?
You can easily fix the alignment by manually dragging the misaligned module like this:
We can also do it automatically by using the “Auto-align” button located inside the bottom options bar:

I will talk about the “Auto-align” button in a separate lesson dedicated to it.
For now, let's get back to the task at hand.
So far:
- We have copied the “Send an email” module
- And attached it to the second path of the router.
Step 3: Change the content template inside the copied module and save it
We have created a second path inside our automation for a reason.
We want to use a different content template for troubleshooting related services.
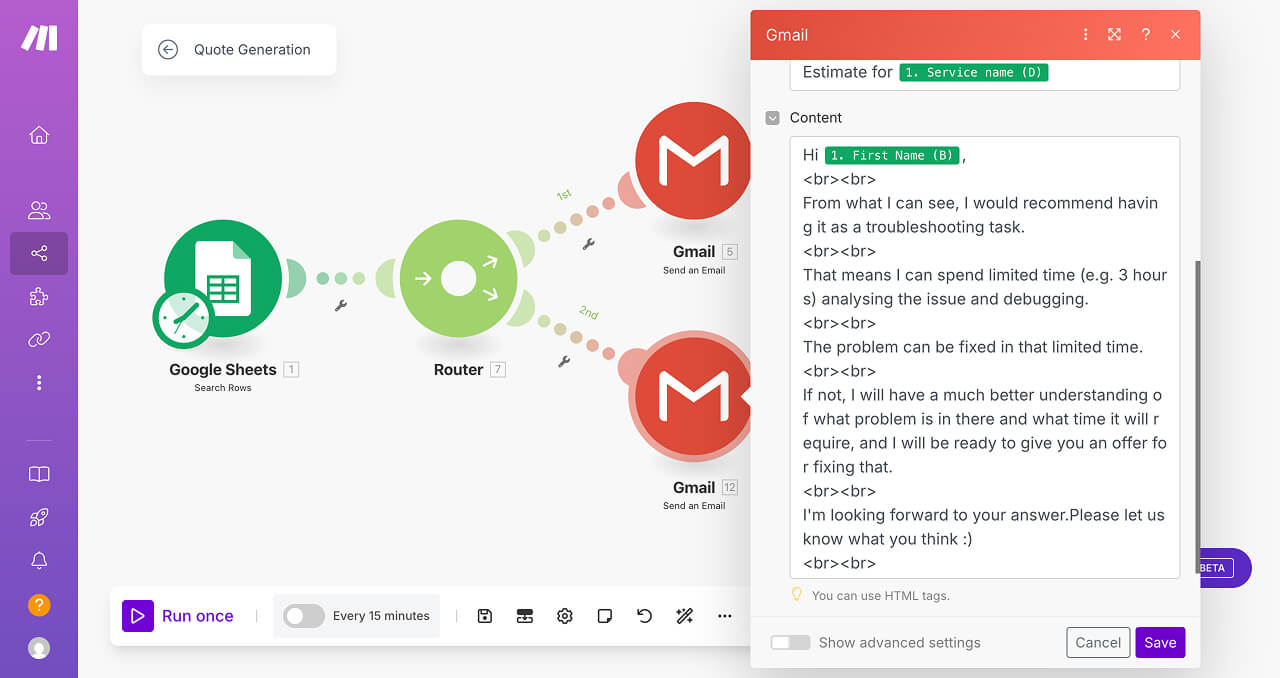
To achieve it, click on the newly copied “Send an email” module from the second path and update its “Content” field with the following template:
Hi [First Name],
<br><br>
From what I can see, I would recommend having it as a troubleshooting task.
<br><br>
That means I can spend limited time (e.g. 3 hours) analysing the issue and debugging.
<br><br>
The problem can be fixed in that limited time.
<br><br>
If not, I will have a much better understanding of what problem is in there and what time it will require, and I will be ready to give you an offer for fixing that.
<br><br>
I'm looking forward to your answer.Please let us know what you think :)
<br><br>
Best regards,<br>
Naresh Devineni<br>
Founder, UsableWP
Next, replace the first name (Andy) with the “First Name” key from the Data Mapping Panel:
After updating the email template, click the “Save” button in the “Send an Email” module to apply the changes.
Finally, click on the “Floppy Disk” icon to save the entire scenario.
At this stage, our automation is set up to handle different templates.
But there is one big problem.
The Issue: Emails Going to Everyone
Right now, our automation doesn’t know which template to use for which lead.
That means when we run it, every lead will receive both emails:
- One email from the first template (first path of the router)
- Another email from the second template (second path of the router)
In technical words, modules of each path of the router will get executed for all the bundles generated by “Google Sheets” modules.
We do not want that, right?
The Fix: Setting up filters to route based on a service type
To ensure each lead gets only the right email:
- The first path of the router should send emails only to leads with specific service types.
- The second path should handle leads assigned to a different set of service types.
But how do we do that?
“Filters again?”
Haha, yes.
We will talk about them in the next lesson.