Getting around the Make.com account dashboard

You are probably learning automations to create them for your clients.
So, it is important that you understand how to use the make.com dashboard properly so that you can make your life and your client's life easy when creating or sharing automations.
The Onboarding
As soon as your account creation is complete, Make.com might welcome you with a few on-boarding questions.
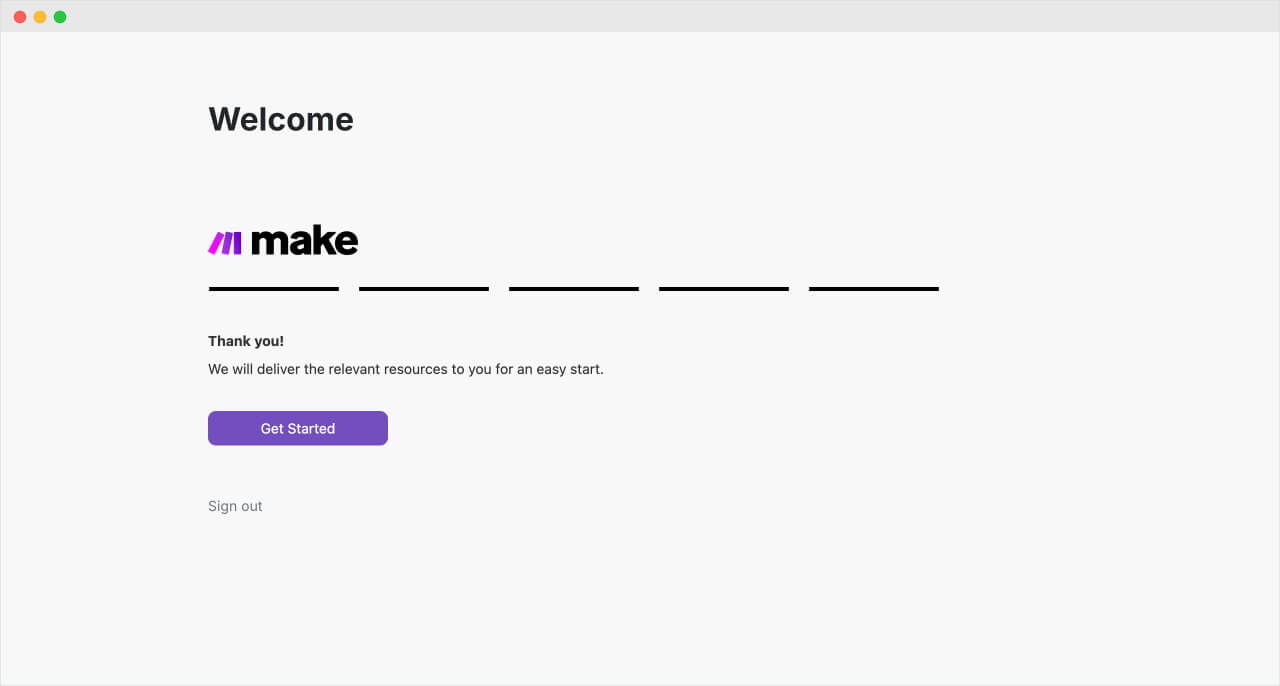

If yes, answer them.
After that, you'll automatically land on your account's home screen called “My Organization”:
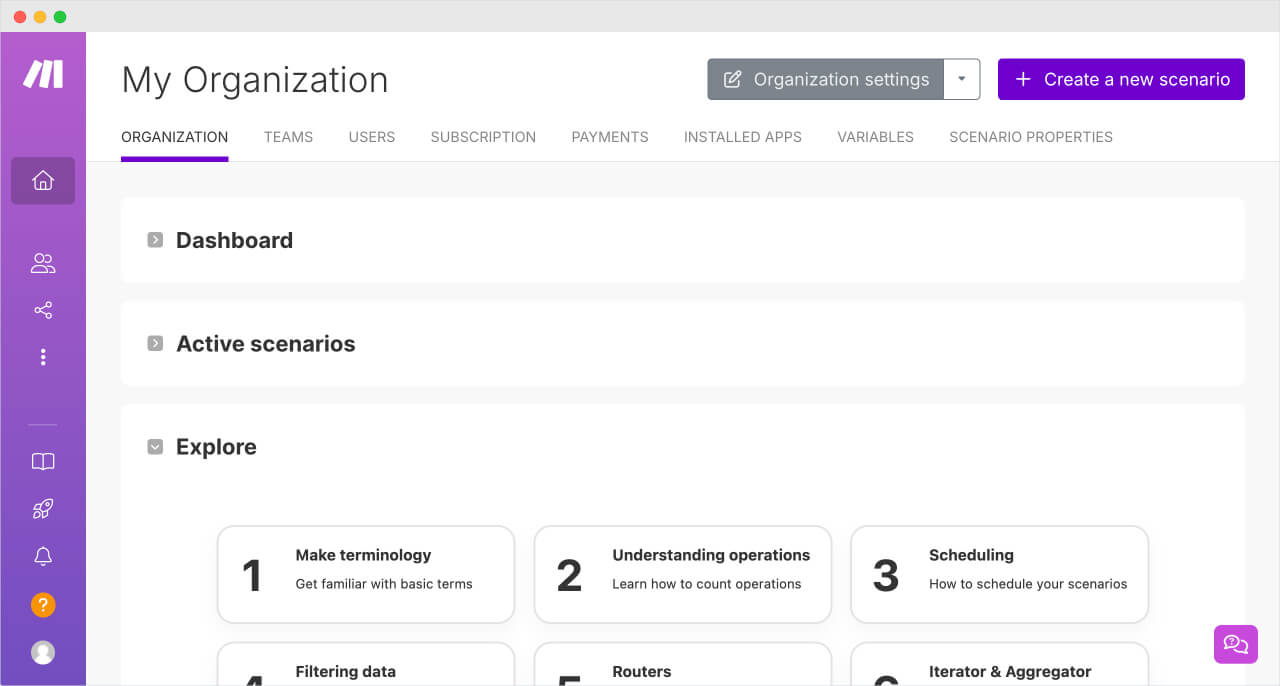
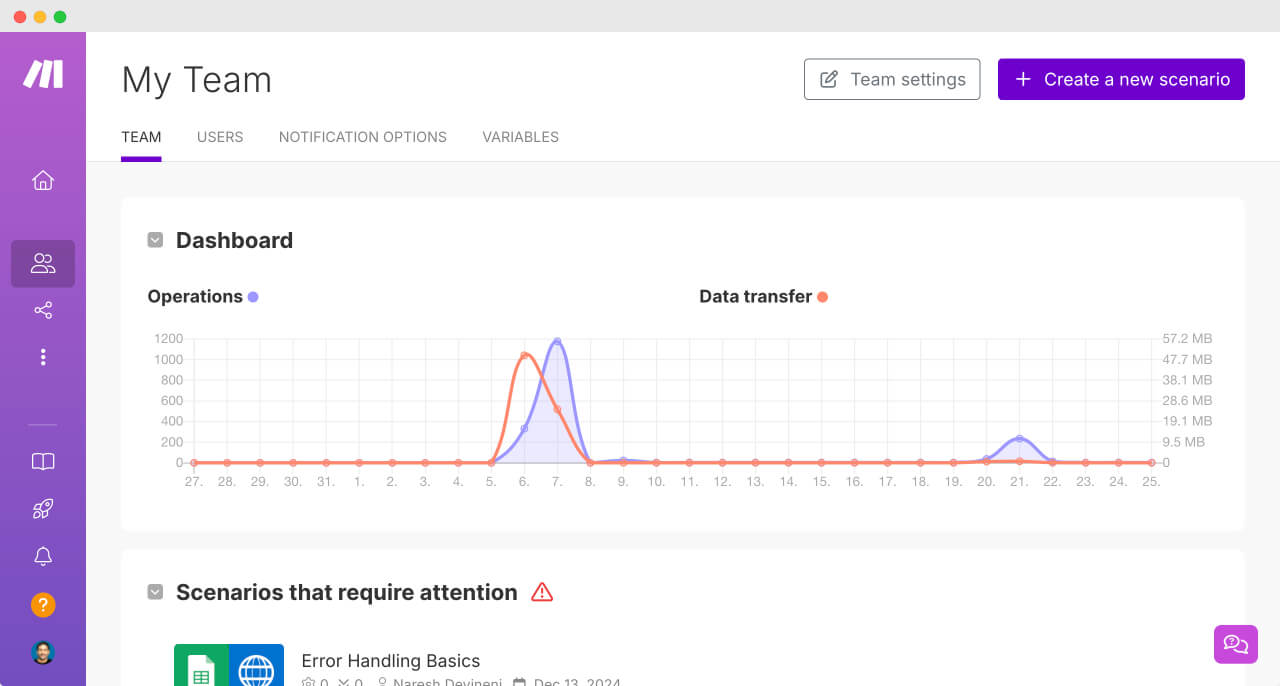
Getting a summary of your account
On the home screen, important details of your account are found inside the “Dashboard” box.
The box is initially closed. Click on it to get an overview of your account's current state:
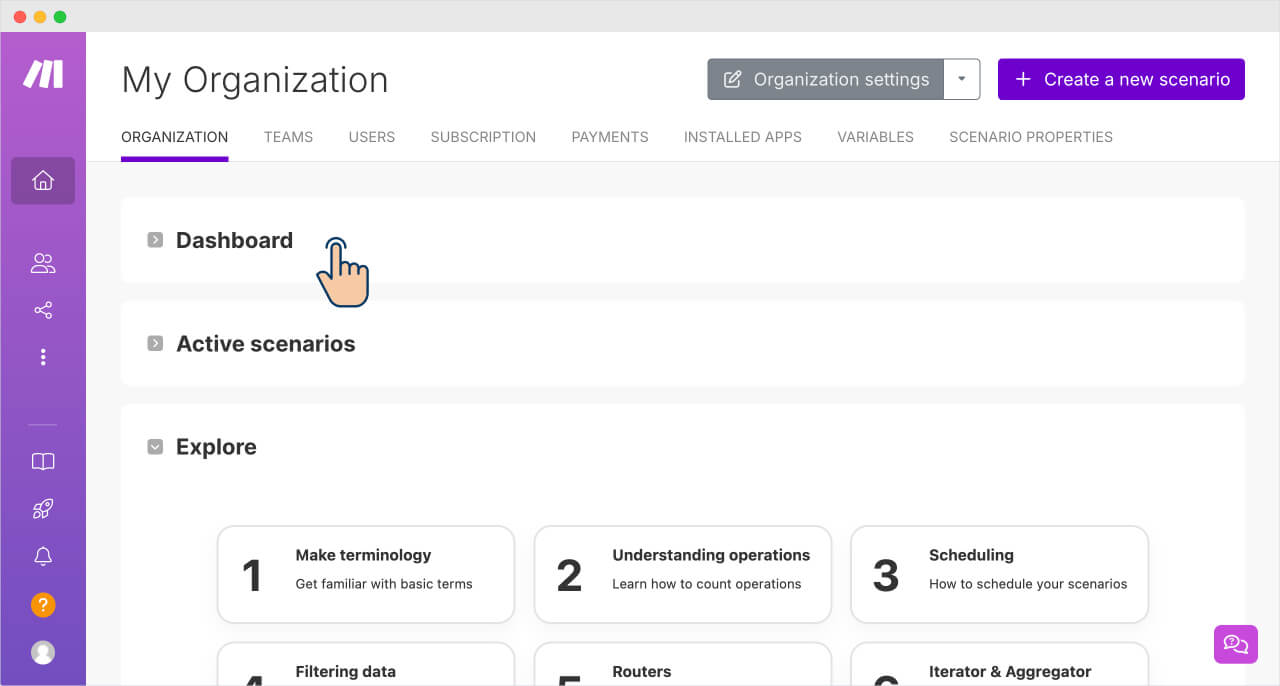
For example, here is an overview of my account:
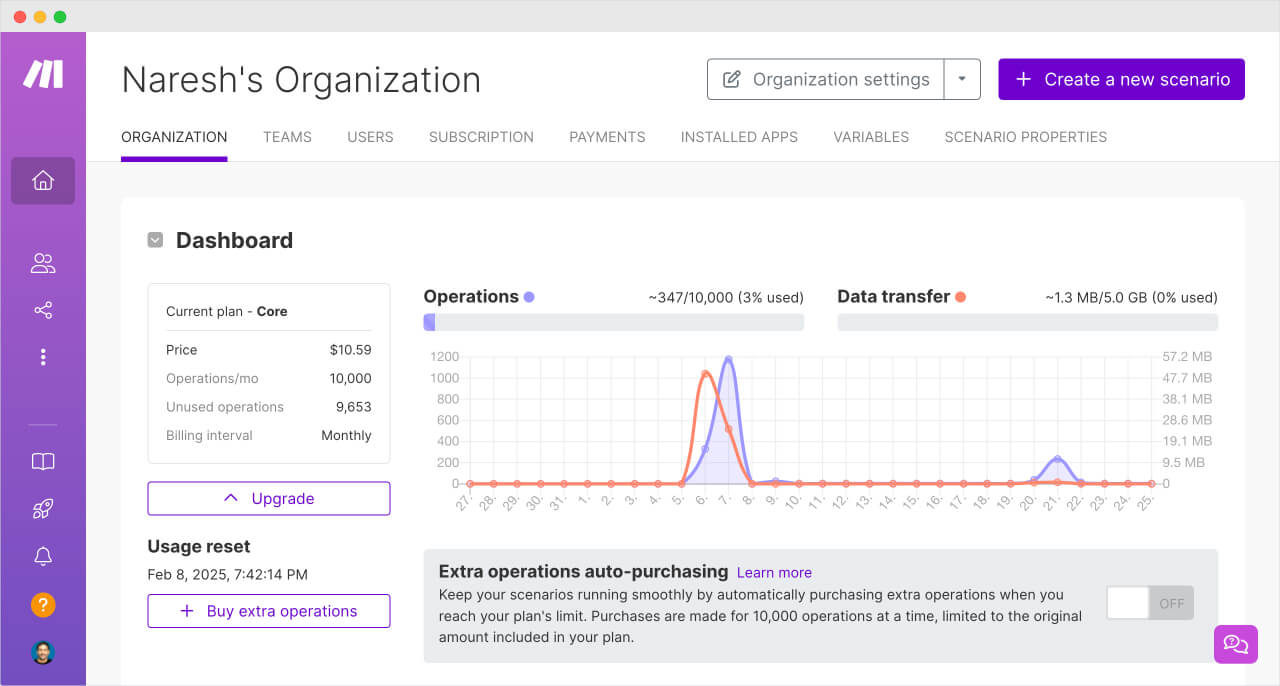
As you can see, it contains information like:
- Pricing plan of the account
- How many operations utilised so far
- Option to upgrade your account or buy extra operations
Next...
The parts of the Make.com dashboard
The Dashboard is divided into three main parts.
- Main navigation menu on the left
- Content of the active screen
- Menu of the active screen (if applicable)
Main navigation menu on the left
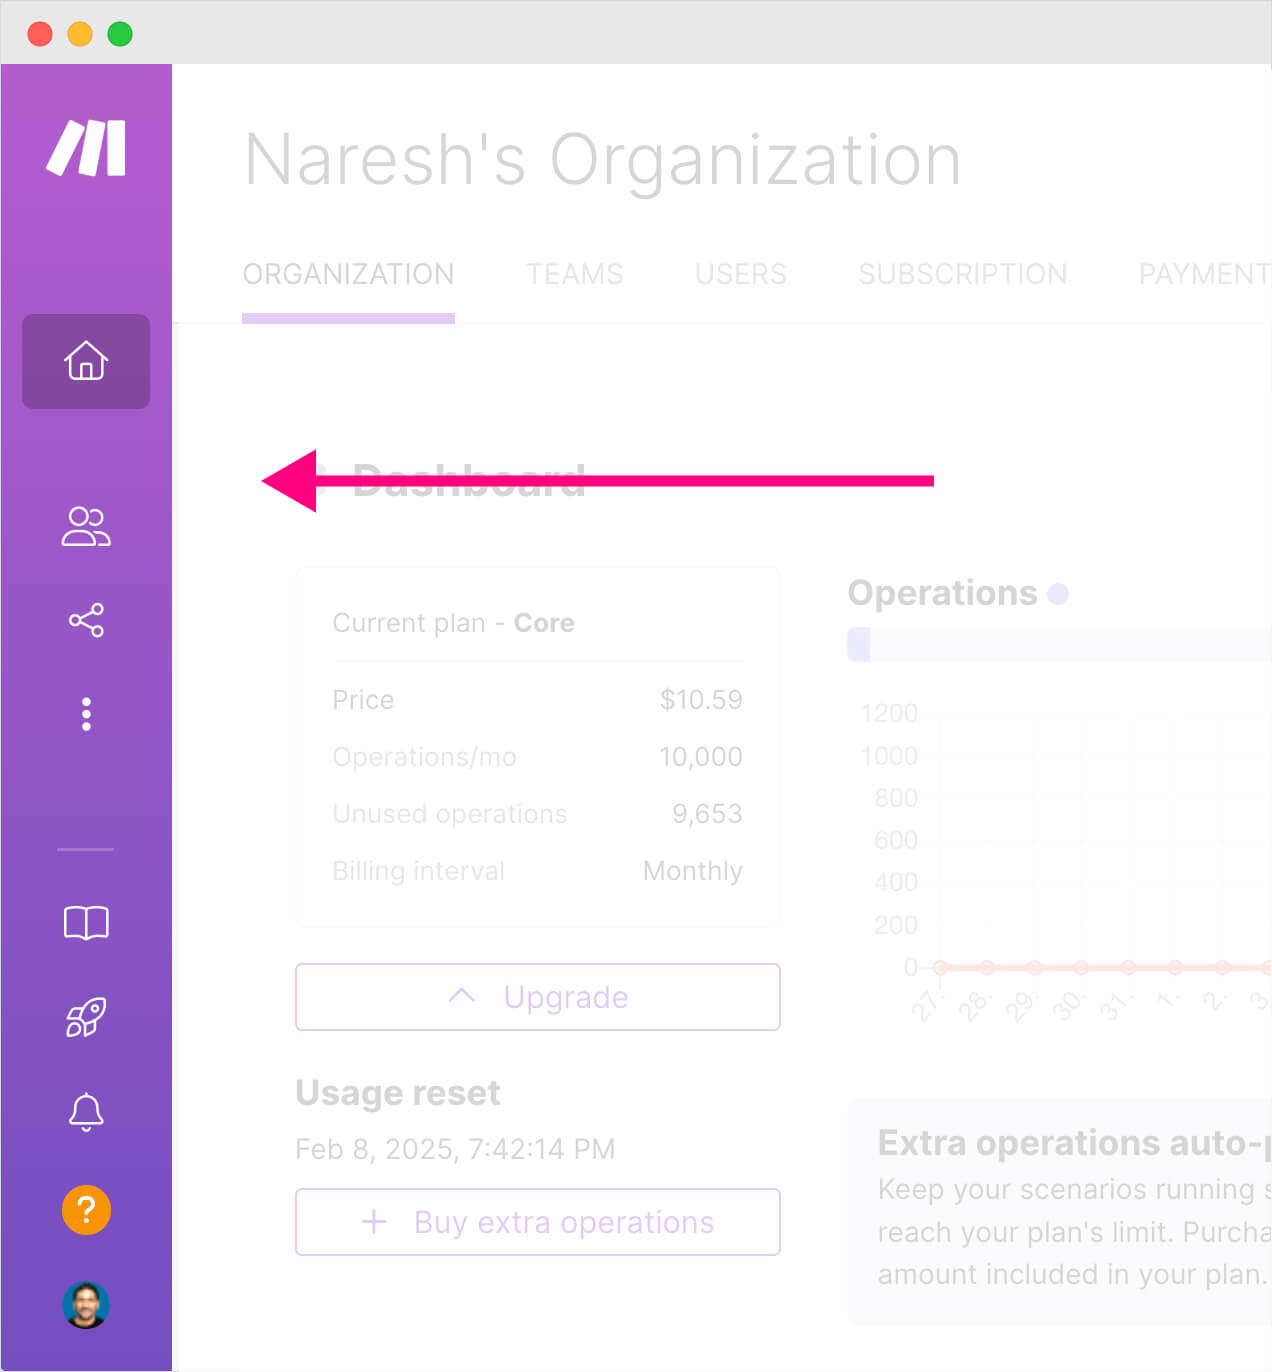
If you put your cursor anywhere on the main menu, it expands:
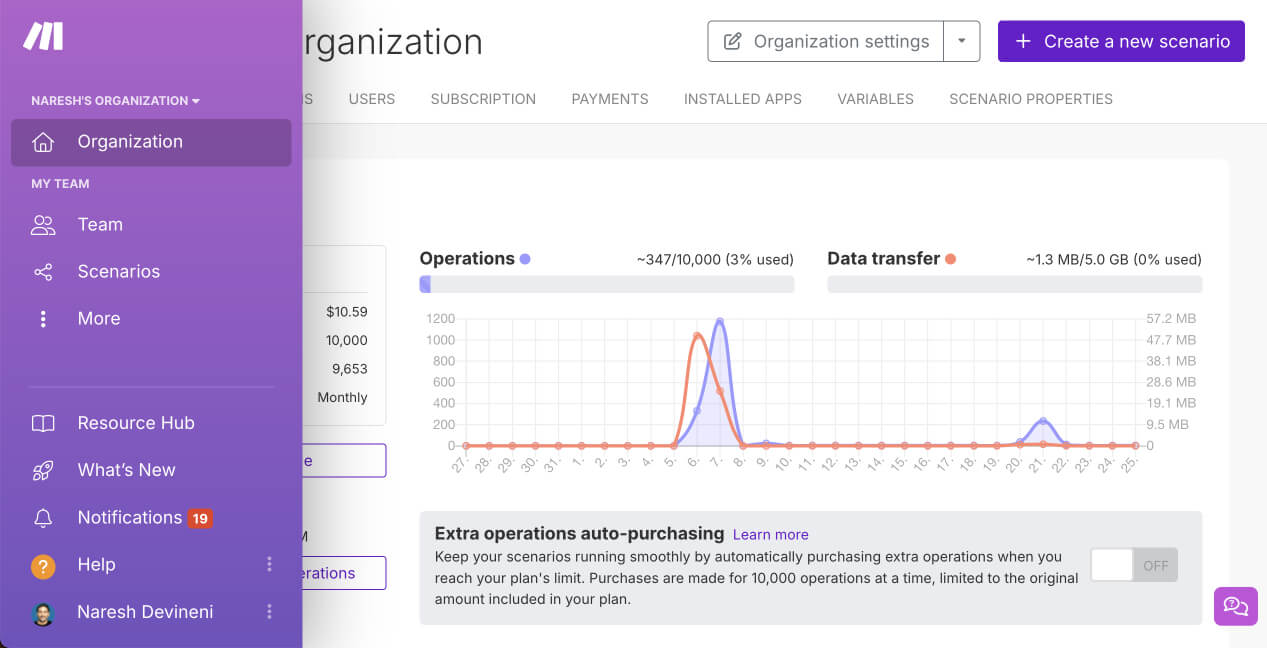
And as you can see, the “Organization” page is currently active. It is also called as the home screen of your make.com account.
We will understand the concept of “Organization” in an upcoming lesson.
Anyway, it is from this main menu that you can access:
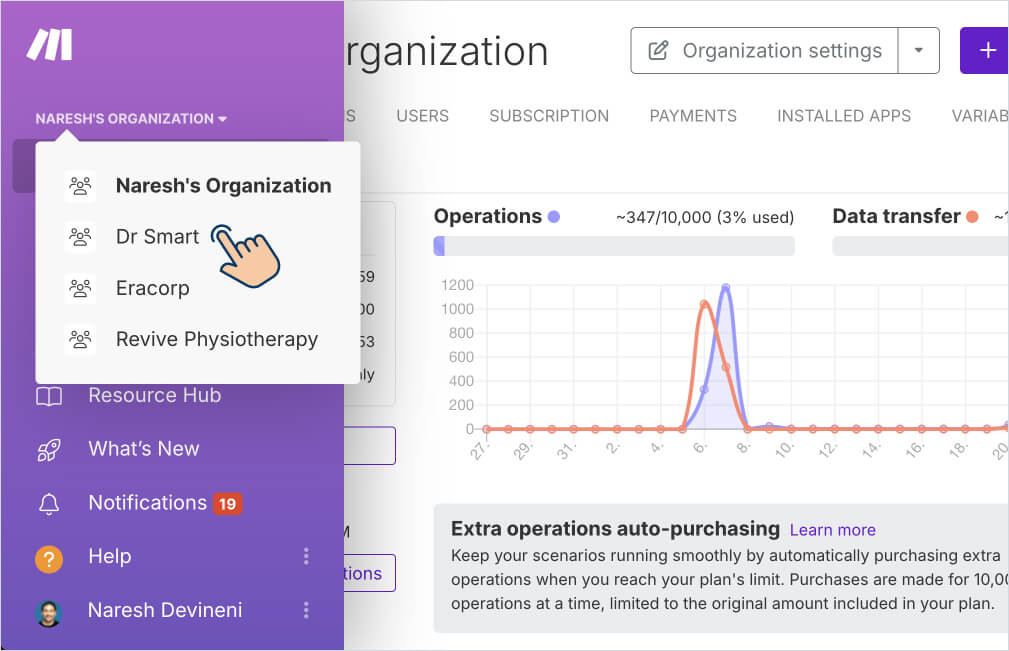
1) Organization Switcher — More on this later
2) Team — It acts as a dashboard for managing your organization's team.
3) Scenarios — Screen for creating and managing your automations
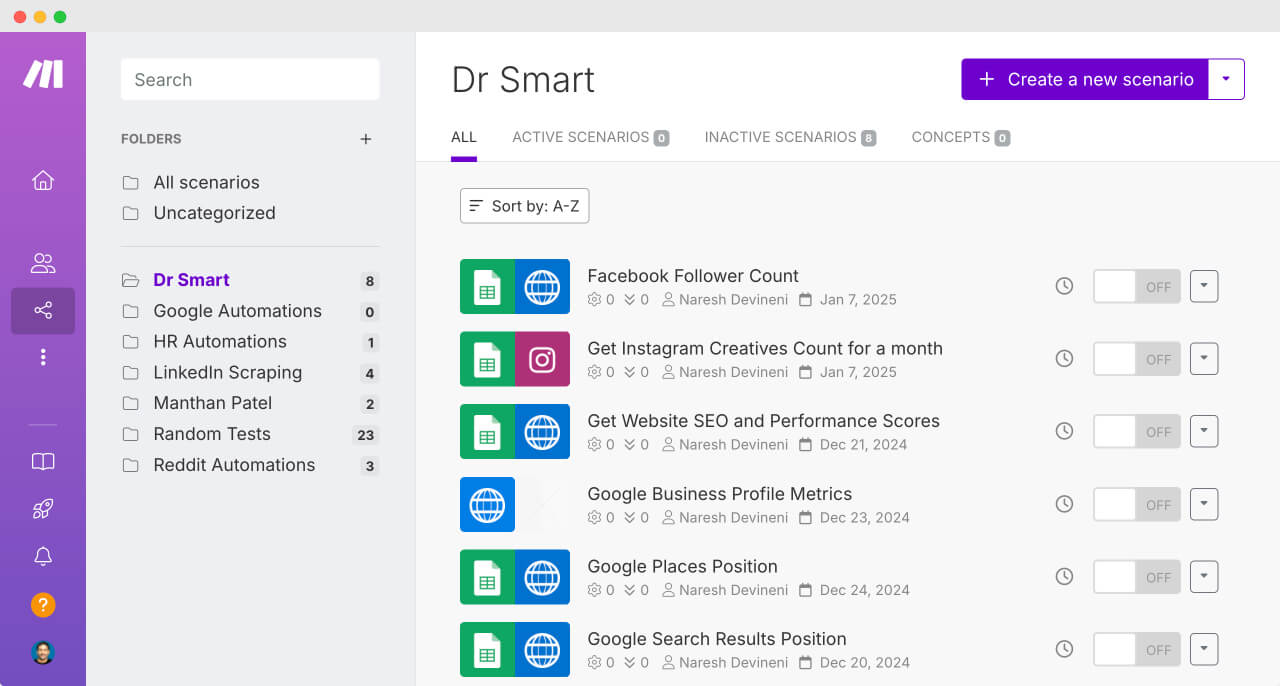
4) Links for the affiliate program, editing your profile, and logging out.

That's pretty much it about how to get around the make.com dashboard.
In the next lesson, we will see how to purchase extra make.com operations if you run out of them.