Delay the next step of the automation using the Sleep module


Sometimes, it's best to delay the next step of an automation rather than executing it immediately.
For example, if ChatGPT's analysis determines that an applicant is “Not Recommended,” we should send them a rejection email.
But instead of sending the rejection email immediately, we can send it after five minutes so that the applicant doesn't feel that they got rejected immediately by a bot.
We can create this delay of five minutes using the “Sleep” Module.
The only responsibility of the “Sleep” module is to temporarily pause the automation before moving to the next step.
The “Sleep” module can be found inside the “Tools” app.
Using the “Sleep” Module in Our Resume Screener Automation
Currently, there are two paths inside our automation:
- On path 1, we are updating the “CV Analysis” spreadsheet based on ChatGPT analysis
- On path 2, we notify the HR team if an applicant is marked as a “Strong Hire”.
Now, we need to add a third path that:
- Sends a rejection email to applicants whose Final Recommendation is “Not Recommended.”
- Delays the email by five minutes before sending it.
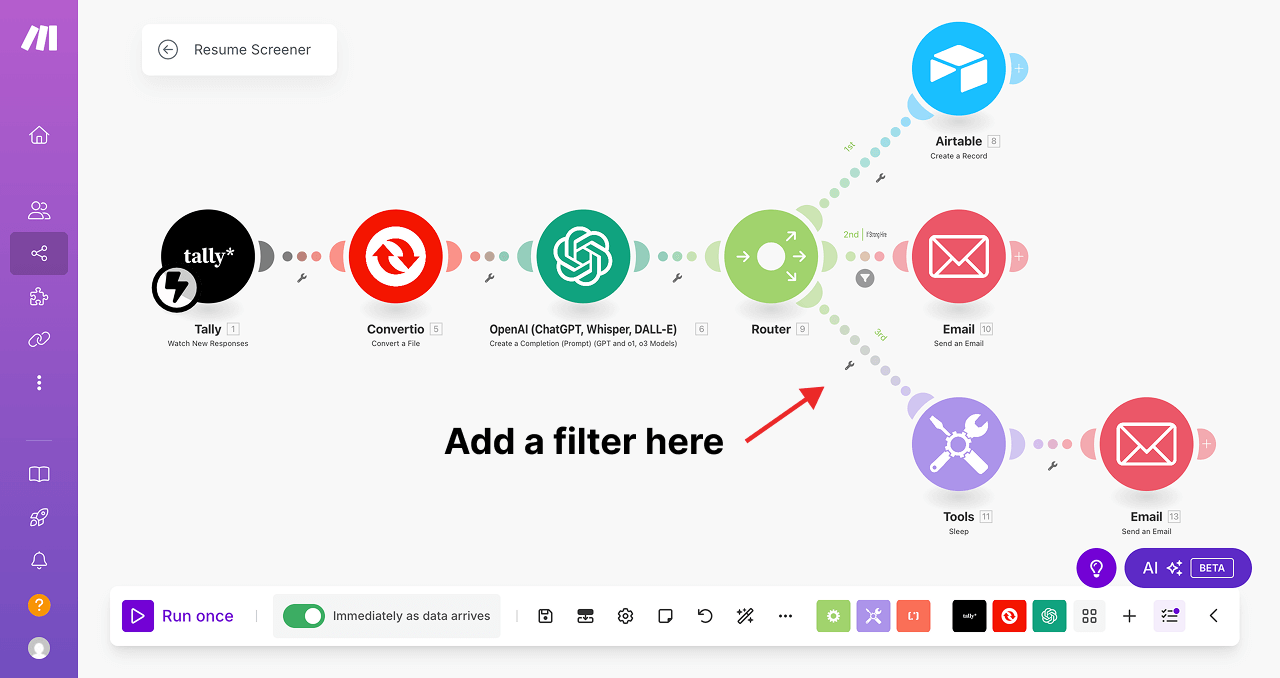
Steps to Implement the Delay
First, click on the “Router” module to add another path (third path) to our automaton:
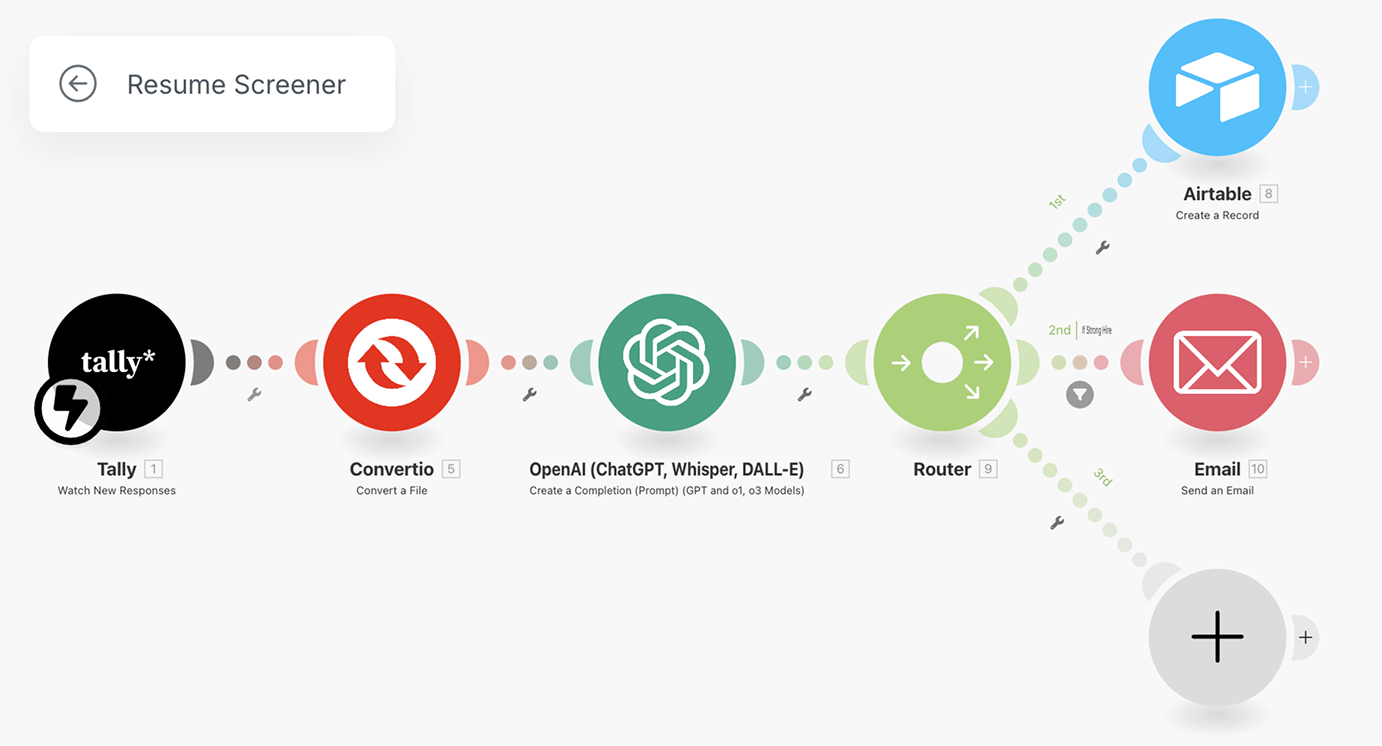
Next, add the “Sleep” module on the third path and set its “Delay” option to 300 seconds.
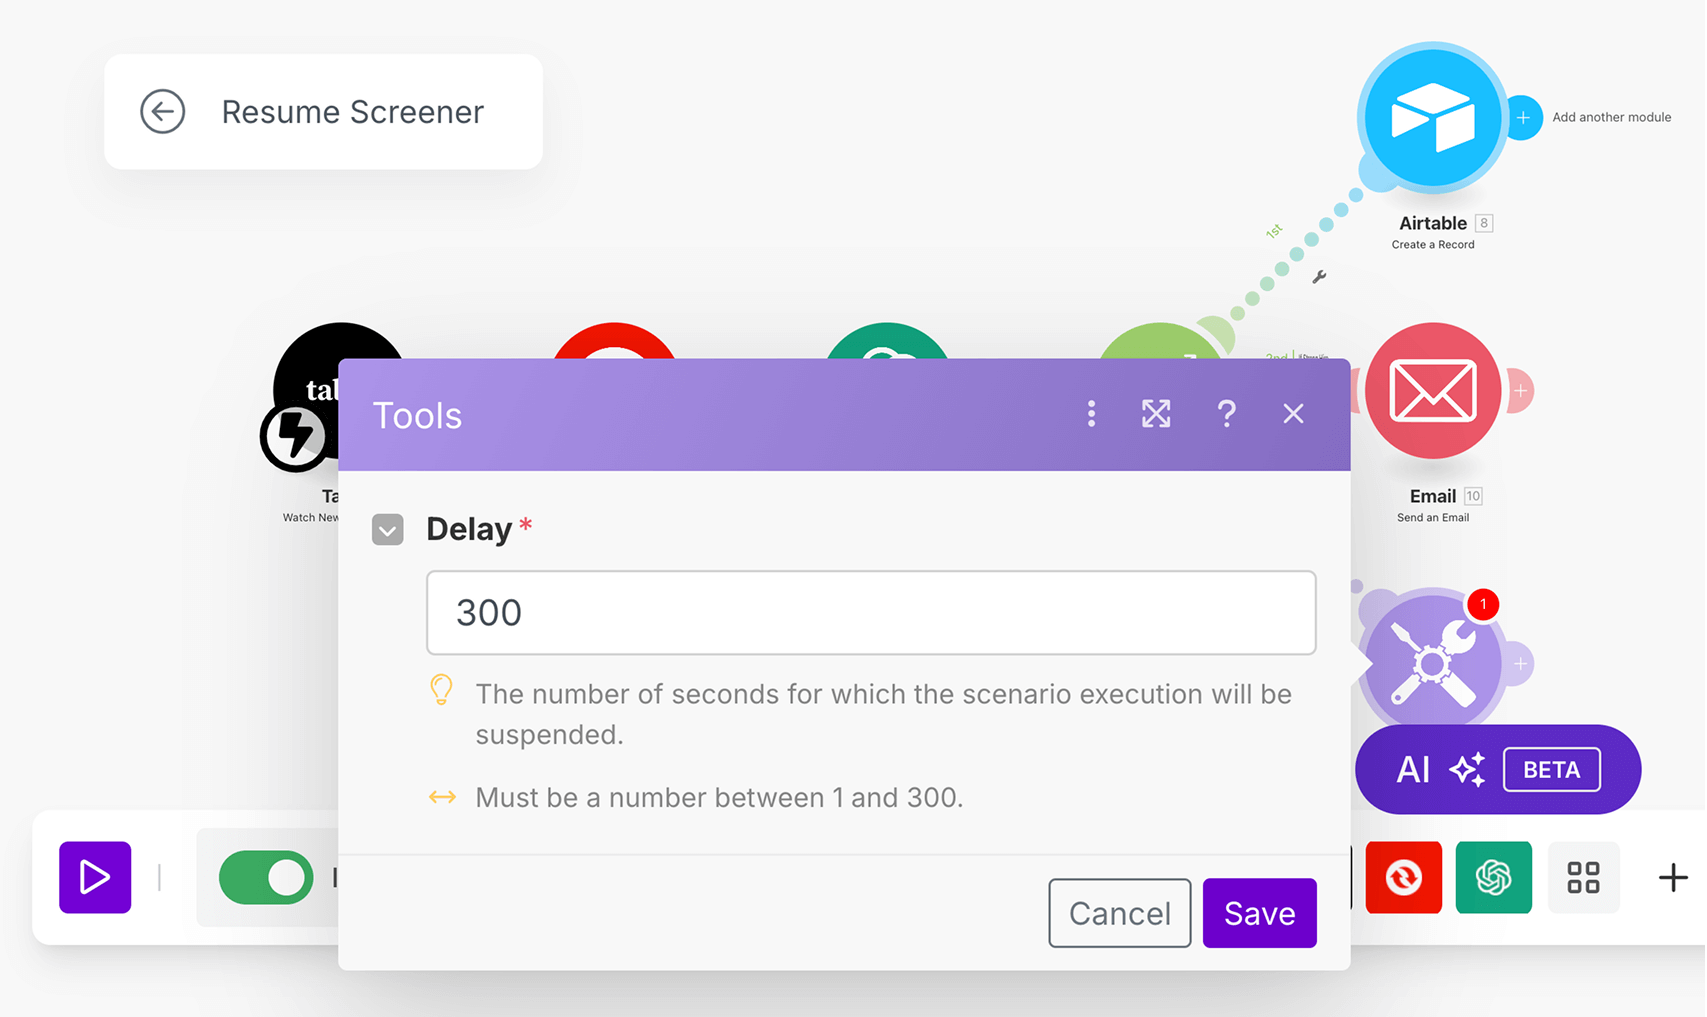
The “Delay” option asks us to enter the number of seconds for which the scenario execution will be suspended.
In other words, you have to enter the number of seconds for which the next step of the automation will be delayed for.
I entered 300 seconds because I wanted to delay the automation for five minutes.
And 300 seconds is a maximum value that you can enter natively.
But If you like to delay the automation for more than 300 seconds, you need to go with the workaround suggested by Max van Collenburg:
Anyway, 300 seconds is more than enough for our case.
So, enter 300 and save the delay.
Next, after the “Sleep” module, add the “Send an Email” module using the following content template:
Hey {{Full Name}}, Thank you for applying for the Woocommerce role role at Matt Roul, Inc.
<br><br>
After careful consideration, we regret to inform you that your application has not been selected for this position.
<br><br>
This decision was a difficult one, as we truly value the effort you put into your application and the skills you bring.
<br><br>
While this role may not be the right fit, we encourage you to explore future opportunities with us that align more closely with your expertise.
<br><br>
We wish you the very best in your career journey.
<br><br>
Best regards,<br>
Rahul, HR<br>
Matt Roul, Inc.<br>
Set a filter to send the email only to rejected applicants
We don't want to send the rejection email to every applicant.
So, the third path should only run for the applicants who are deemed as not “Not Recommended” by ChatGPT.
You already know how to achieve this.
Come, think about how you can achieve this.
…
…
…
…
Did you figure out how to do it?
“Yep! I will just set up a filter to check if the Final Recommendation key from the ChatGPT result is equal to Not Recommended”.
Correct!
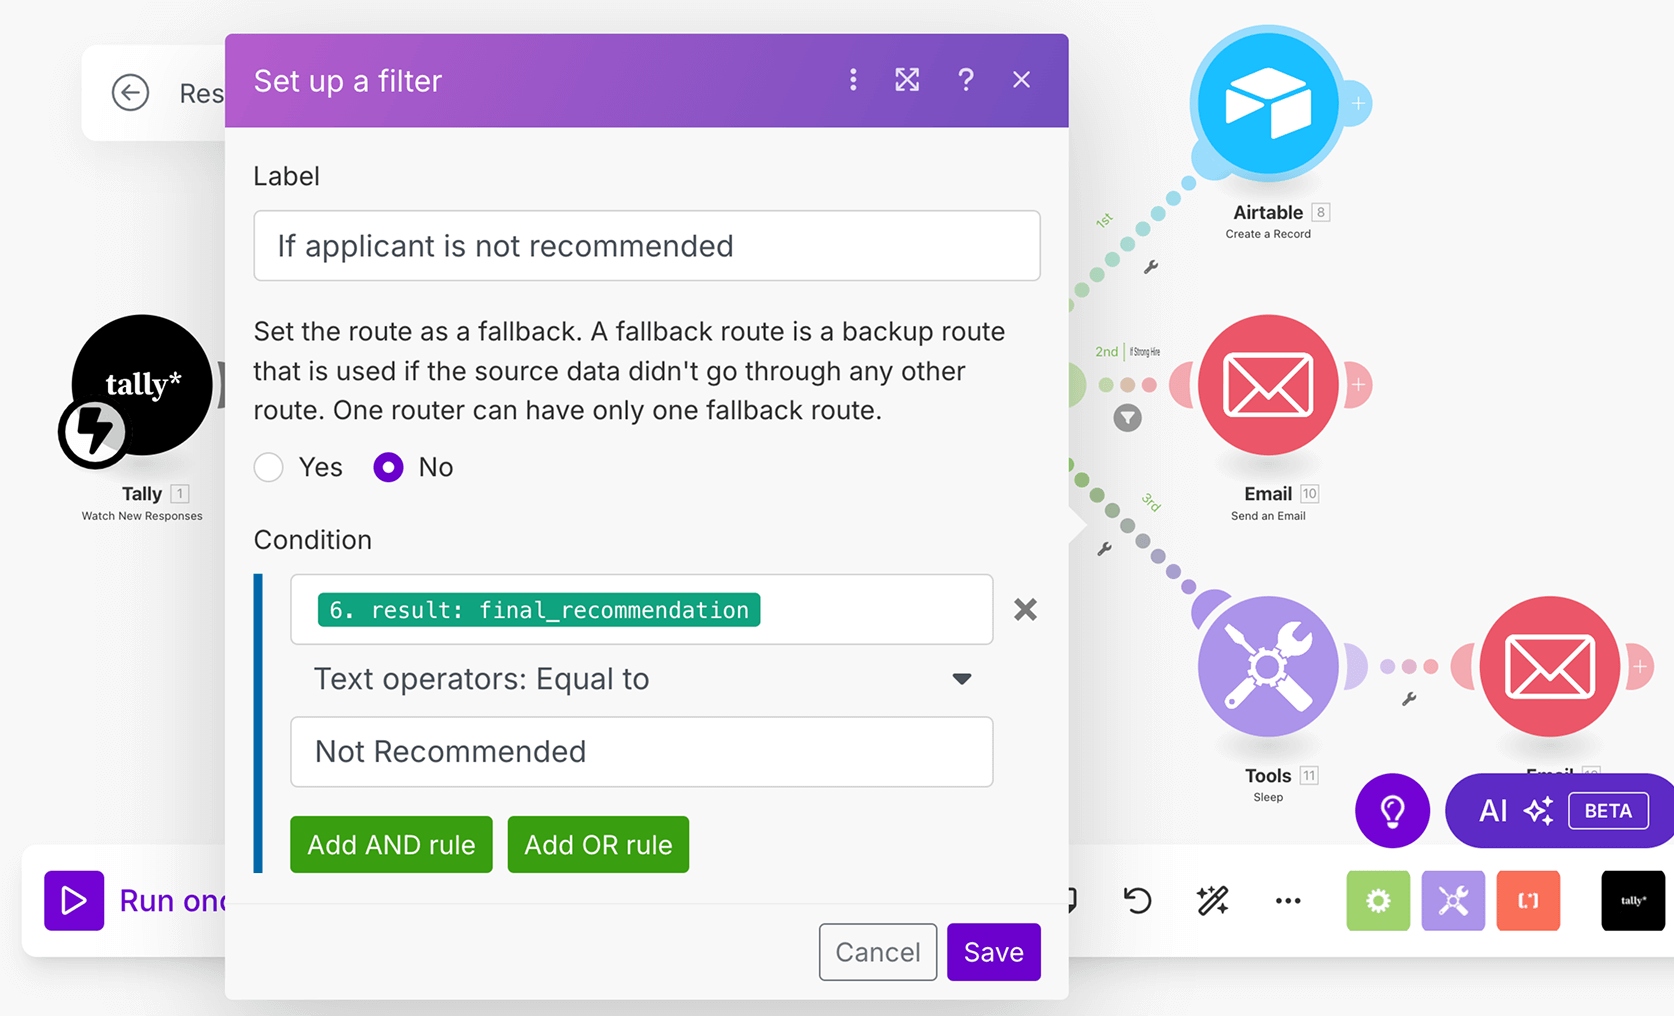
This way, the rejection email will be sent only to the applicants whose ChatGPT analysis says, “Not recommended”.
That's all.
That's how you use the “Sleep” module.
Using the “Sleep” Module to Respect API Rate Limits
The “Sleep” module is not just useful for adding delays in automation.
It can also help prevent errors when working with APIs.
The thing is, many services impose rate limits, restricting how often you can send API requests within a specific timeframe.
If you exceed these limits by making requests too quickly, the service will reject your request.
And sometimes, they even temporarily block access to their API.
To avoid this issue, we can use the “Sleep” module to introduce a delay between the API calls.
This will help us stay within the allowed limits of the API service provider.
We’ll explore how to implement this in a future lesson.
The Conclusion
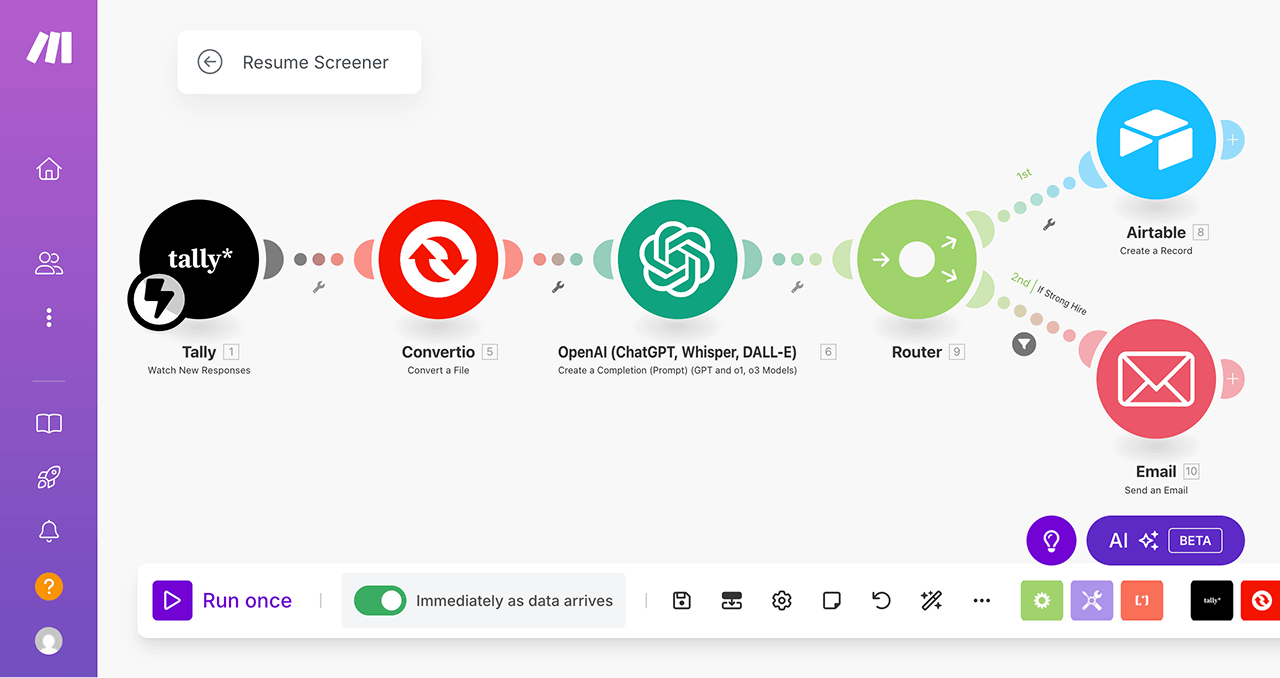
Here is how the finished Resume Screener automation looks like:
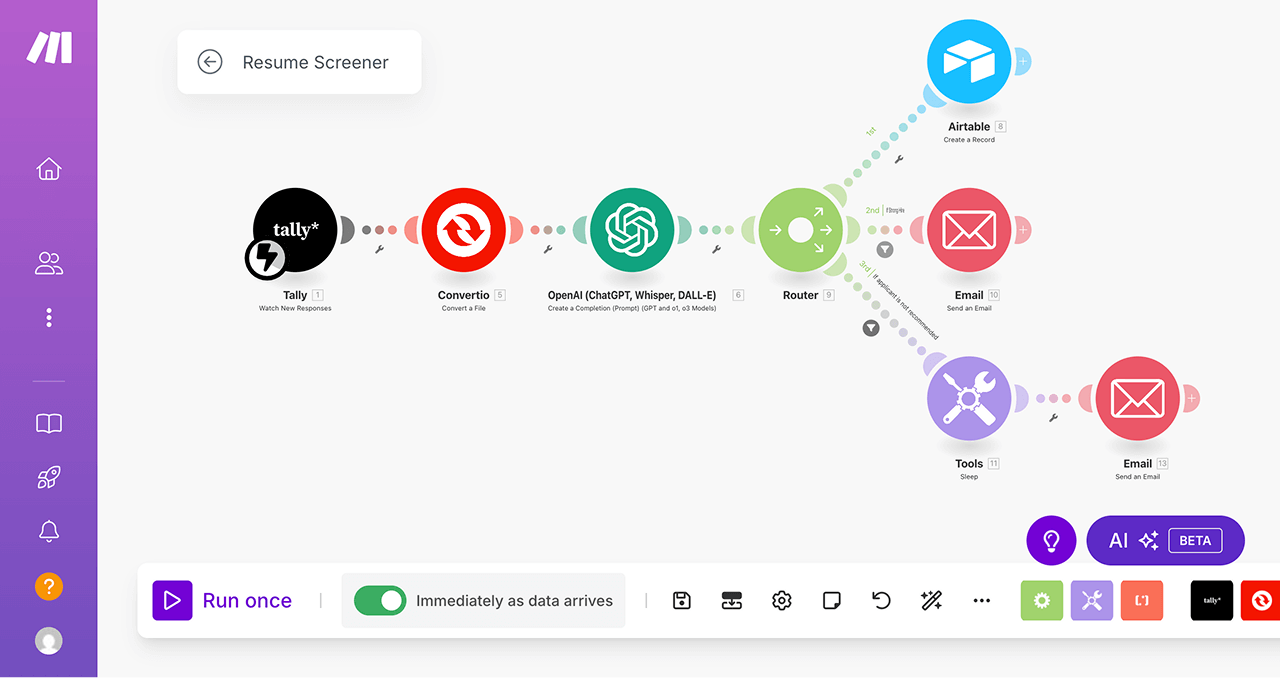
At this point, our Resume Screener automation is nearly complete.
However, we still need to add error handling to it, and we will cover it in an upcoming module.
But before that, I want you to learn how to craft API requests manually, and we will do that starting from the next lesson.