Adding an “Or” rule-based filter for selecting the email template based on service name
When dealing with complex filters, it is important to:
- Plan them upfront – Outline the conditions before implementing them.
- And then implement them – Set up filters step by step.
Step 1: Planning the filters based on router paths
Here is the conditional filtering we want to set up in plain English.
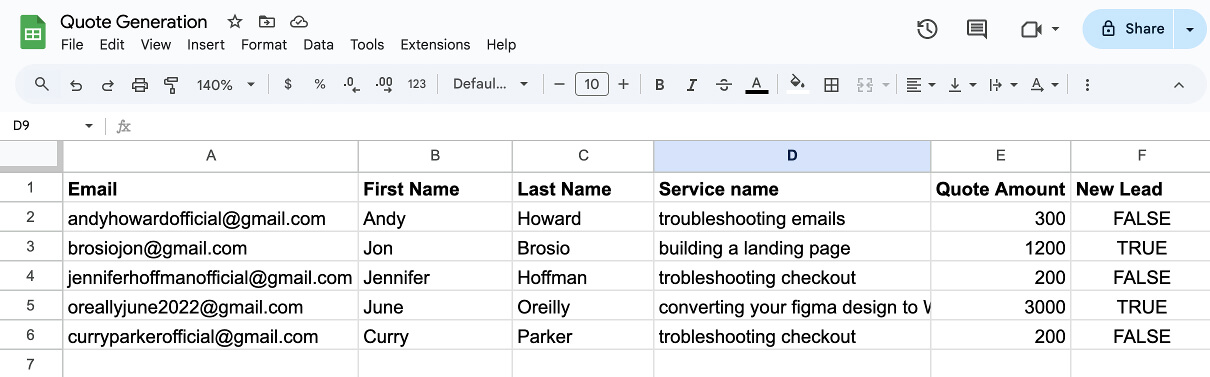
We've assigned one of four service names to each lead in our Google Sheet:
- troubleshooting emails
- troubleshooting checkout
- building a landing page
- converting your figma design to WordPress
And we have created two router paths in our scenario:
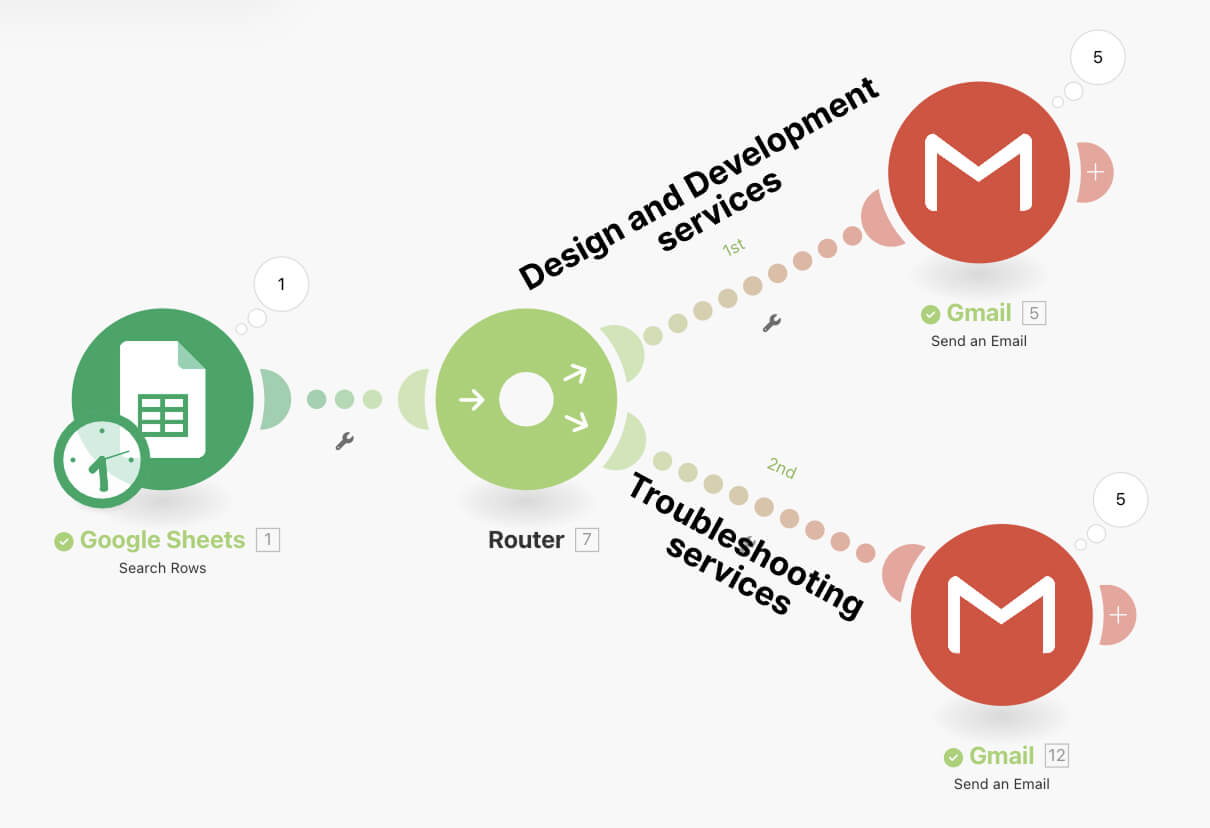
Router Path 1 (Design & Development Services)
- Should process leads with service names:
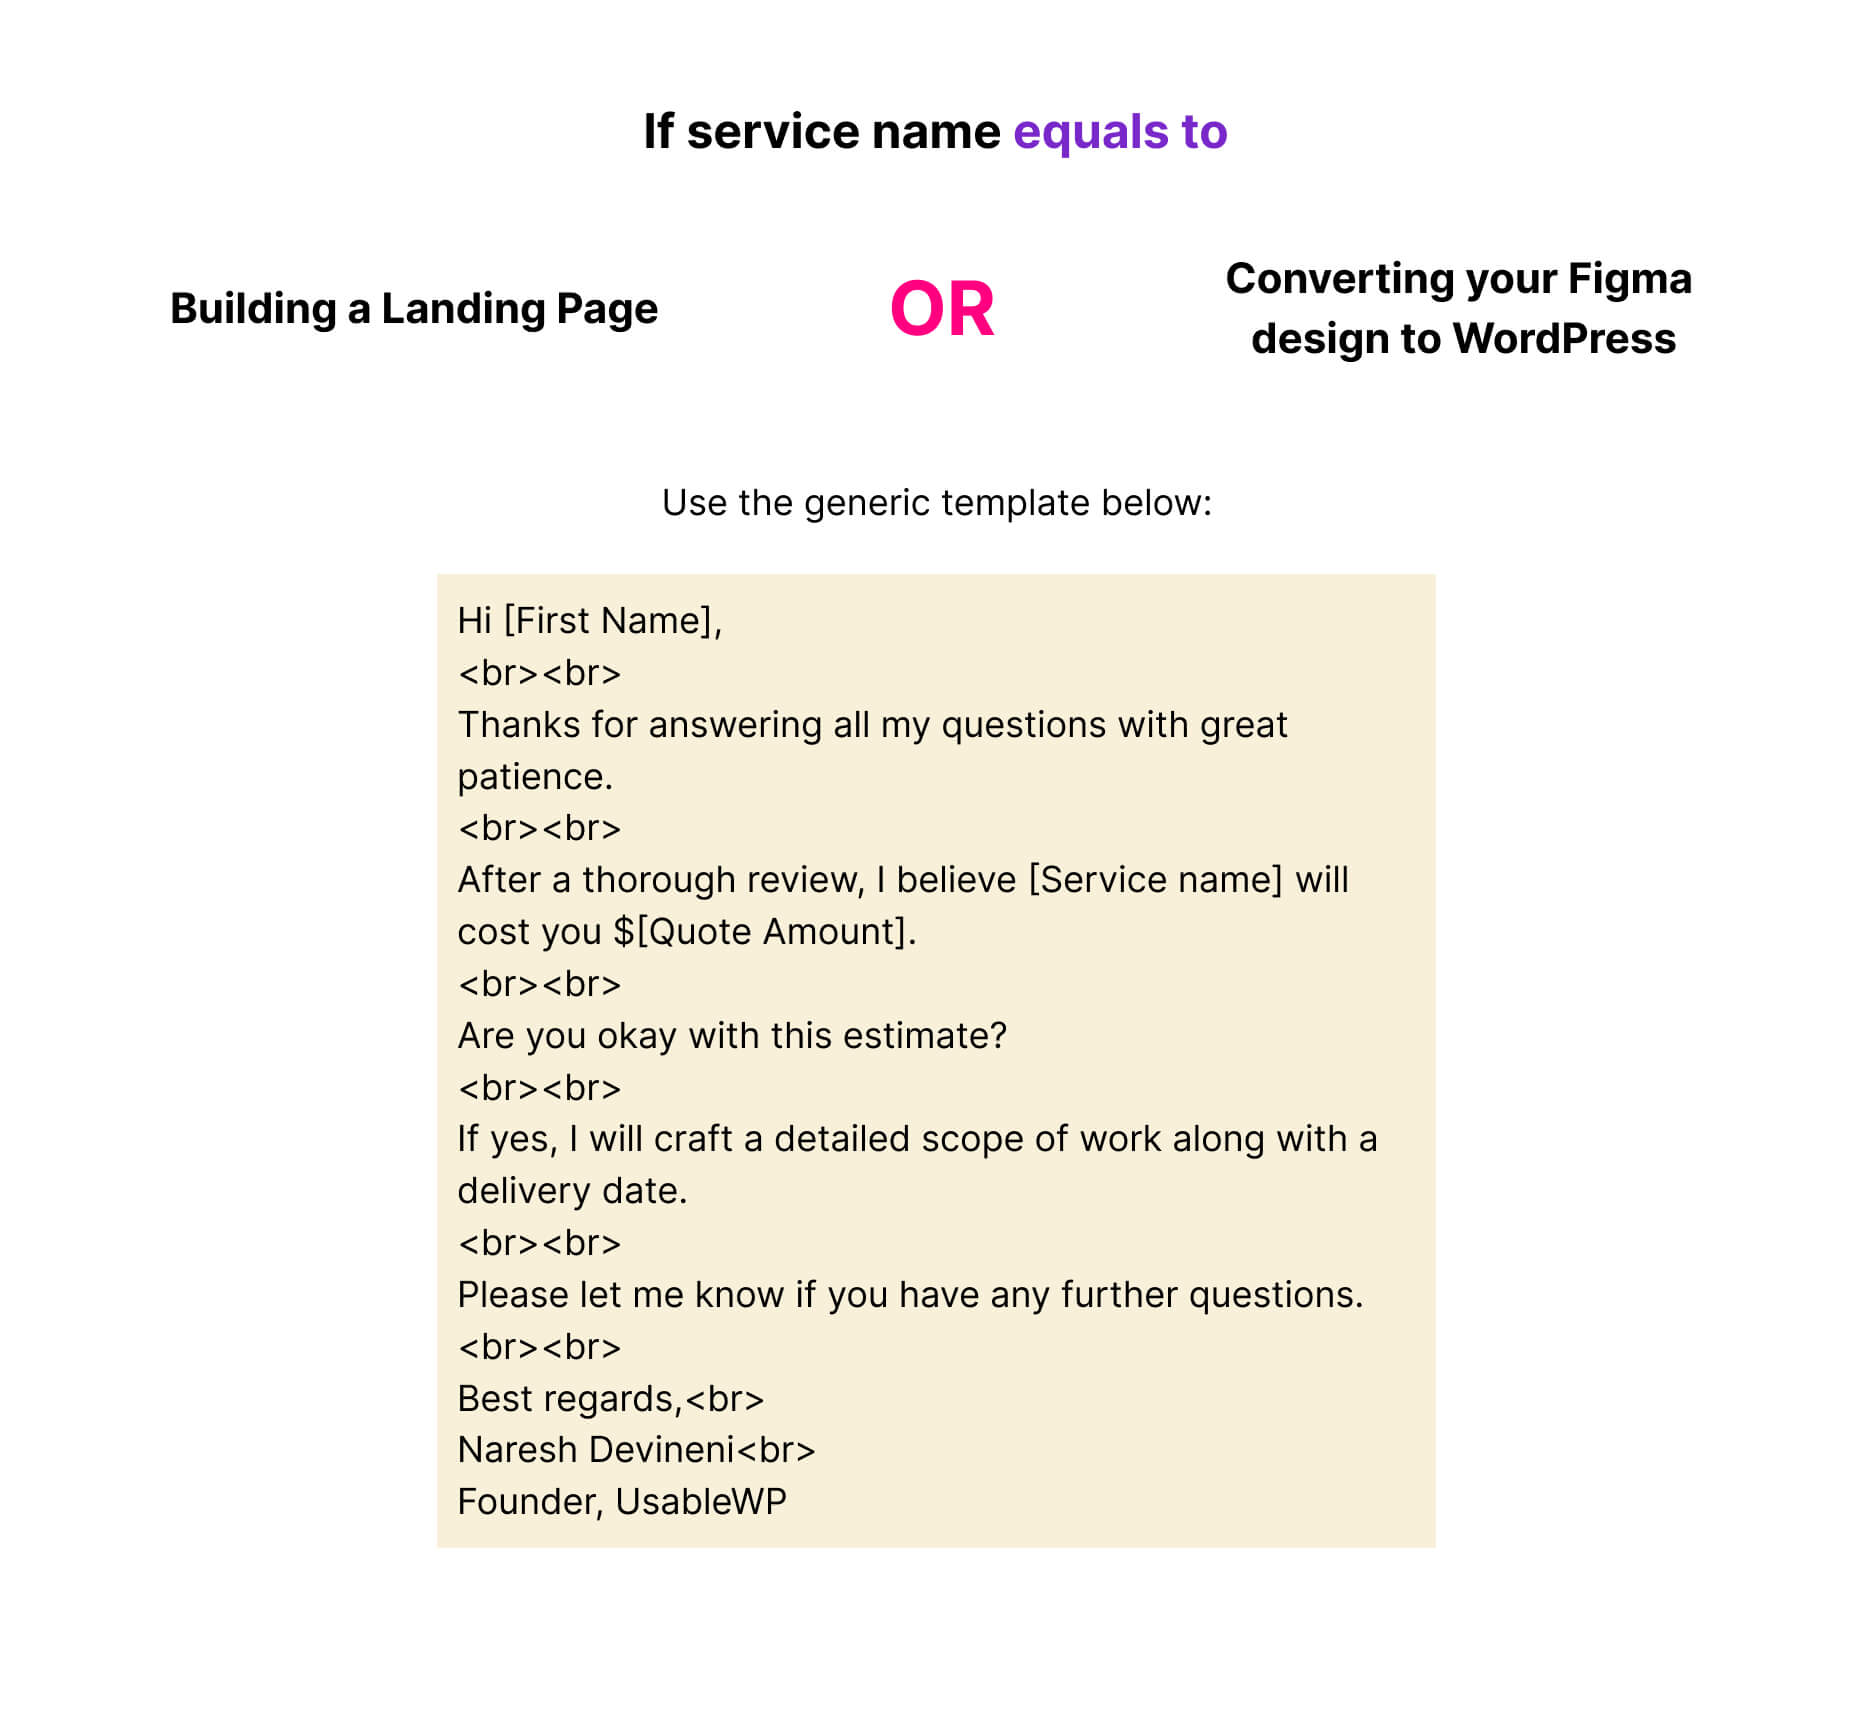
- building a landing page
- converting your figma design to WordPress
- Will use the generic email template you saw in the previous lesson.
Router Path 2 (Troubleshooting Services)
- Should process leads with service names:
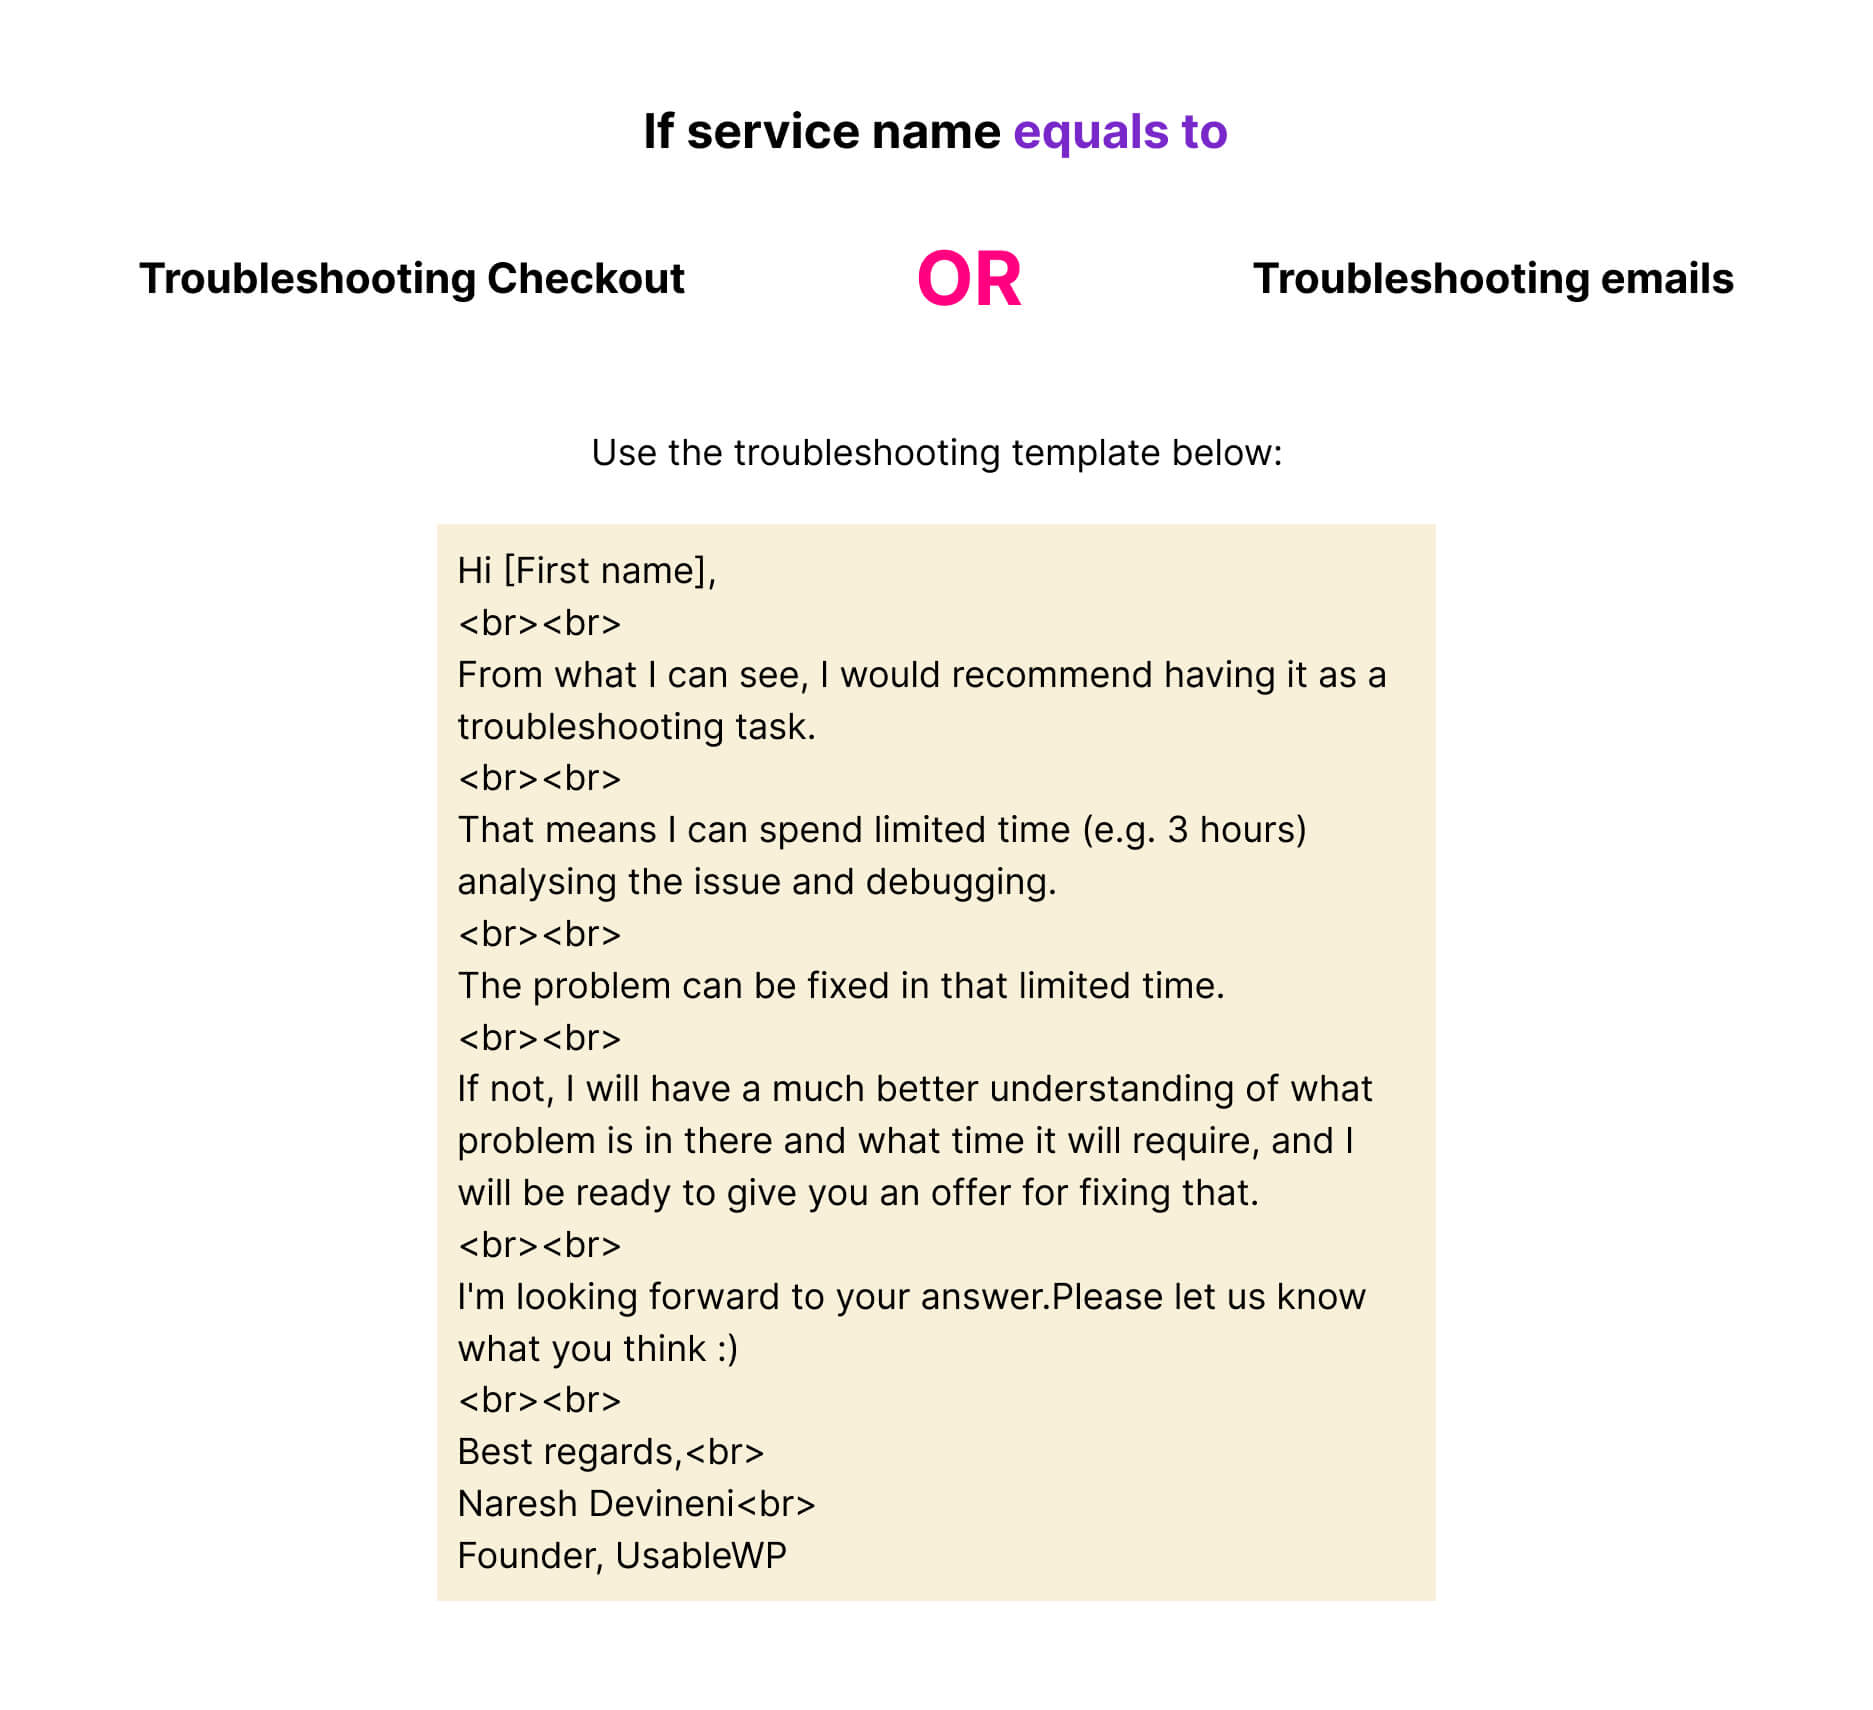
- troubleshooting emails
- troubleshooting checkout
- Will use the troubleshooting email template
Here is a quick table summarising the above planning:
| Router Path | Service names (Filter conditions) |
|---|---|
| Path 1 (For Design & Development Services) | Building a Landing Page OR Converting Your Figma Design to WordPress |
| Path 2 (For Troubleshooting Services) | Troubleshooting Emails OR Troubleshooting Checkout |
Now that we have a clear plan, let’s implement these filters.
Important note: Don't worry if you don't immediately grasp all the concepts
We'll explore the entire automation flow in detail in the next lesson. Setting up filters in Make.com is quite straightforward once you understand the basics.
Step 2: Setting up the filters
Setting up a filter between a router and a module is no different from setting up a filter between two standard modules.
After all, a router is just another module.
An important difference is that when working with a router and filters, the filters are applied to the router’s paths rather than directly between modules.
With that in mind…
Configuring Router Path 1 (For Design & Development Services)
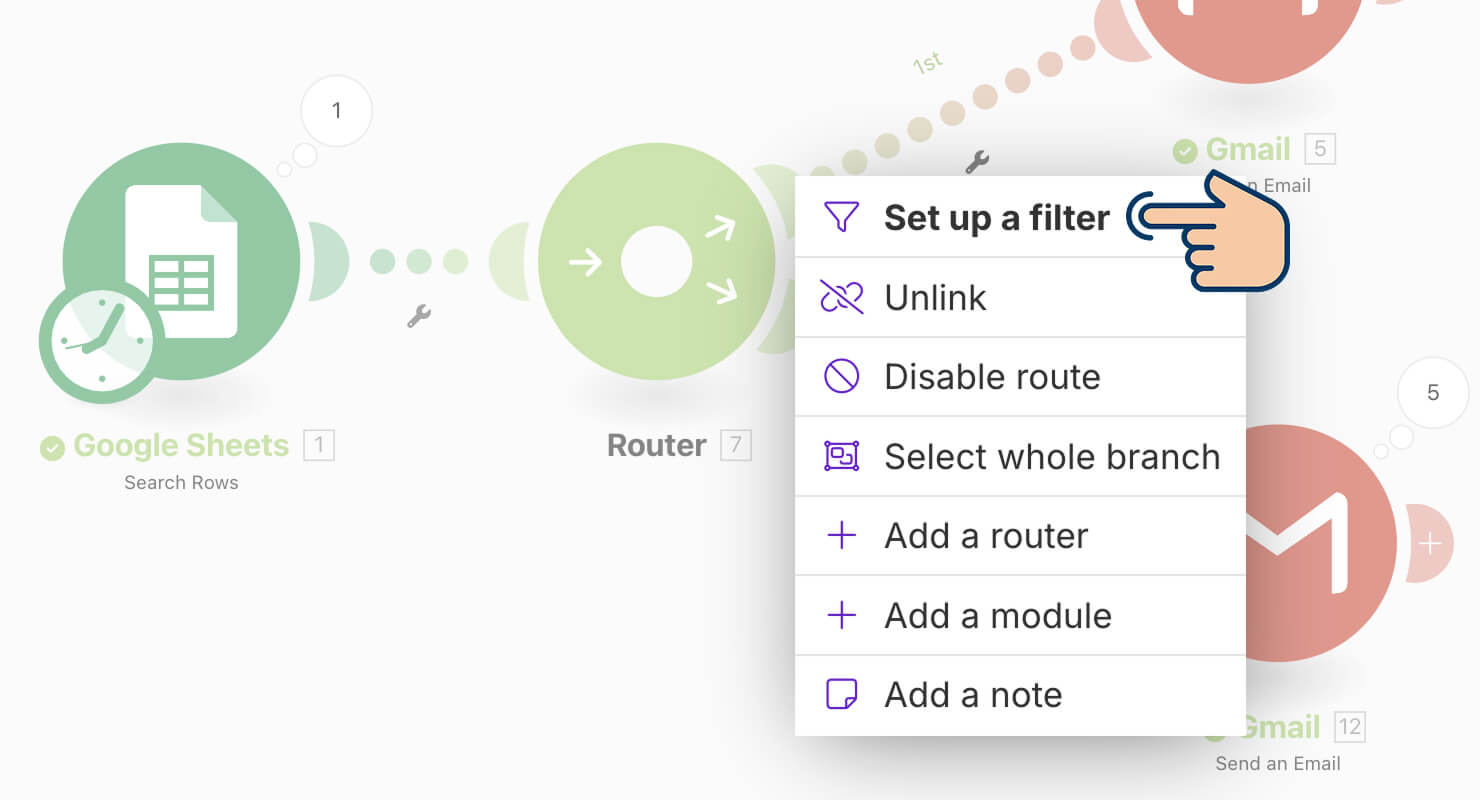
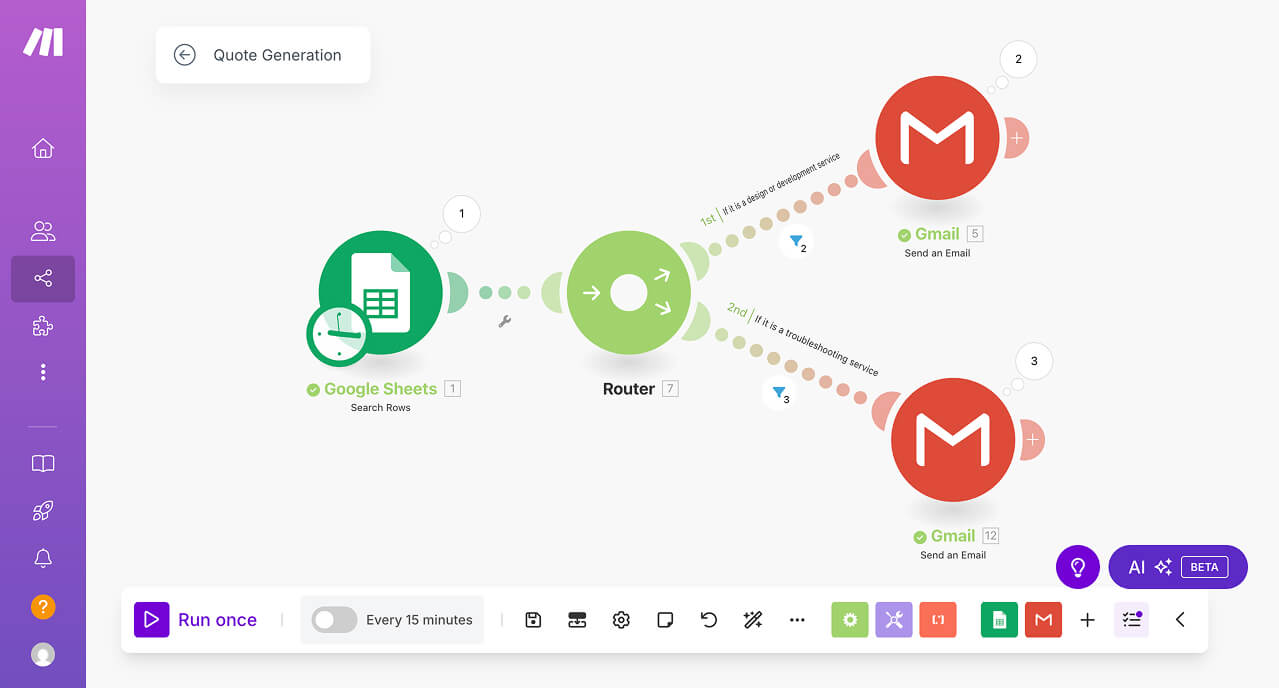
If you notice, there is a little “Wrench” icon on both paths of the router:
Click on the “Wrench” icon of the first path and then select the “Set up a filter” option:
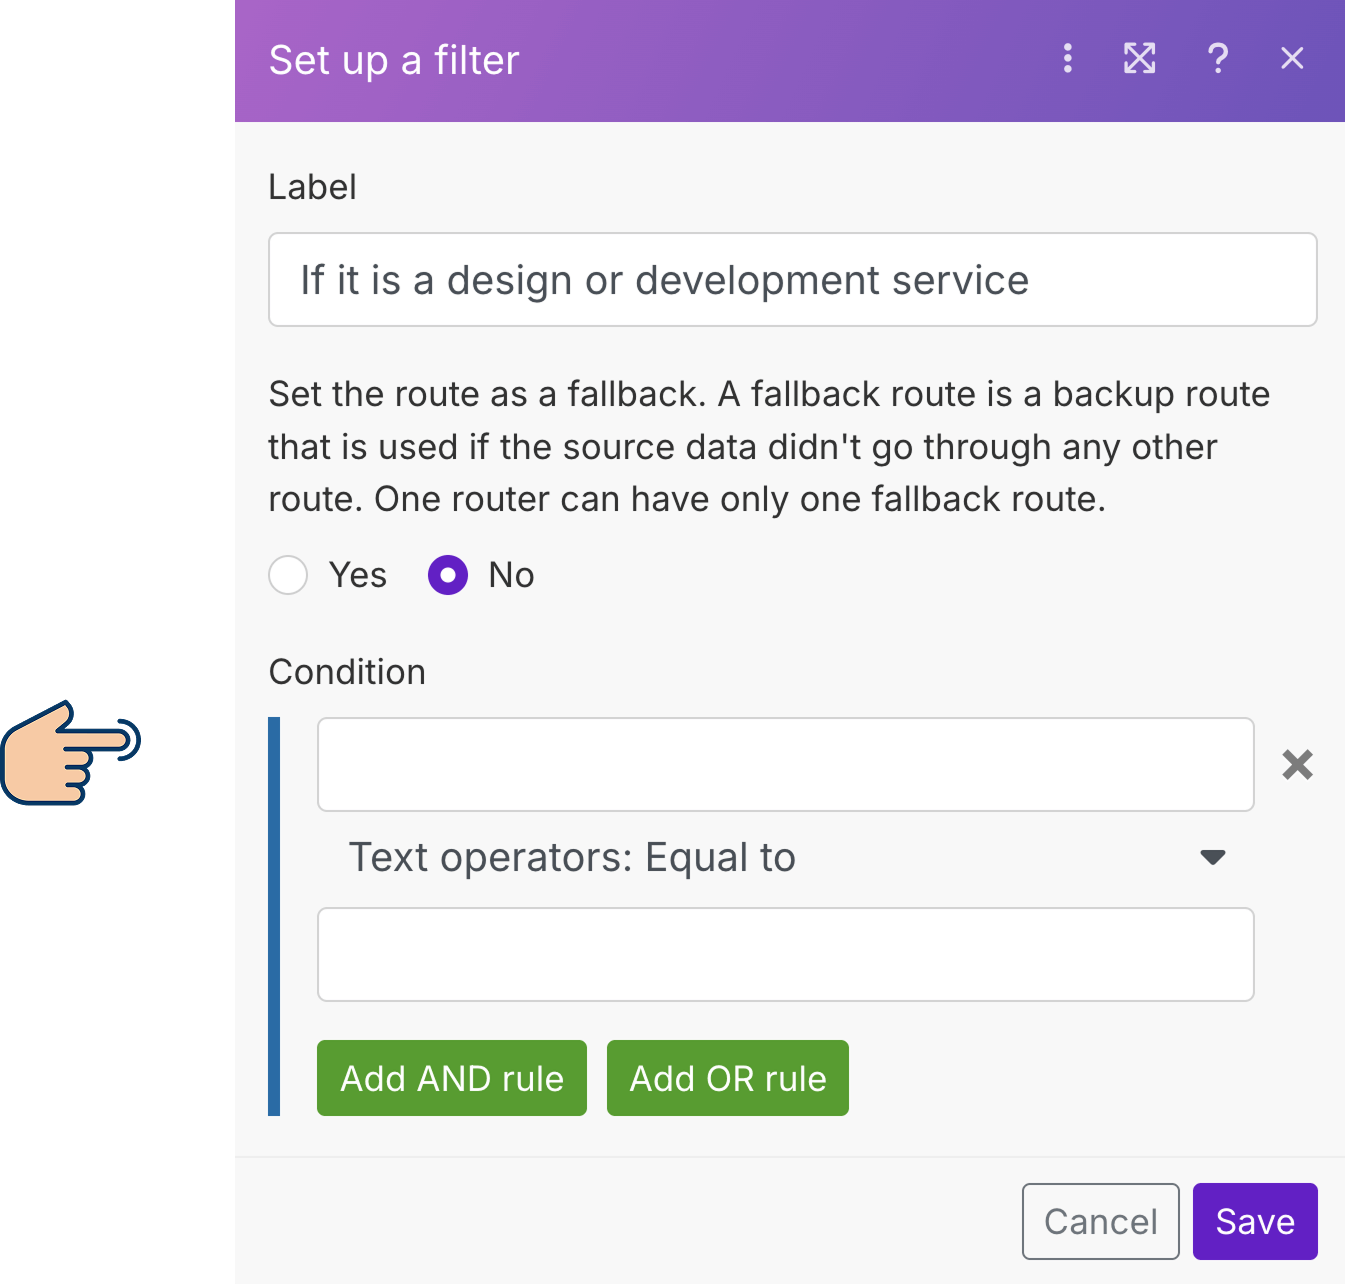
This will open up a panel to set up a filter on path 1 of the router:

You can also open up this filter panel by clicking on the connecting-line above the “wrench” icon:
Anyway, it's time to configure our first filter.
First, set the label of the filter as “If it is a design or development service”.
And next, for the first input field of the “Condition” section, select “Service name” key from the Data Mapping Panel:
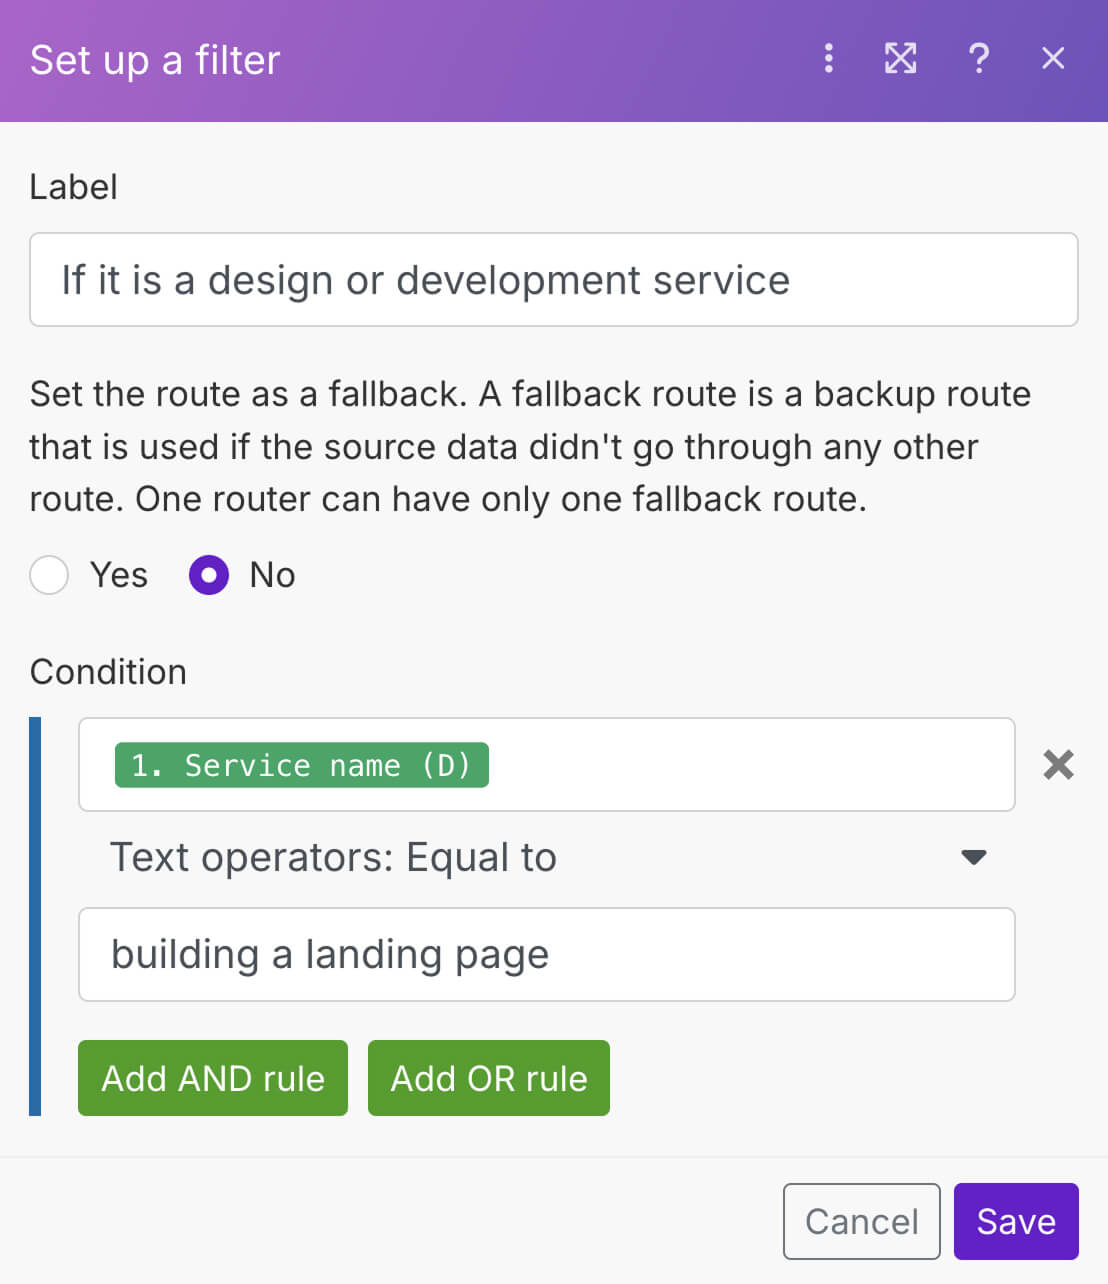
And for the comparison operation, by default, “Text operators: Equal to” is selected.
In our case, we want to compare two text values and check whether they are the same.
So, leave the comparison operator as is.
Finally, for the second input field, type “building a landing page”.
This is our way of saying: “Hey! If the lead was assigned with a service name of 'building a landing page', pass this lead through the filter so that the lead will receive an email from path 1 of the router that has a generic email template.”
Next, click on the “Add OR rule” button to add one more condition to our filter.
If you remember, we also want to use the generic email template for the leads with service name assigned as “converting your figma design to WordPress”.
So, configure the “OR” rule with the following details:
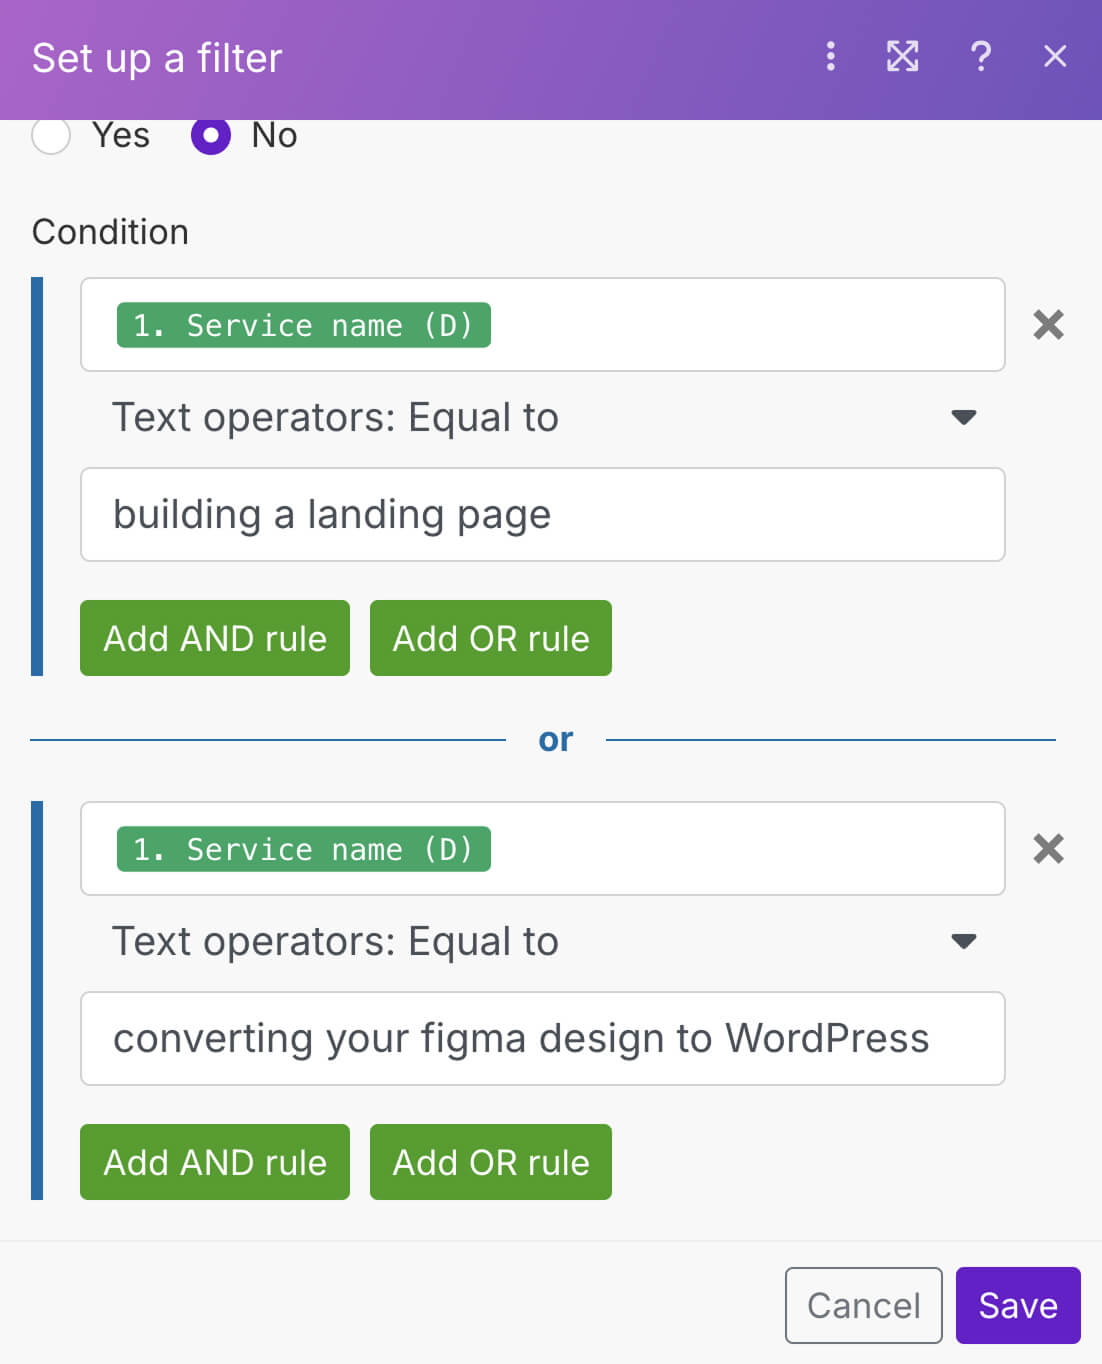
For the first input field of the “OR” rule, select “Service name” key from the Data Mapping Panel.
And for the comparison operation, keep the “Text operators: Equal to” as is.
Again, we want to compare two text values and check whether they are the same.
Next, for the second input field, type “converting your figma design to WordPress”.
Finally, click on the “Save” button to save the filter.
With multiple conditions now set, the overall filter condition now says:
'Hey! Hey! If the lead was assigned with a service name of “building a landing page” or “converting your figma design to WordPress”, pass the lead through path 1 of our automation and email them using the generic template'.
That's all.
We are now done configuring the path 1 of the router.
Next, we have to do the same for path 2 of the router.
The difference is, If the lead was assigned with a service name of “troubleshooting emails” or “troubleshooting checkout”, we should pass that lead through path 2 of our automation.
Configuring Router Path 2 (For Troubleshooting Services)
Click on the “Wrench” icon on the second path of the router and then select the “Set up a filter” option:
This will open up a panel to set up a filter on path 2 of the router:
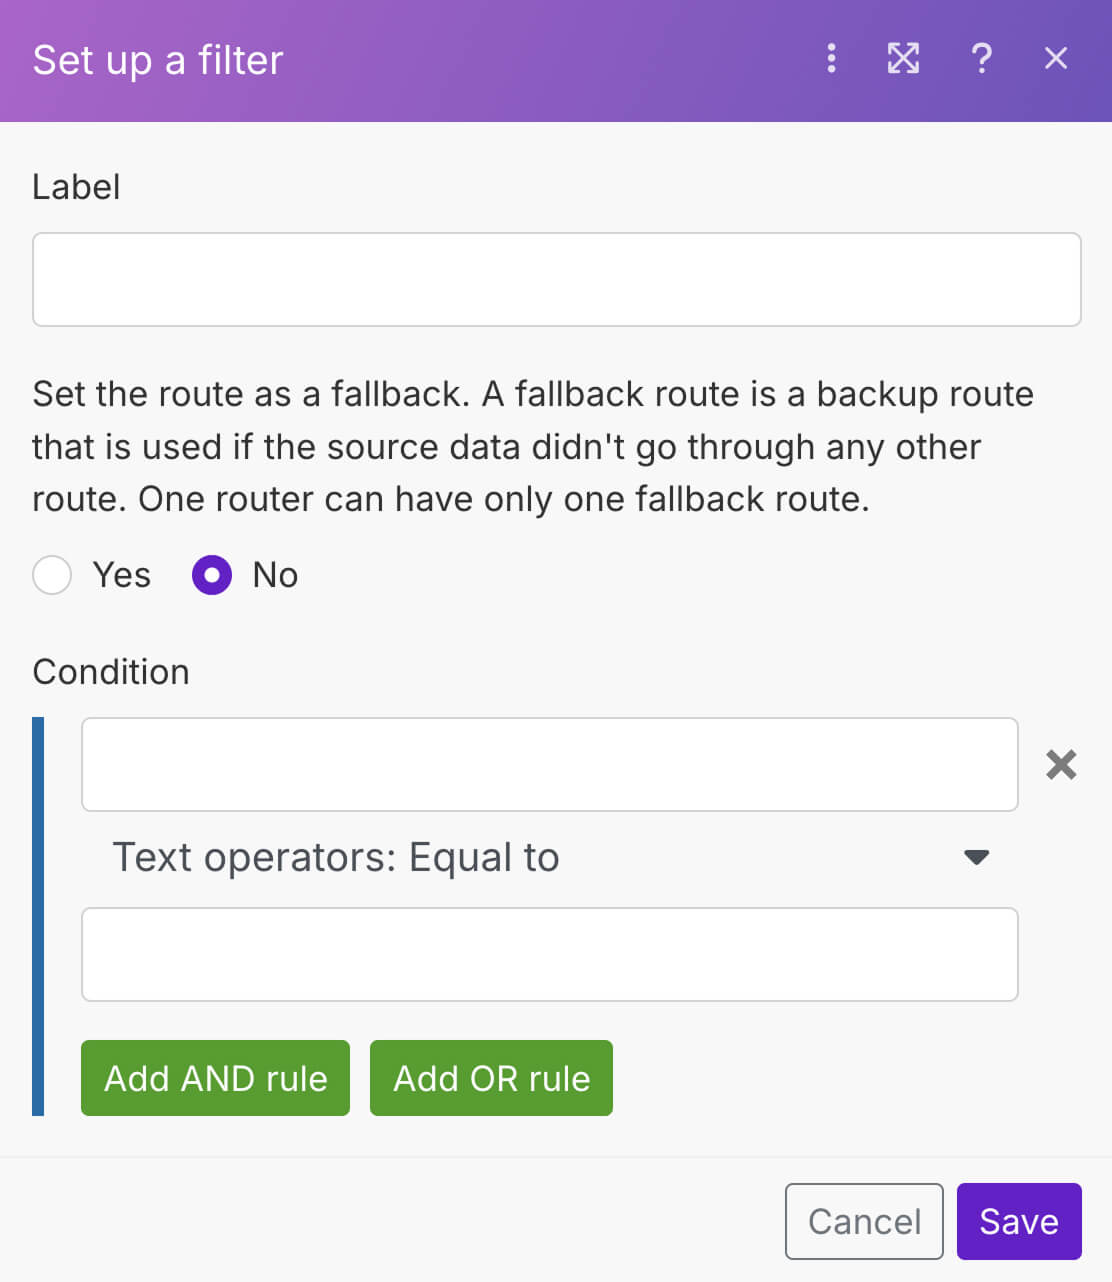
First, set the label of the filter as “If it is a troubleshooting service”.
Next, for the first input field of the “Condition” section, select “Service name” key from the Data Mapping Panel:
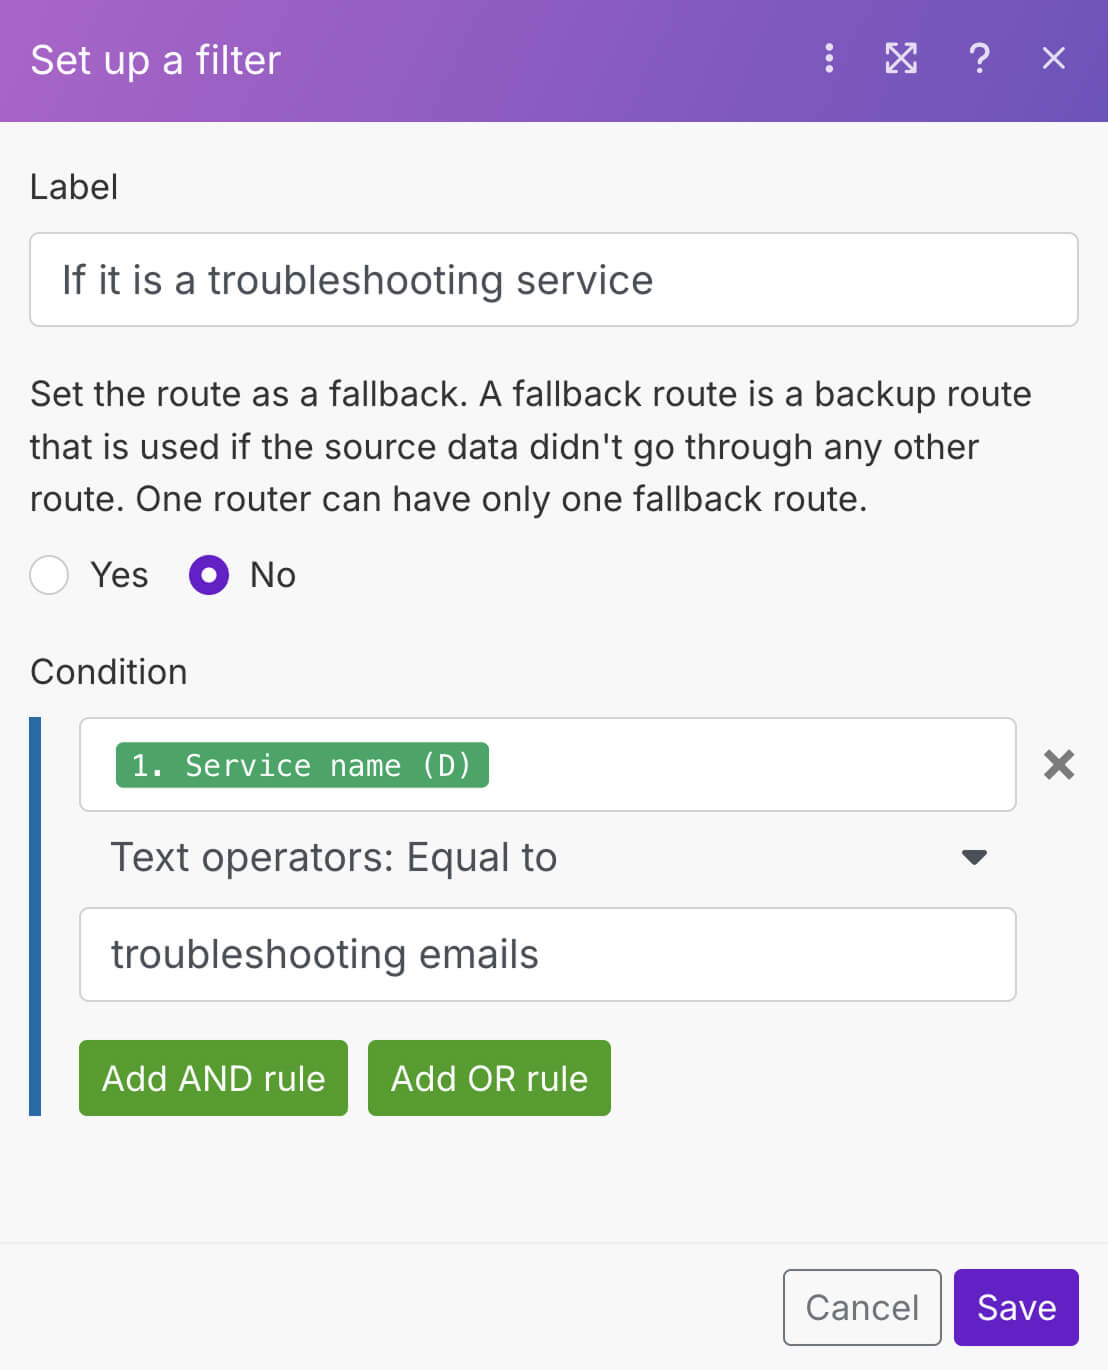
Again, we want to compare two text values and check whether they are the same.
So, leave the comparison operator as is as “Text operators: Equal to”.
Finally, for the second input field, type troubleshooting emails.
This is our way of saying: “Hey! If the lead was assigned with a service name of troubleshooting emails this condition becomes true and the lead will receive the email using from path 2 of the router that has troubleshooting template.”
Next, click on the “Add OR rule” button to add one more condition to our filter.
If you remember, we also want to use the troubleshooting email template for the leads with service name assigned as “troubleshooting checkout”.
So, configure the “OR” rule with the following details:
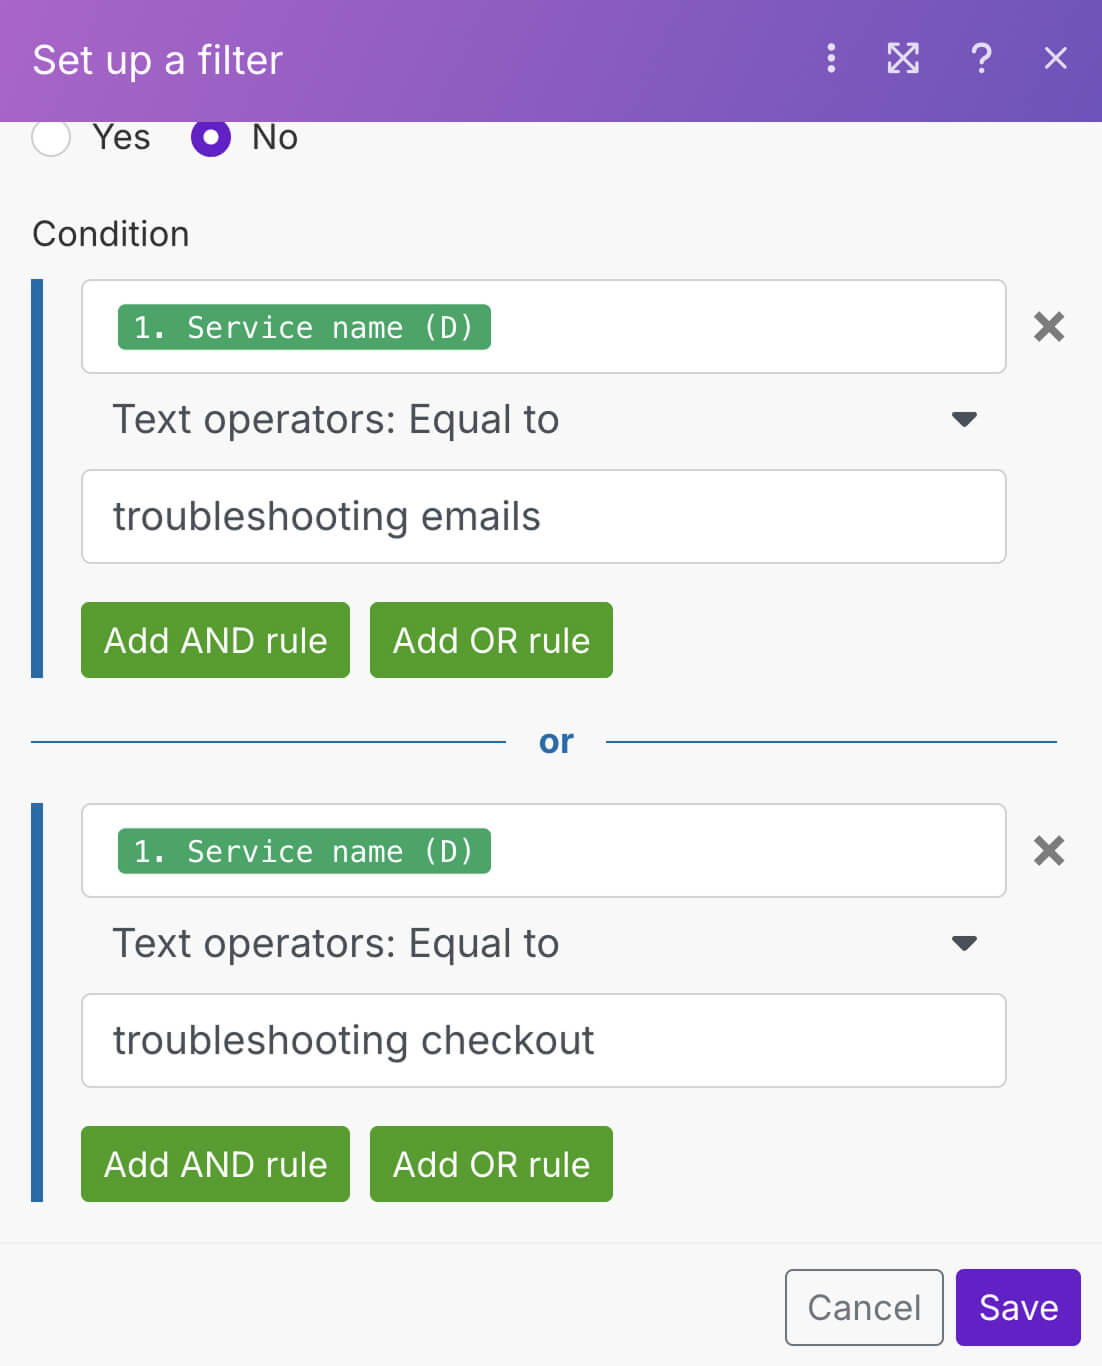
For the first input field of the “OR” rule, select “Service name” key from the Data Mapping Panel as usual.
And for the comparison operation, keep the “Text operators: Equal to” as is.
Again, we want to compare two text values and check whether they are the same.
Next, for the second input field, type troubleshooting checkout.
Finally, click on the “Save” button to save the filter.
With multiple conditions now set, the overall filter condition now says:
'Hey! Hey! If the lead was assigned with a service name of “troubleshooting emails” or “troubleshooting checkout”, pass the lead through path 2 of our automation and email them using the troubleshooting template'.
That's all.
We are now done configuring the path 1 and path 2 of the router.
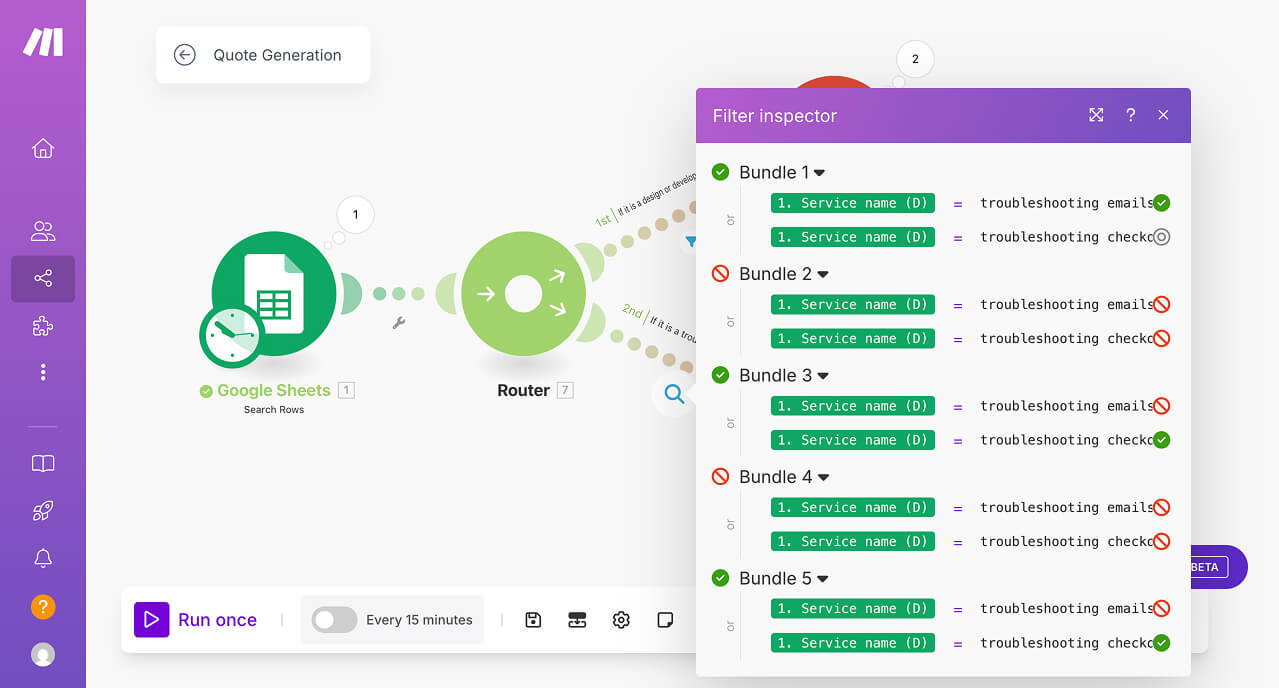
If we run the automation now, each lead gets the correct email based on their service type assigned to them.
For example:
- There are two leads with services names related to design and development. They got diverted to the first path of the router and received an email that uses the generic template.
- There are three leads with services names related to troubleshooting. They got diverted to the second path of the router and received an email that uses a troubleshooting template.
You can verify this by using the Filter inspector panel of each path:
Easy, right?
“Bro! Yes, but I didn't fully understand how routers and filters work together. Can you provide a detailed flow again?”
Oh, yes!
In the next lesson, we will go through the entire automation flow to understand how everything is working together in a visual way.
See you in the next lesson.